This How2 explains how additional smartphone actions can be added to an existing automation (create note) and saved.
The first step is to prepare an automation, namely to create a note. Then further actions are to be added to this automation, in our example saving this note to a desired storage location.
This will explain how additional actions can be added to other existing automations at a later date.
Content:
- Preparing an automation: Setting up the NFC tag
- Preparing an automation: Creating a note
- Select and open prepared automation
- Customise follow-up action
- Test and save finished automation
Preparing an automation: Setting up the NFC tag
First open the Shortcuts app on your Apple iPhone.
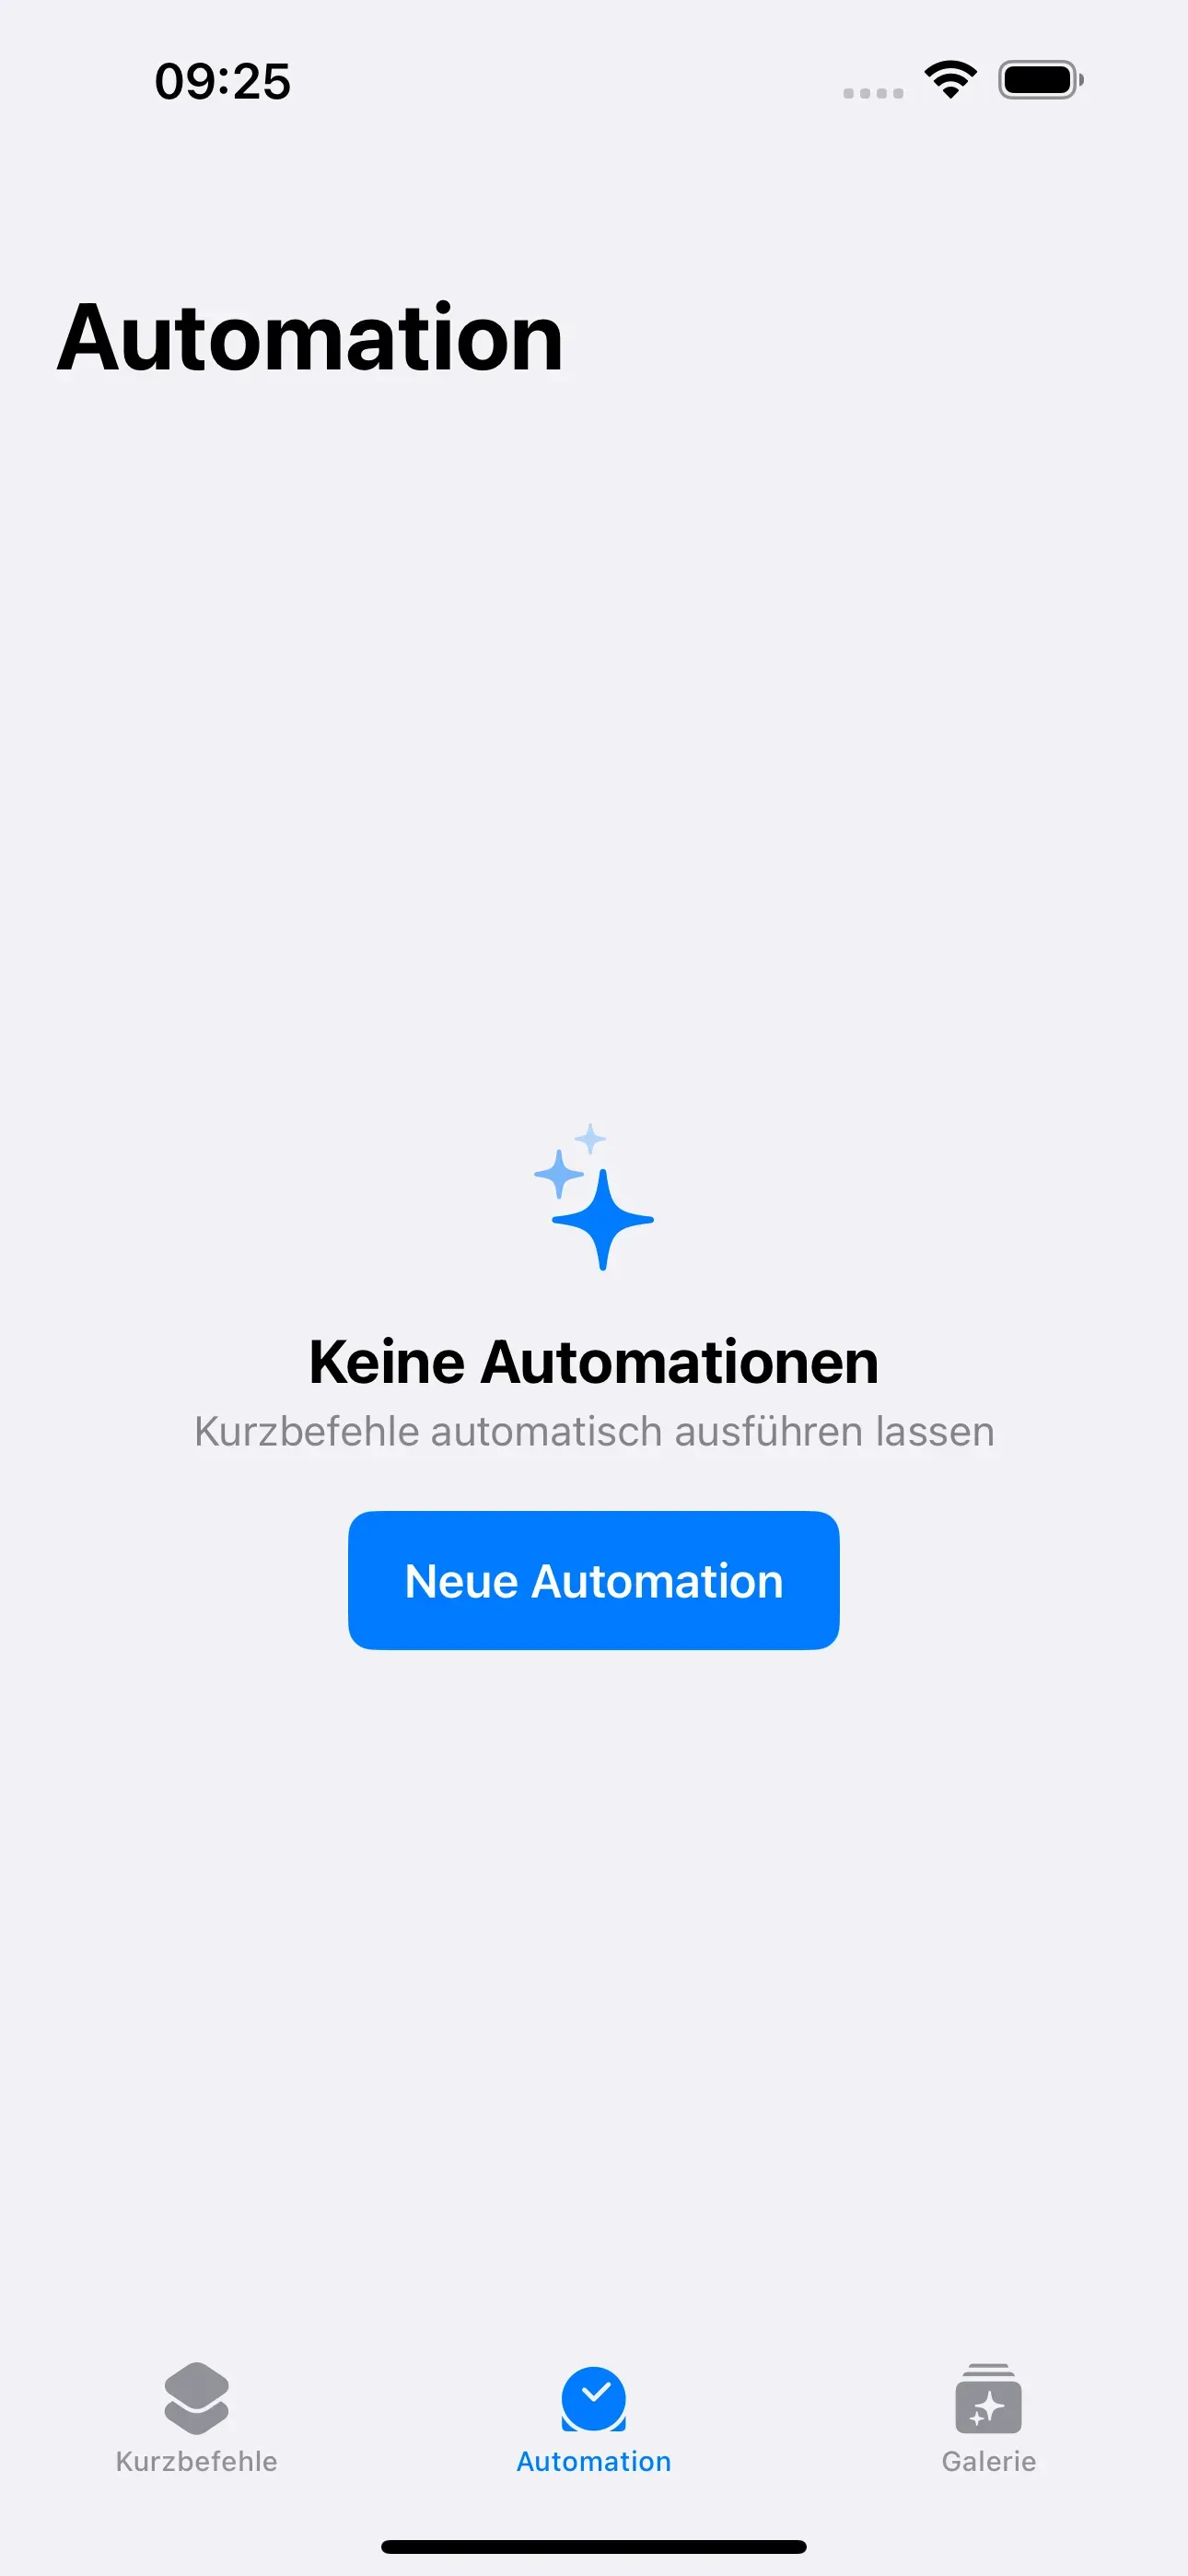
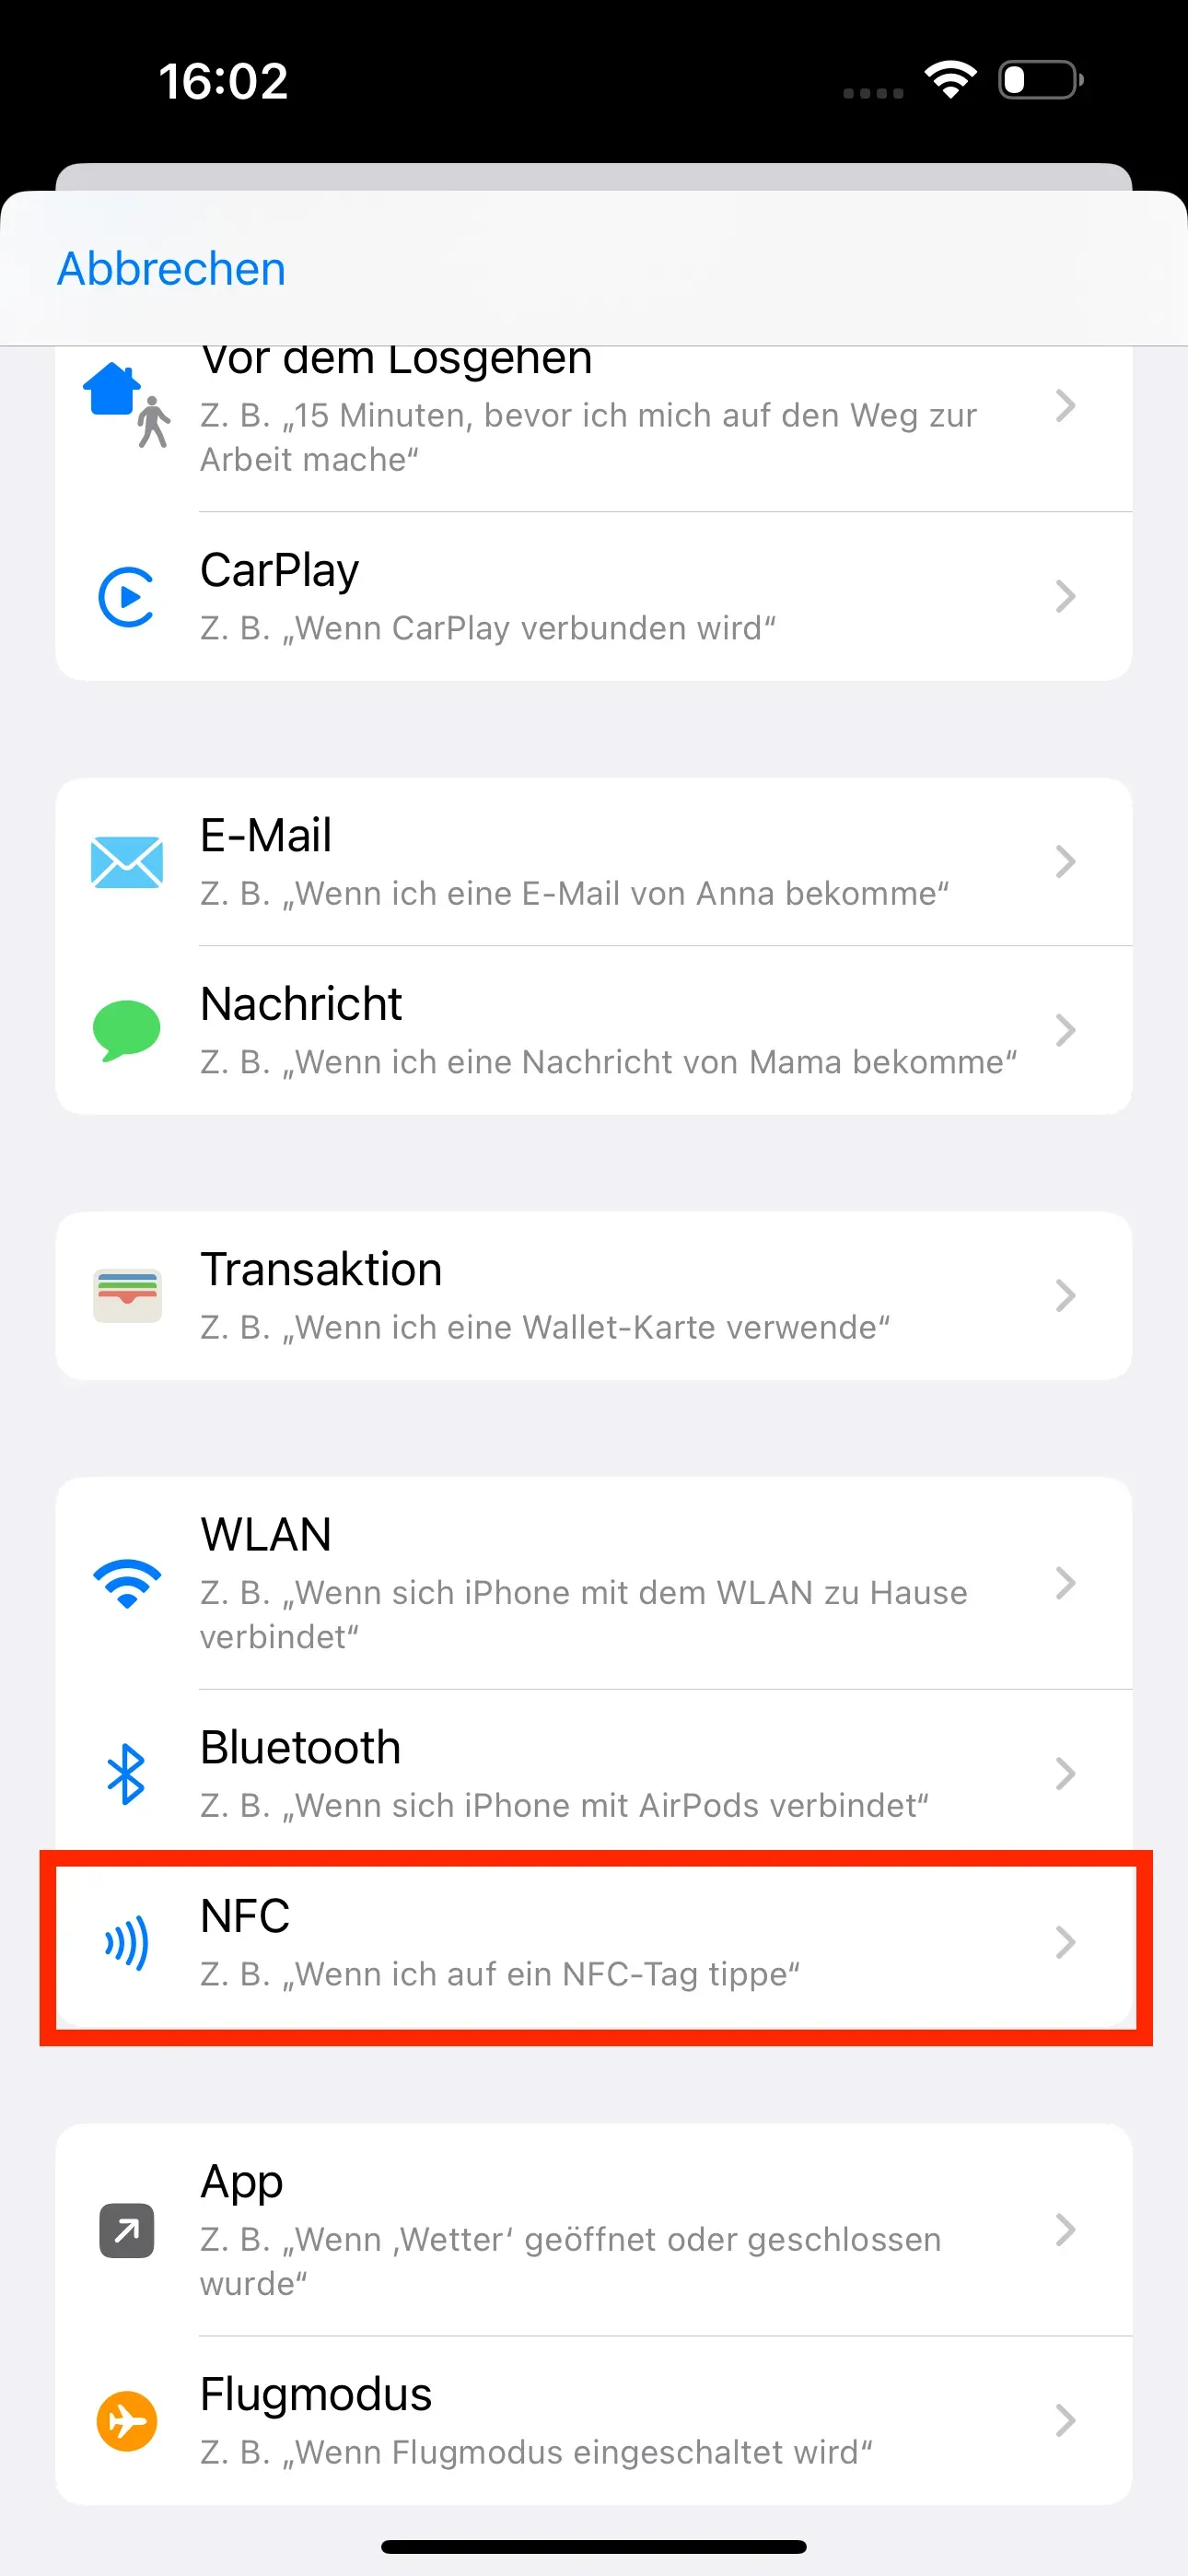
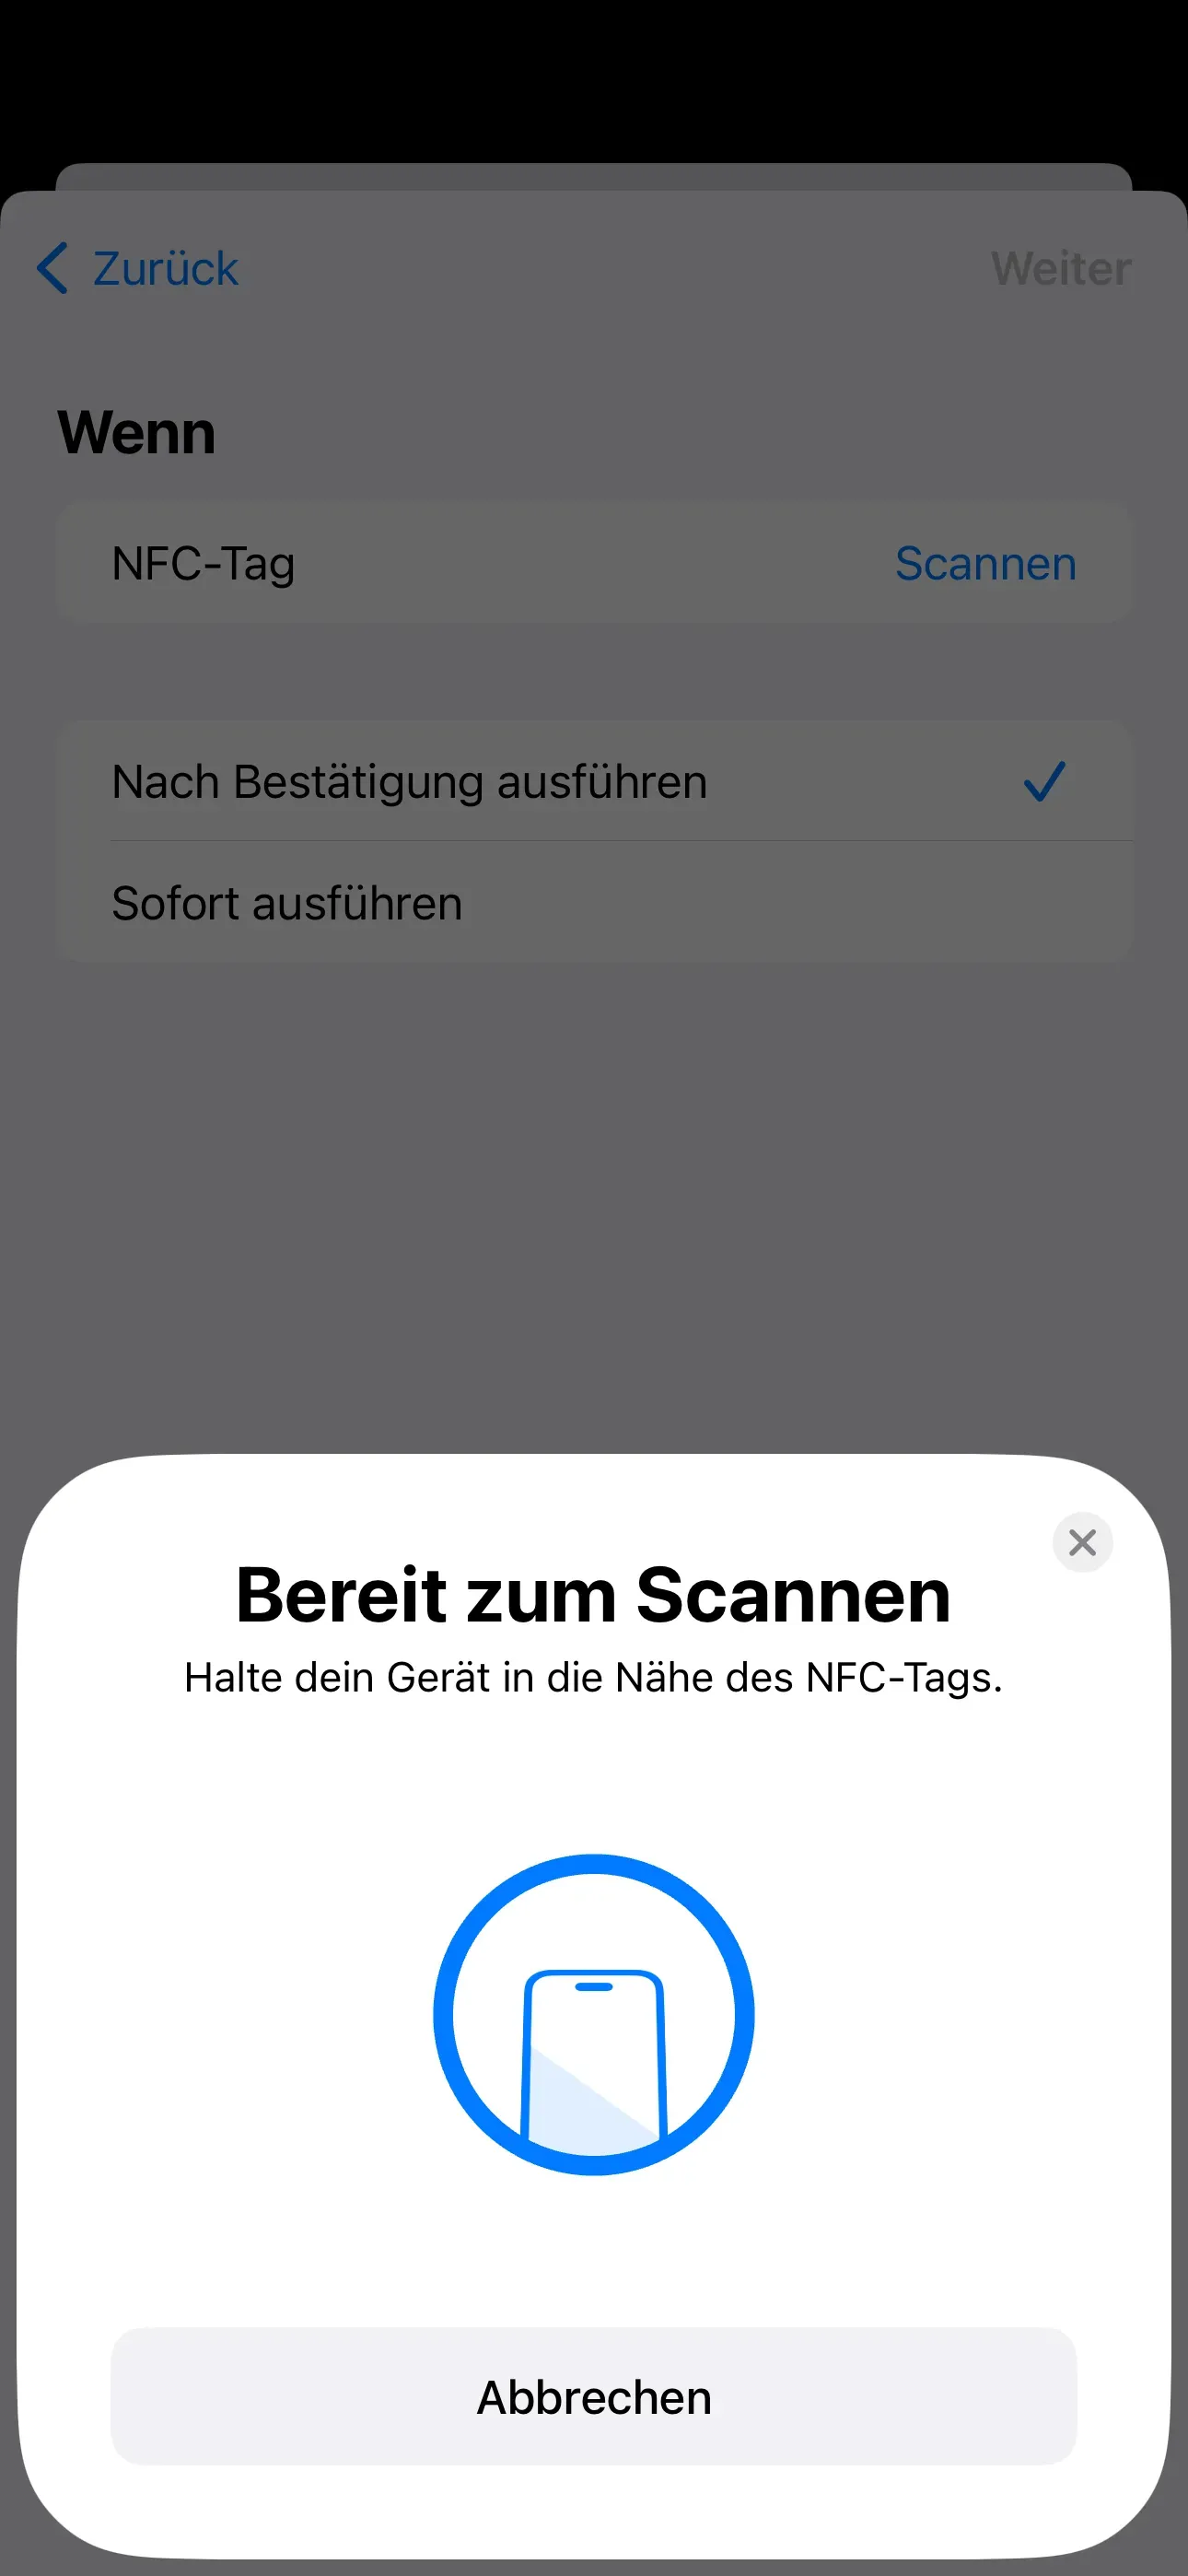
Then switch to the Automation tab at the bottom right. Then tap on New Automation. In the new Personal Automation window, scroll down and then select NFC.
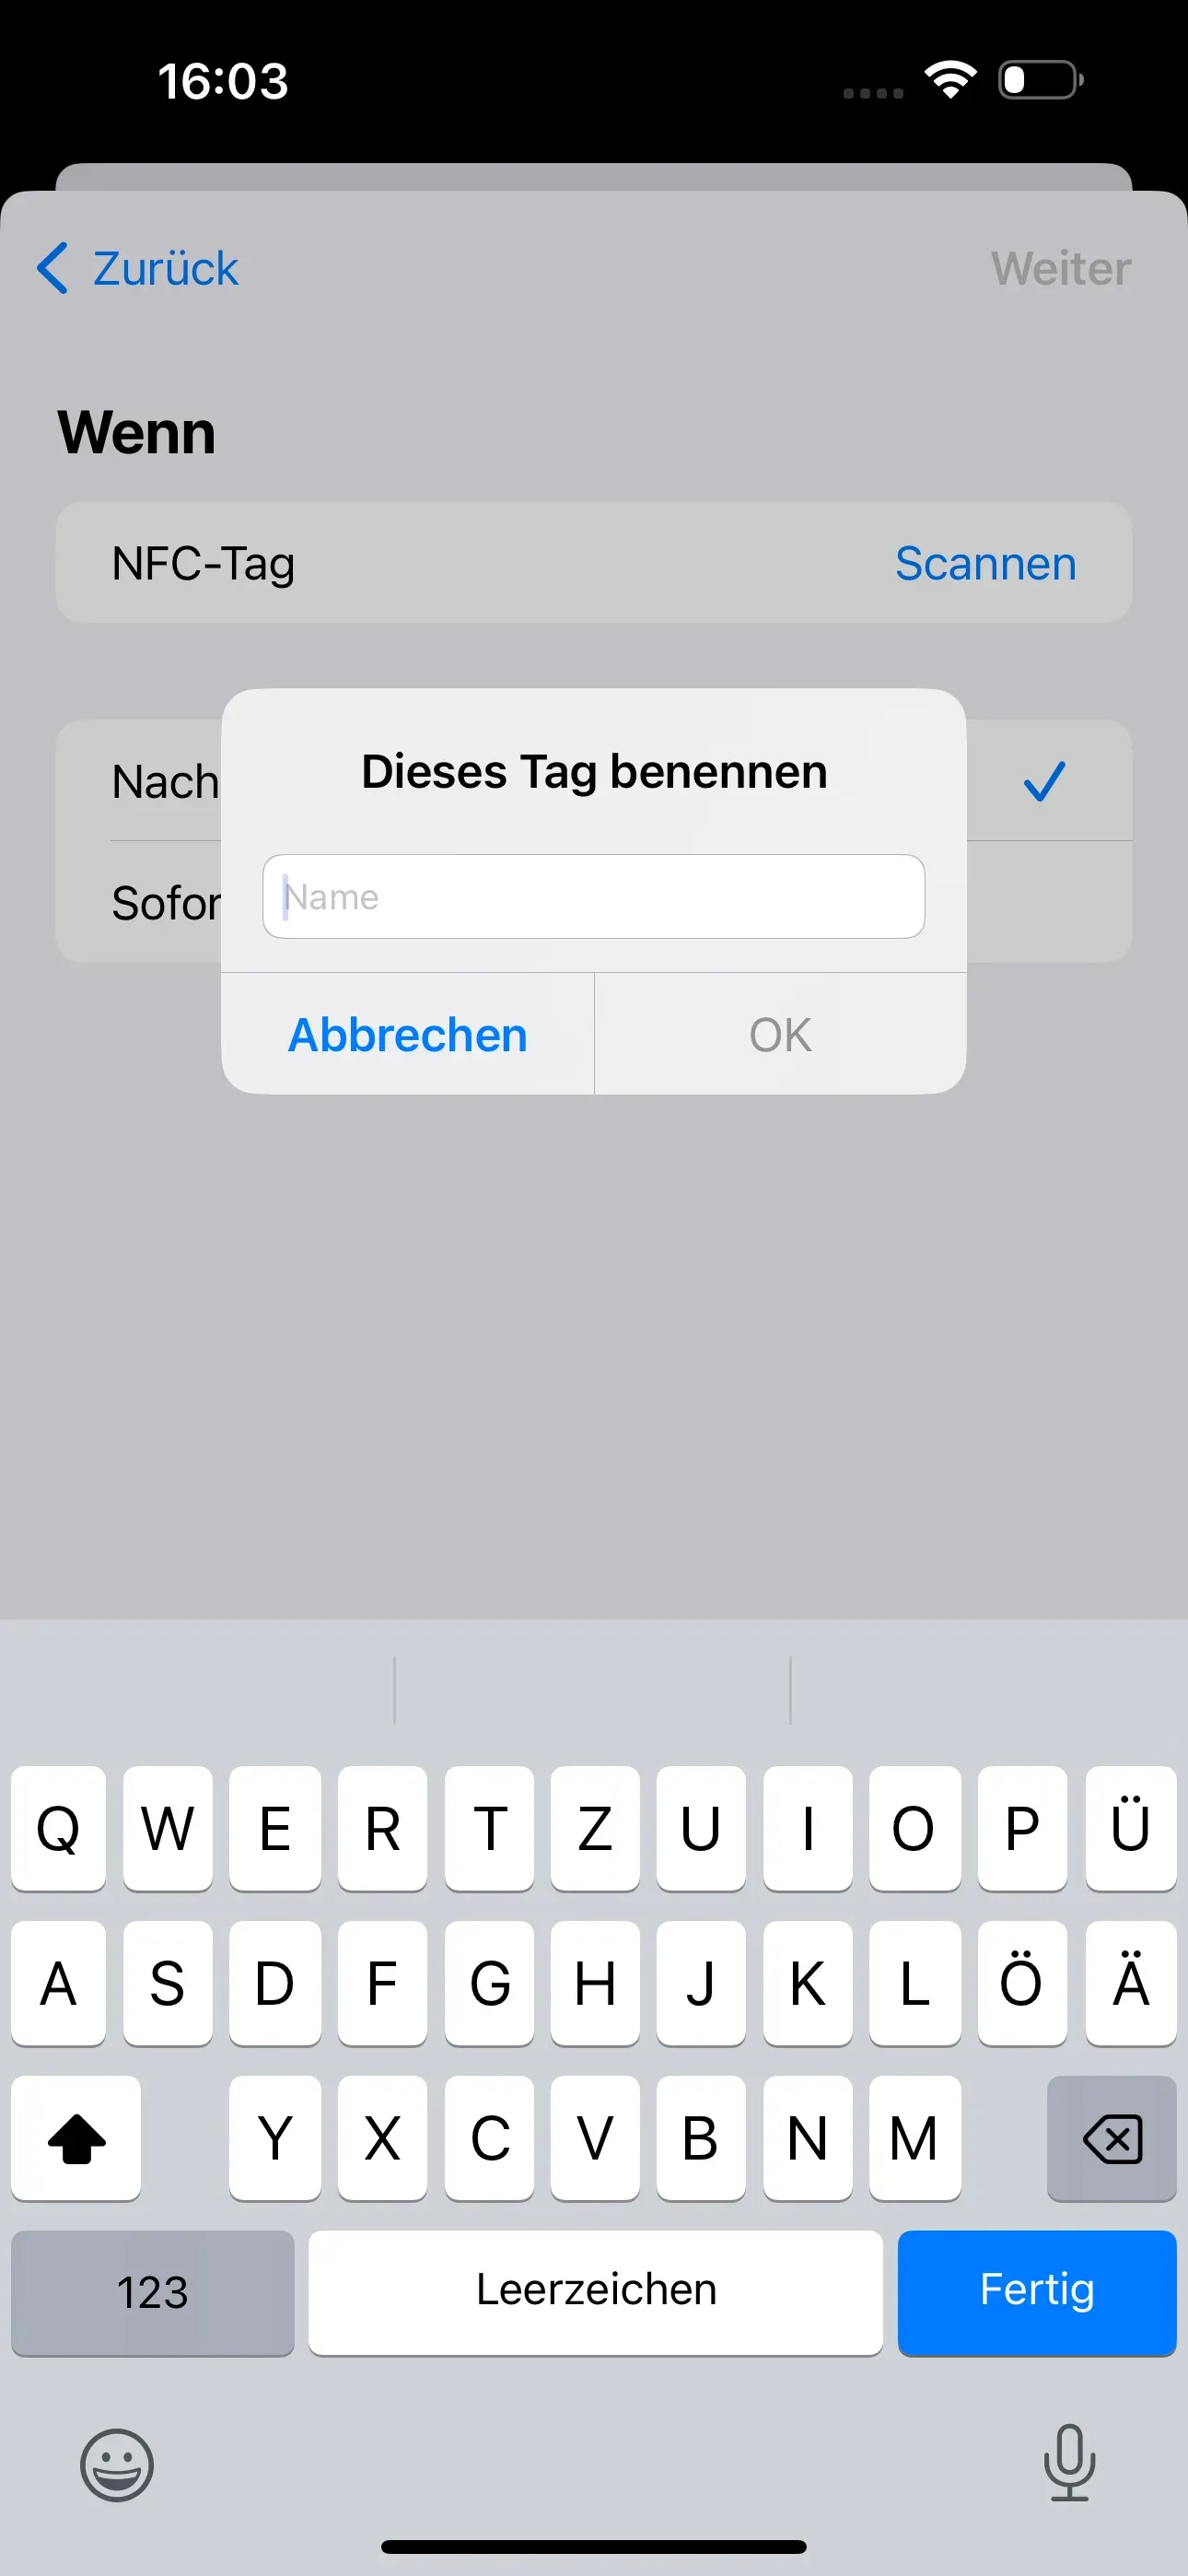
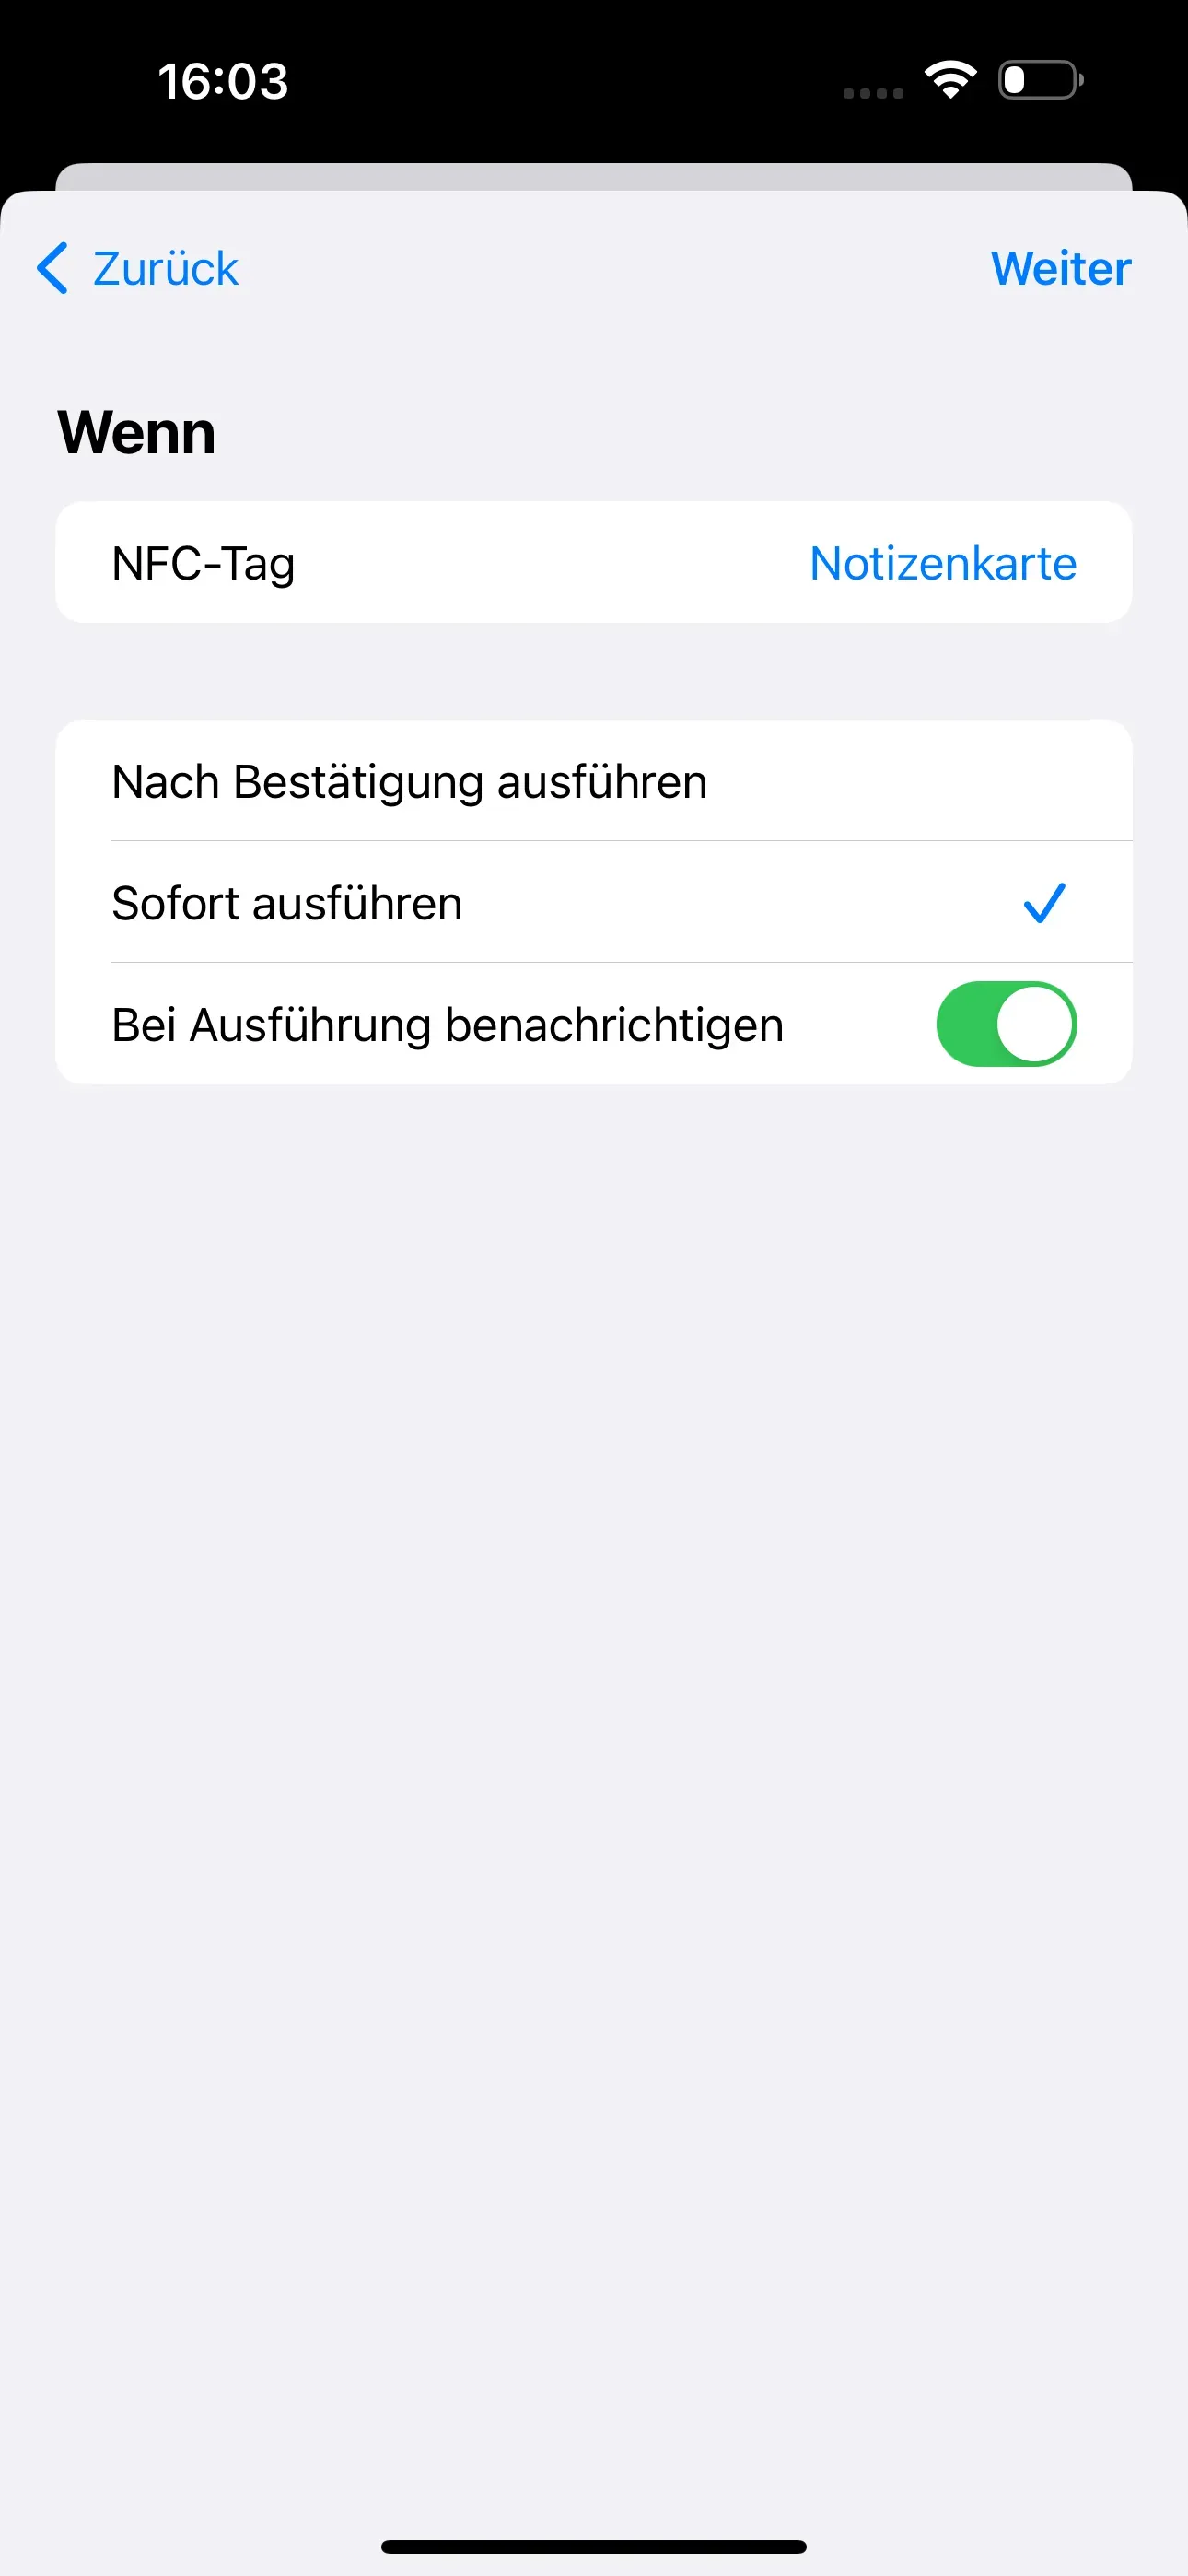
Via pressing Scan, the empty NFC chip can then be scanned and named. We named the scanned NFC chip Note card. Also select Execute immediately.
Then tap on Ok.
Preparing an automation: Creating a note
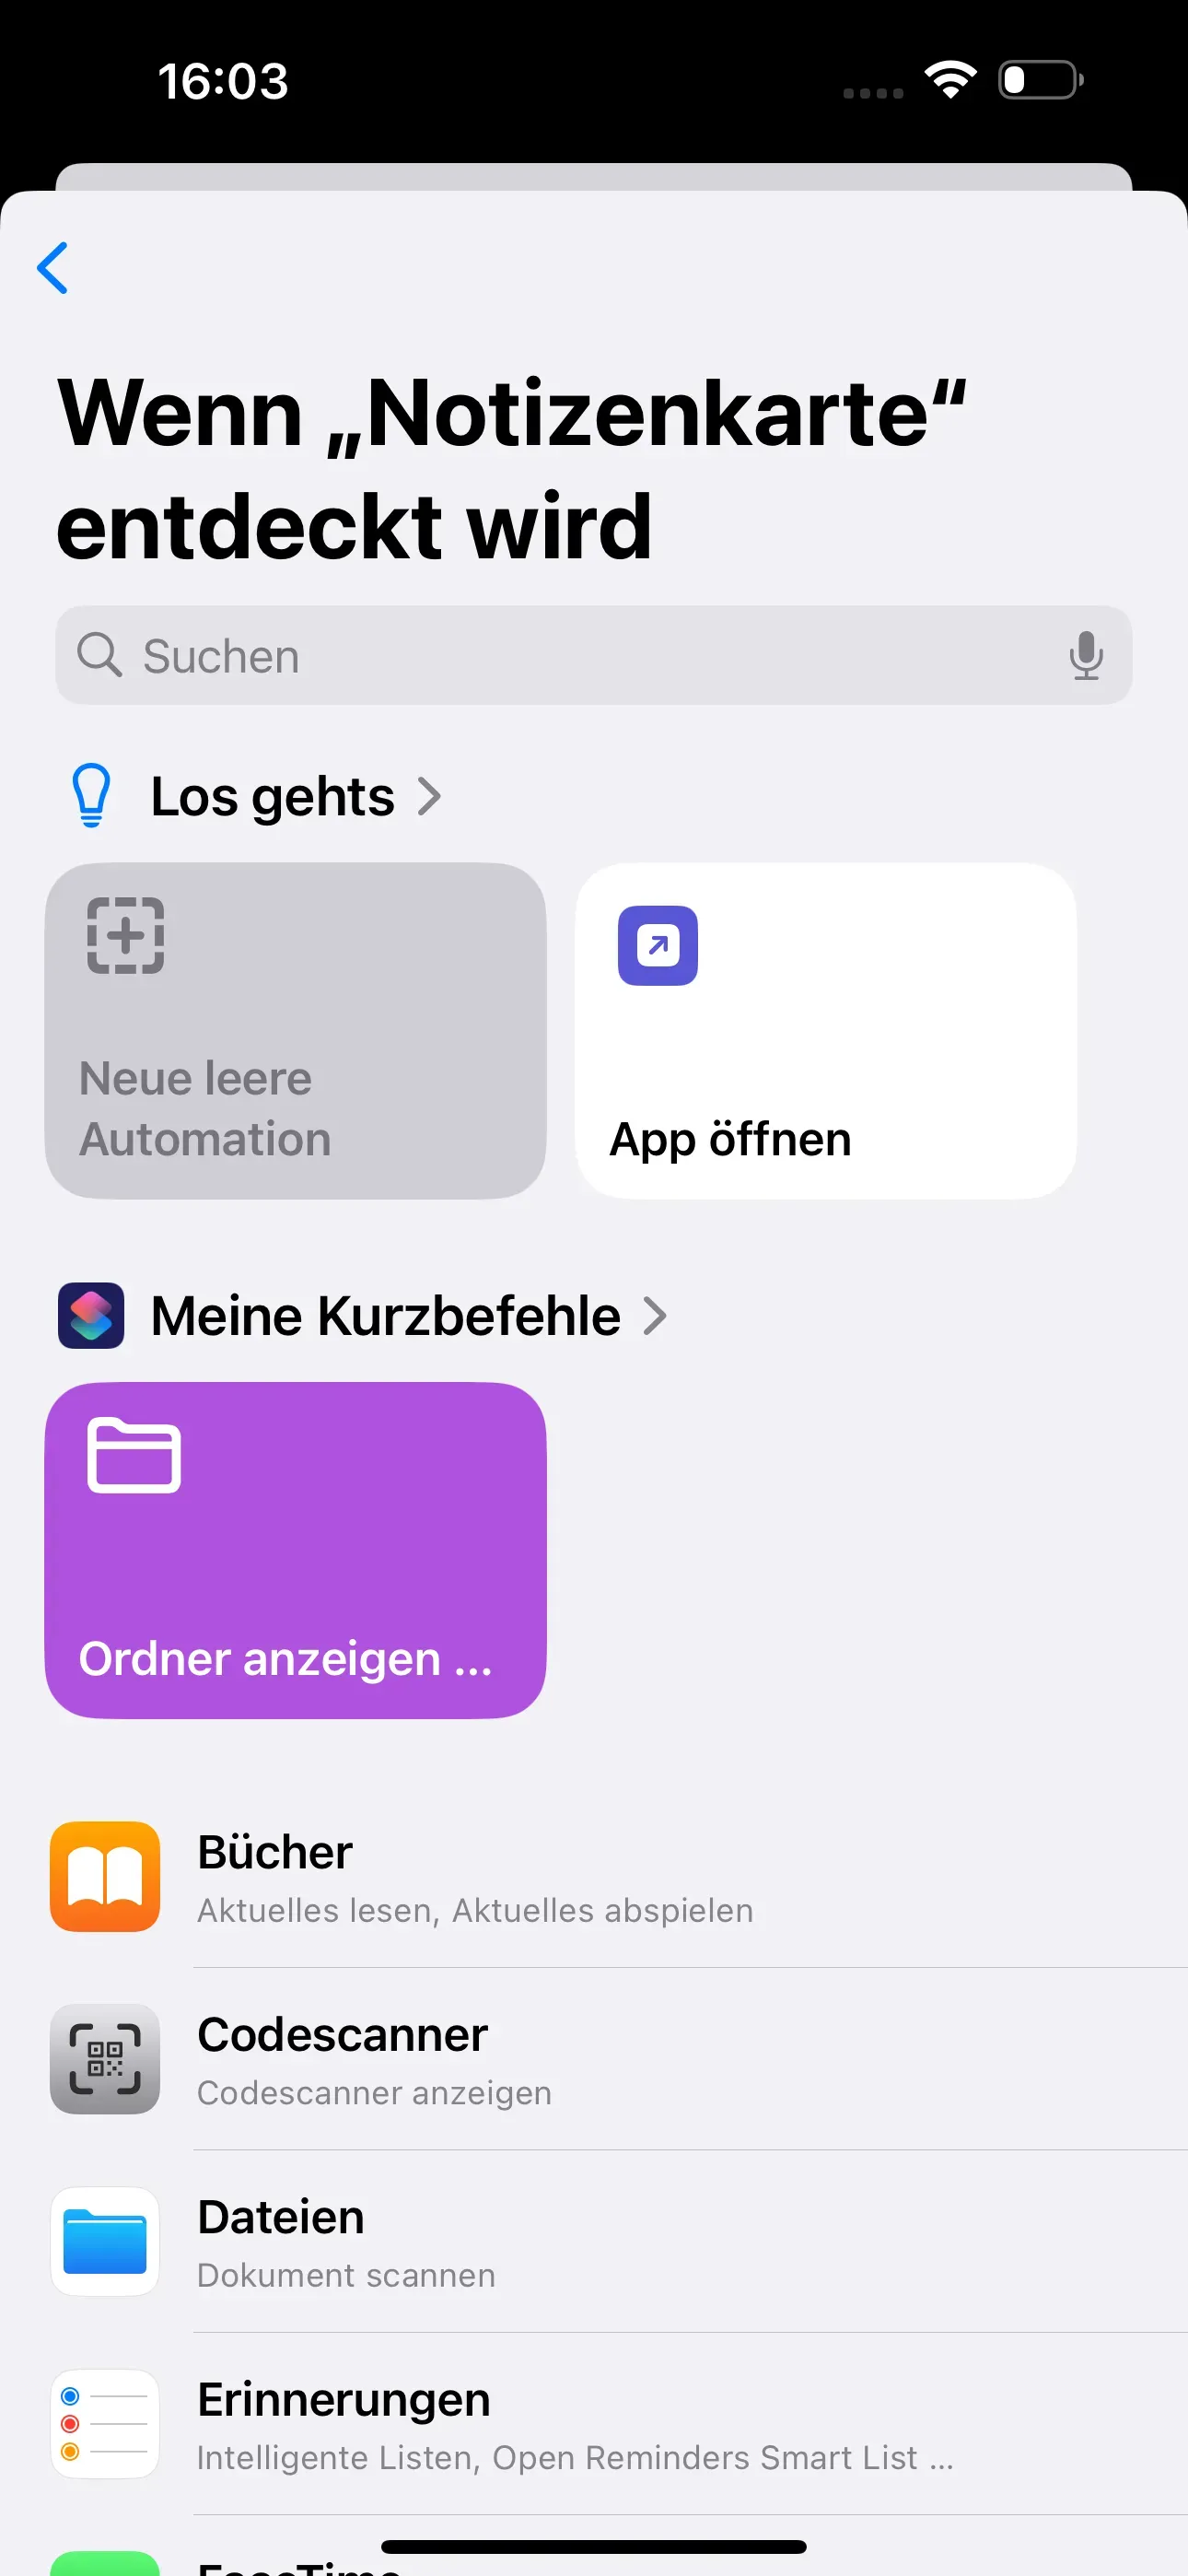
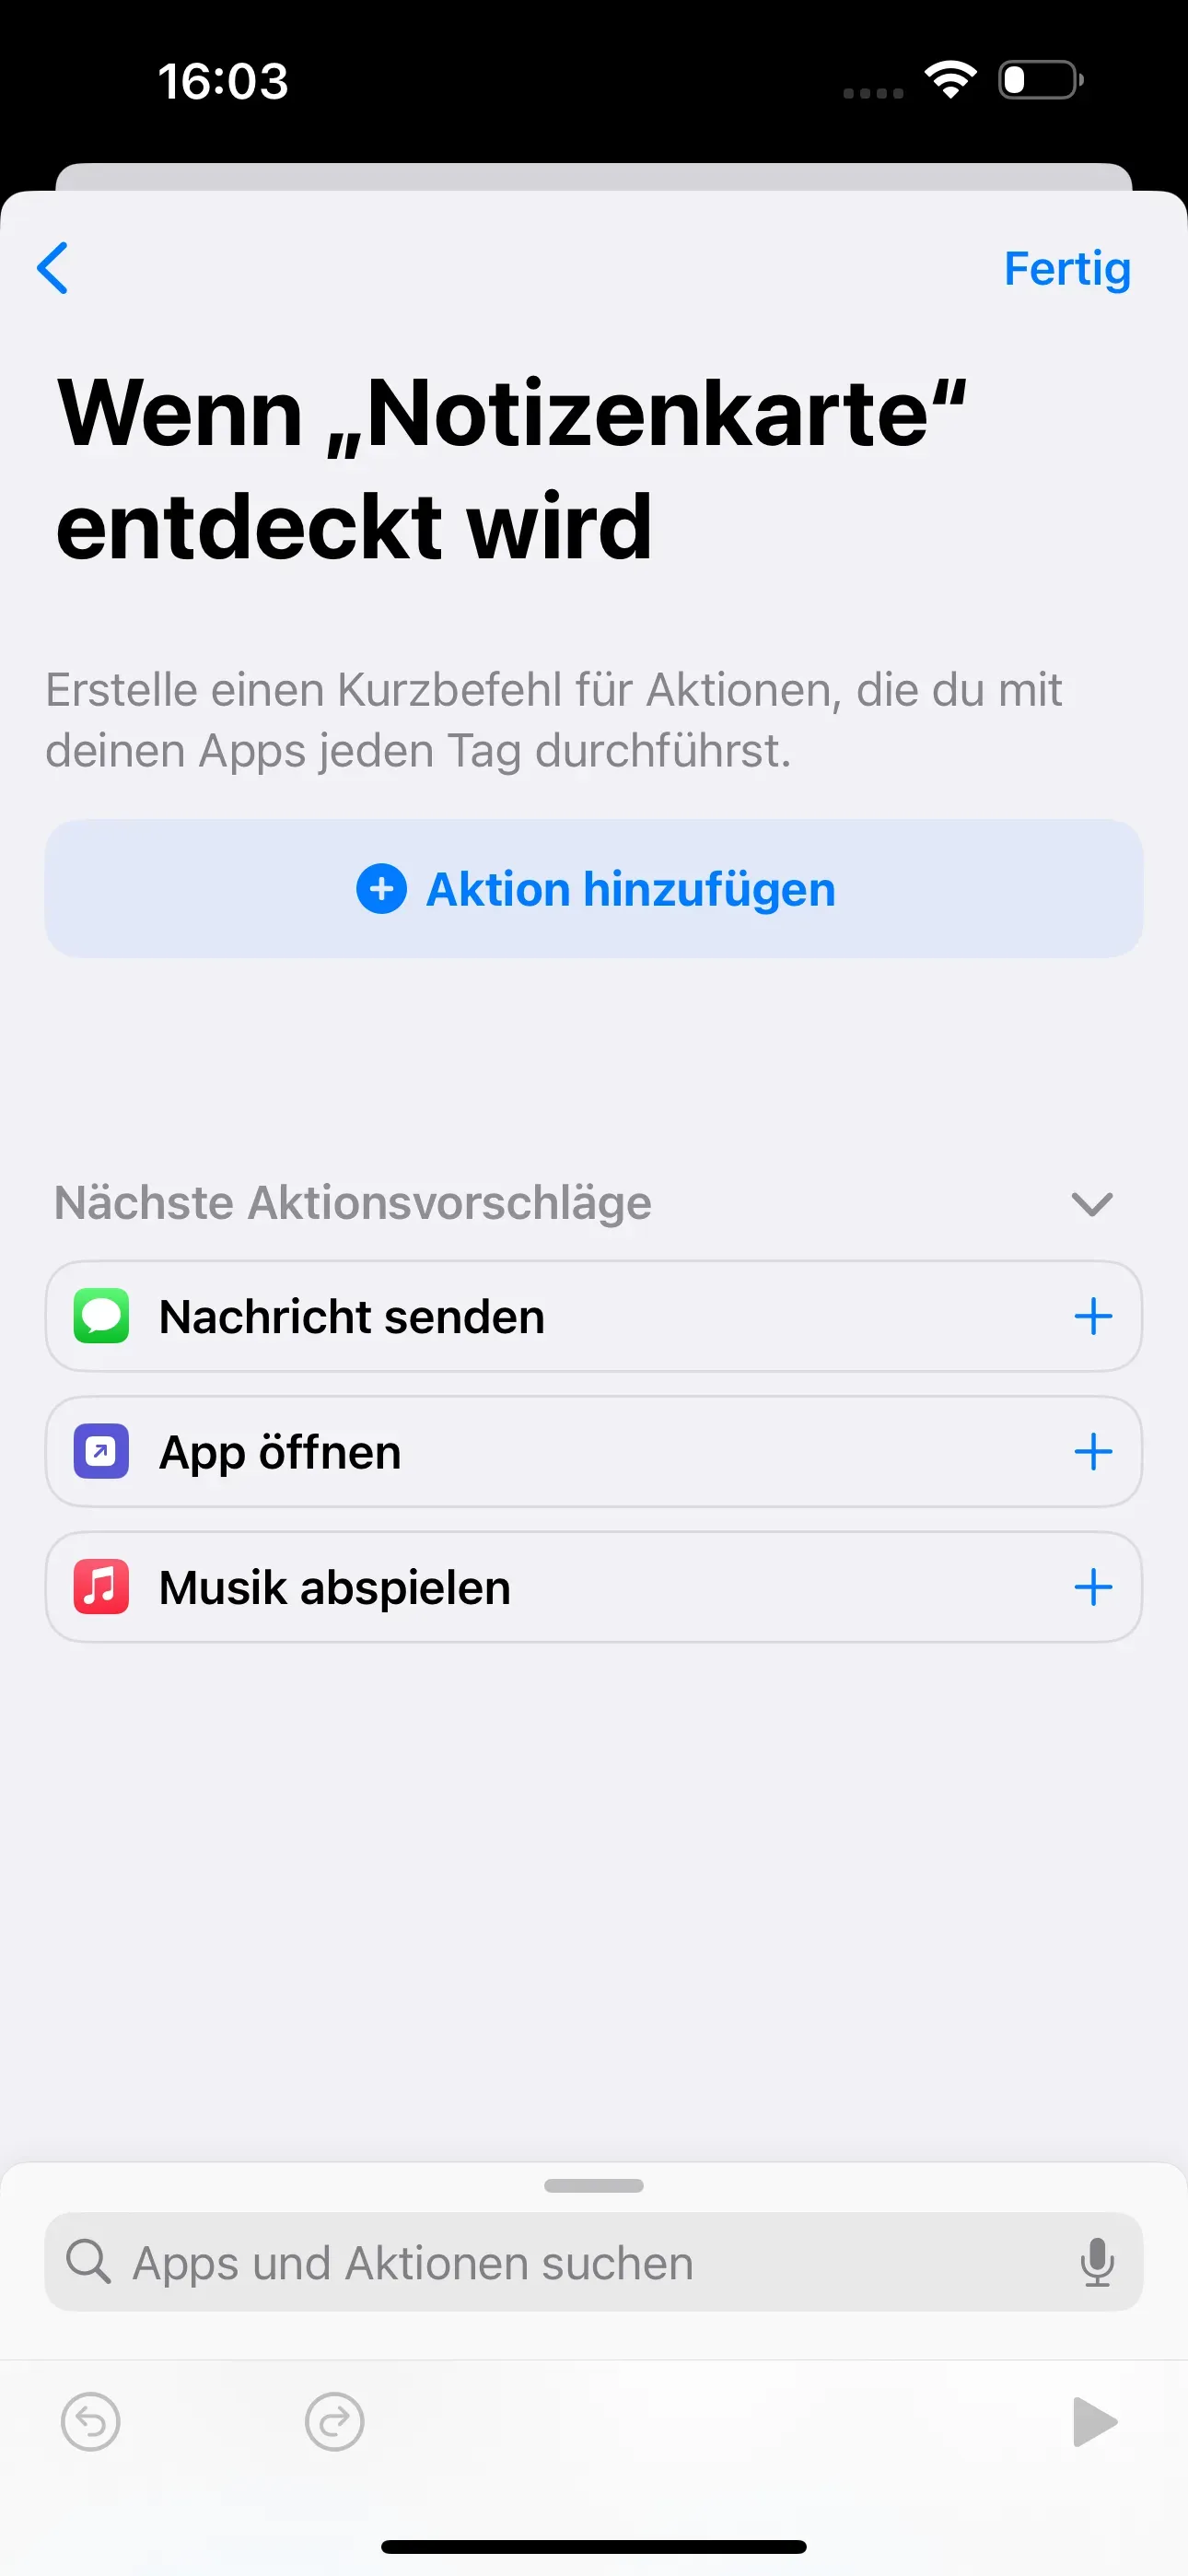
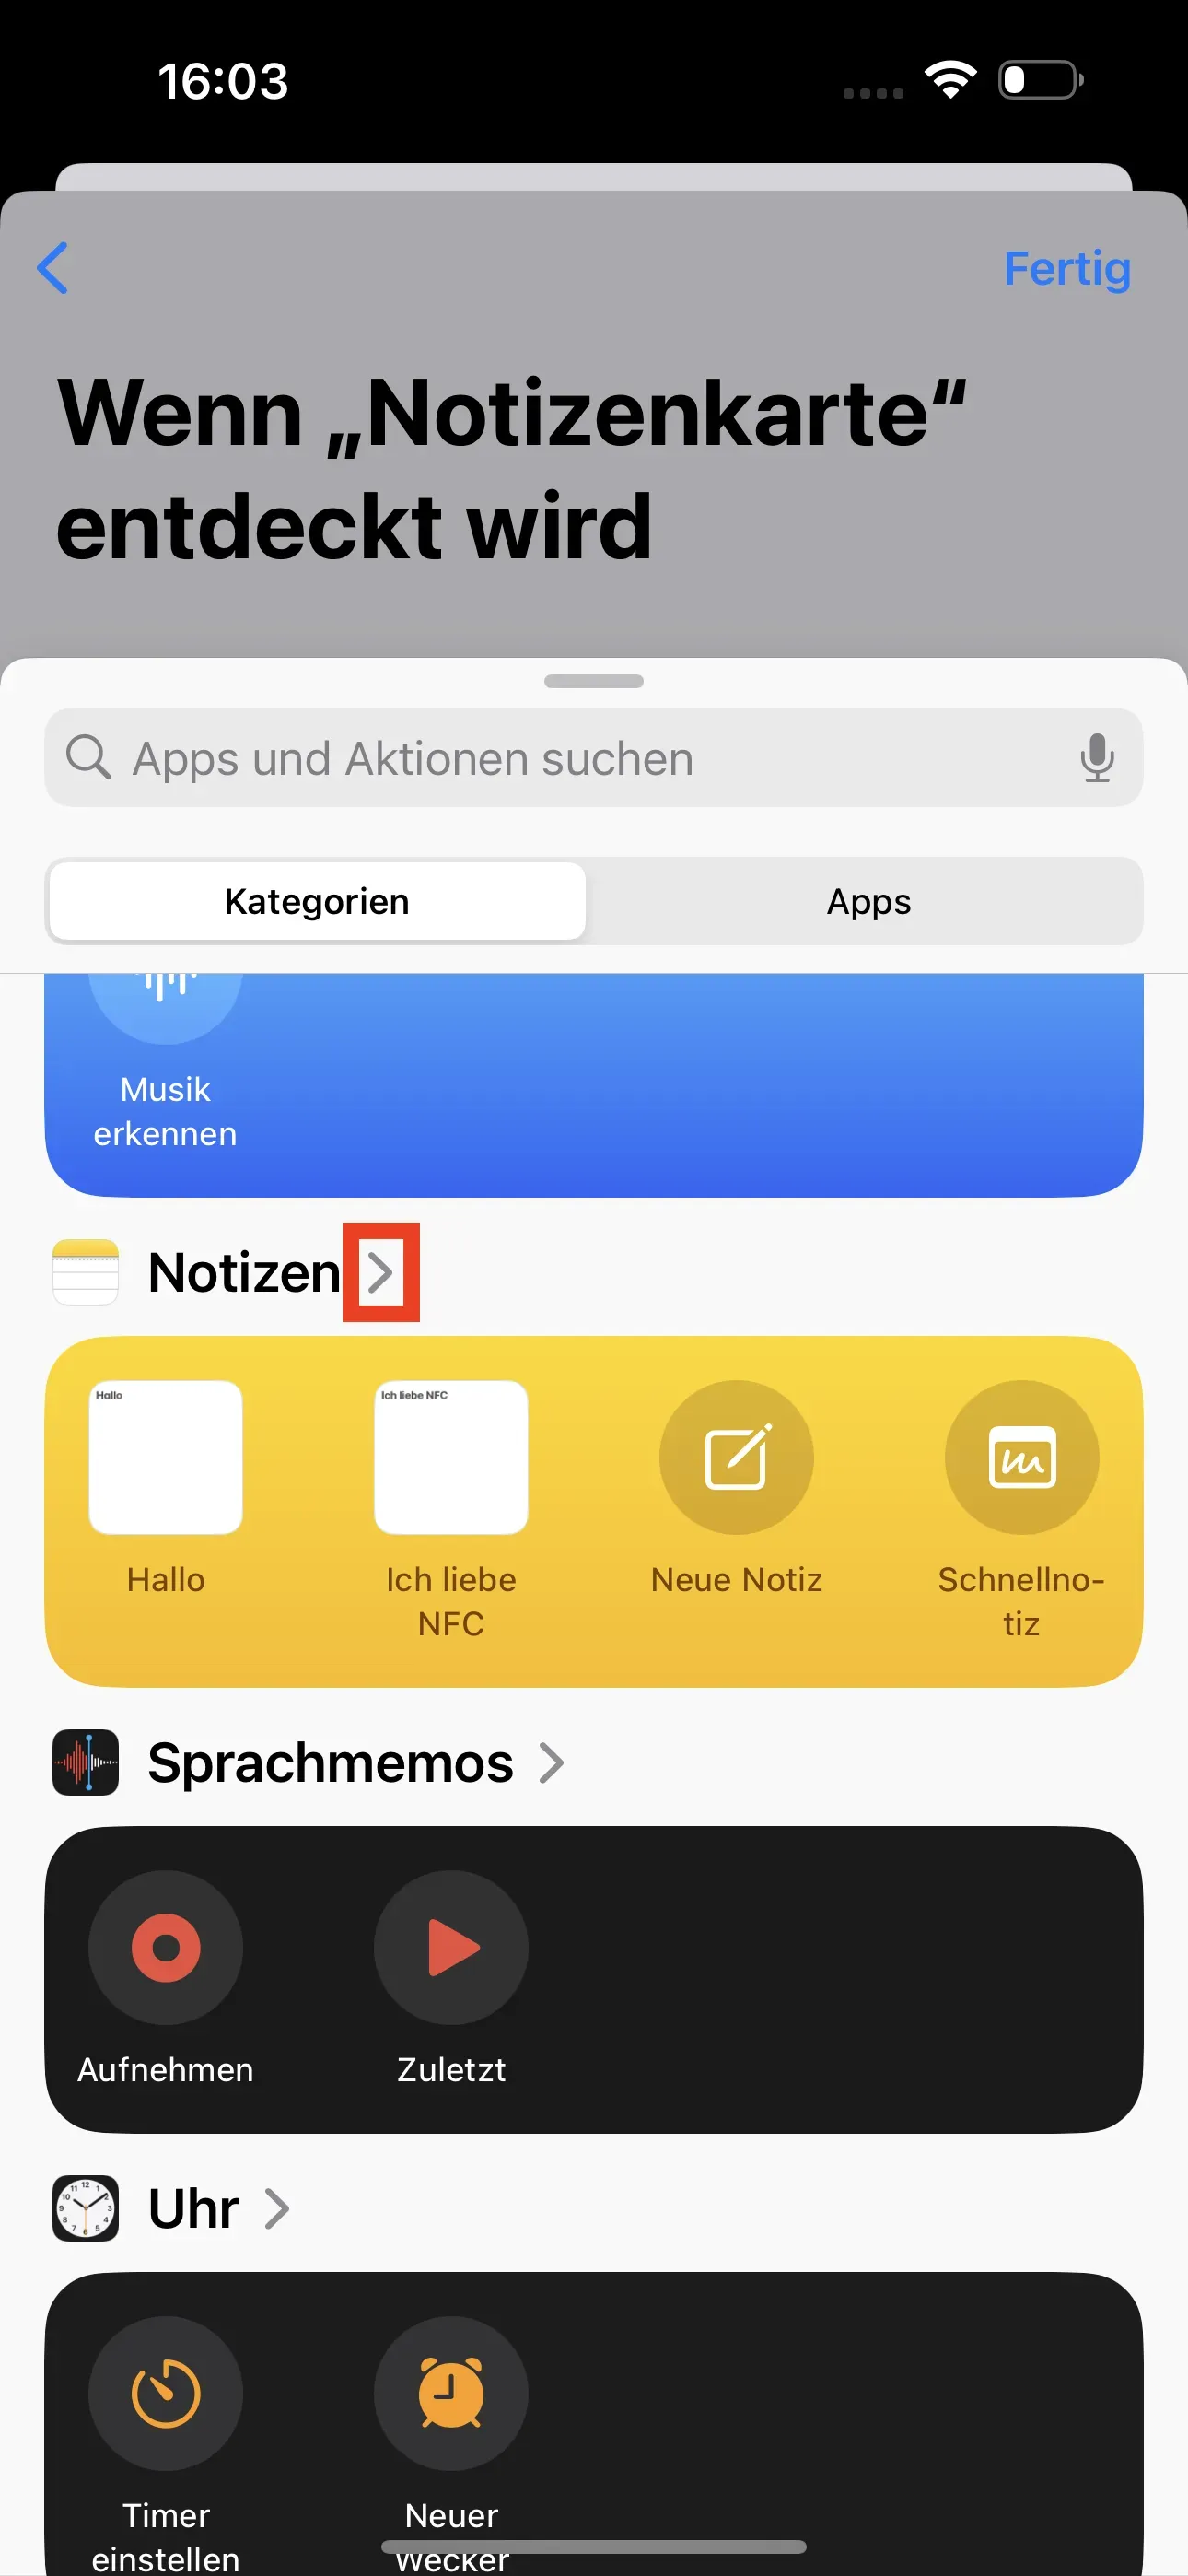
The When note card is detected window then opens. Go to New empty automation and tap Add action in the next window. Now scroll down to the Notes category and tap on the small arrow >.
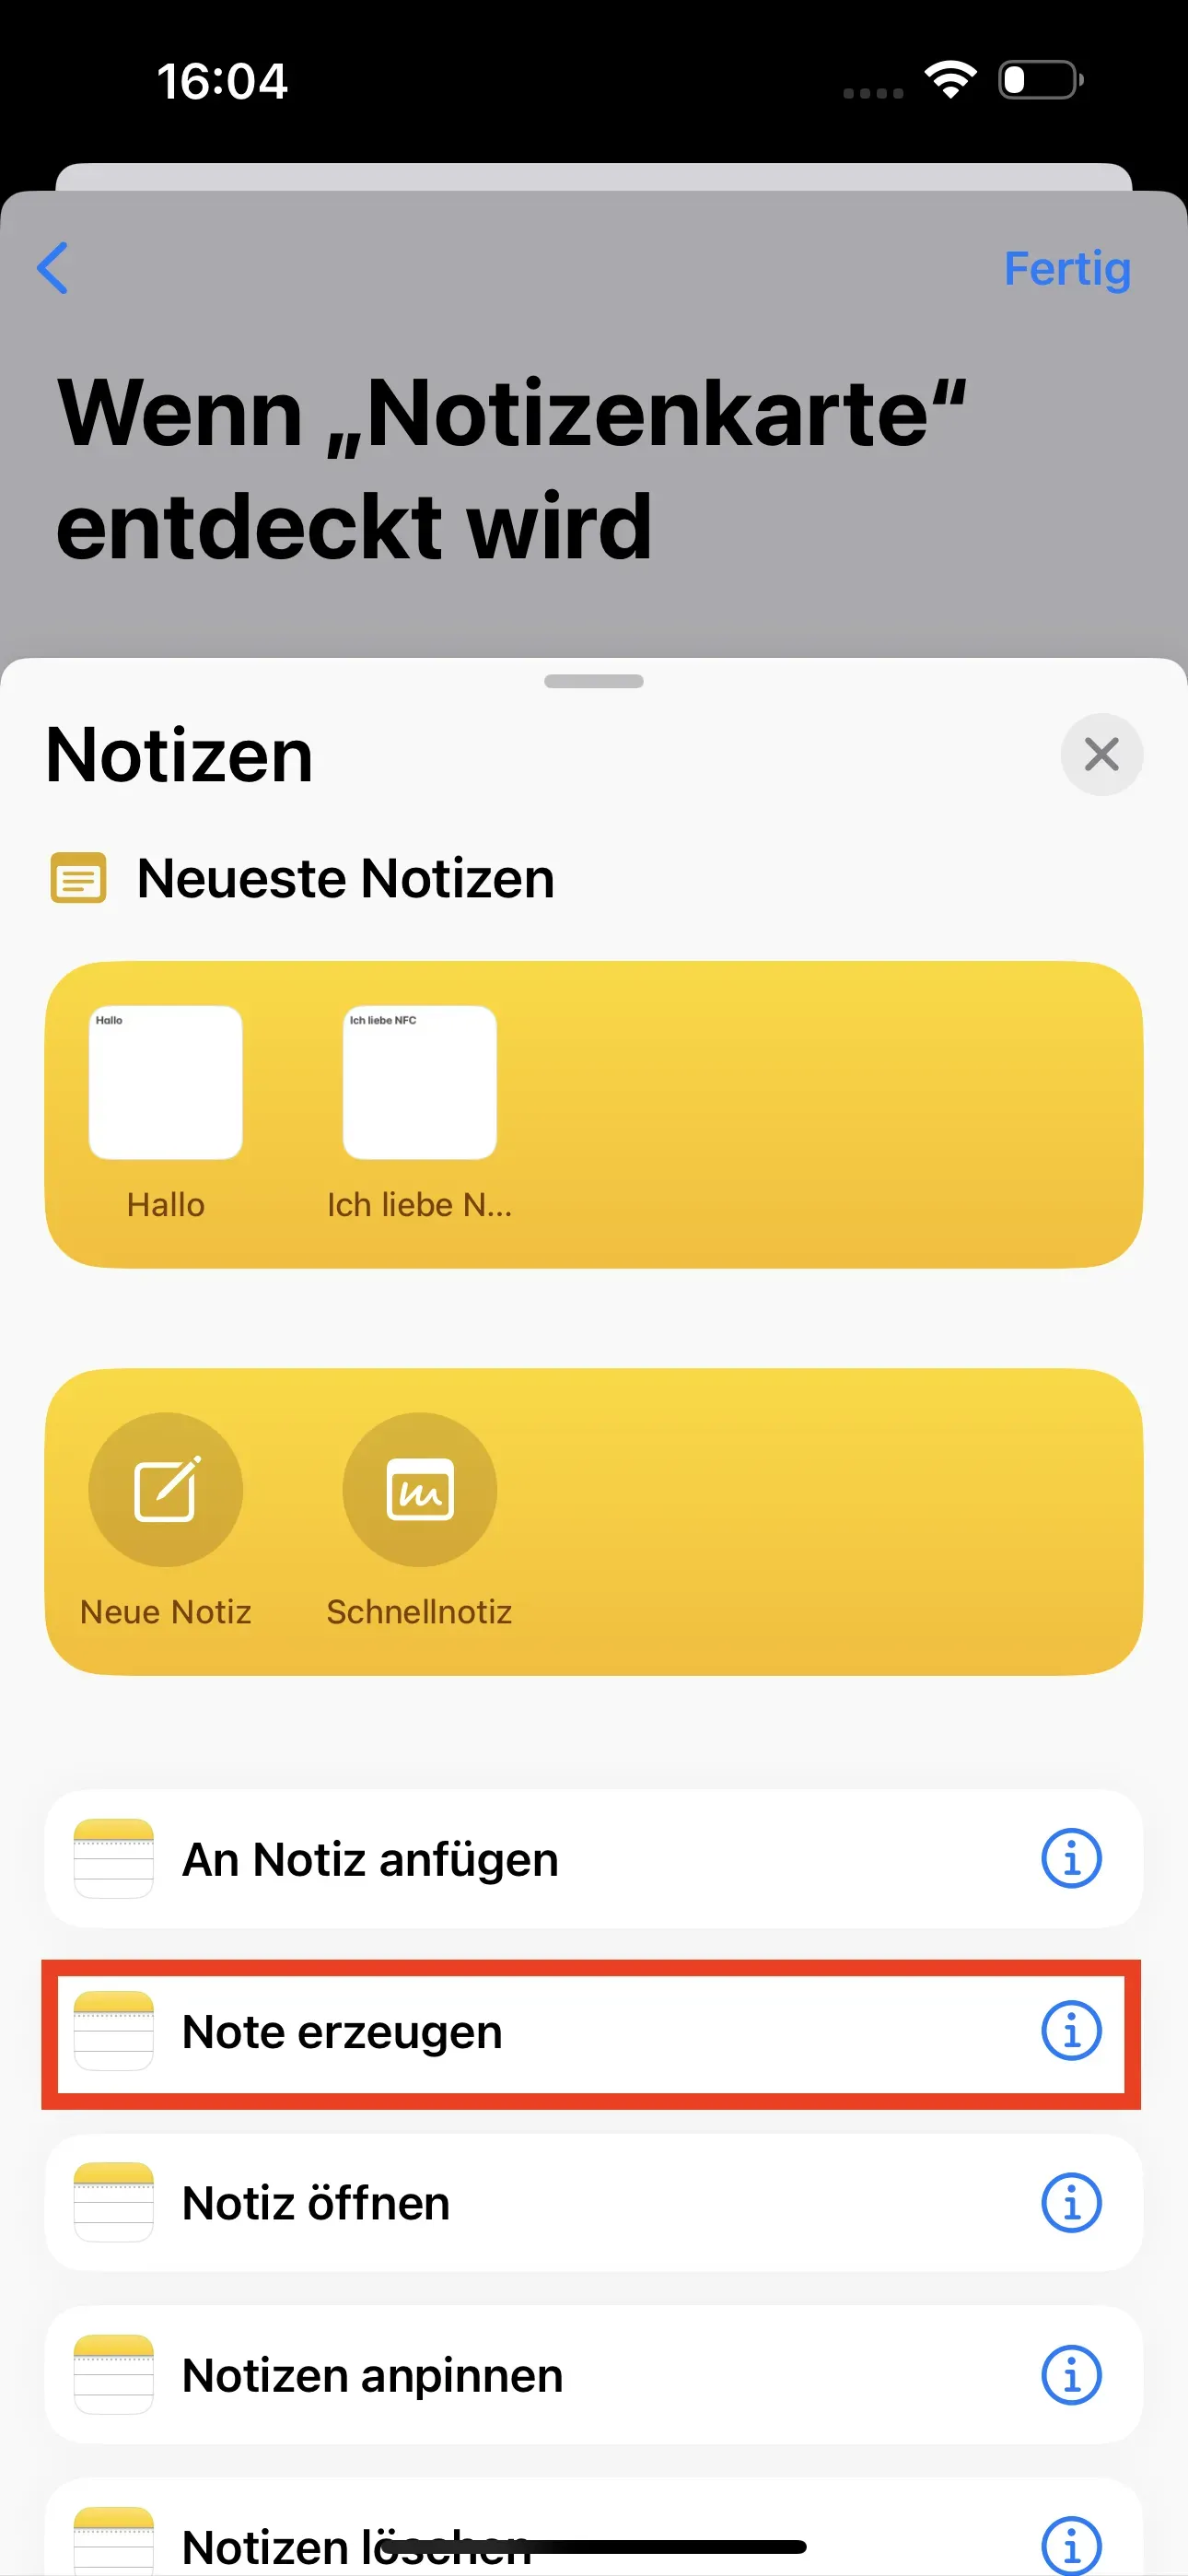
Select Create note in the new window.
The automation is now created. Now select Done. You will now return to the start area of the app.
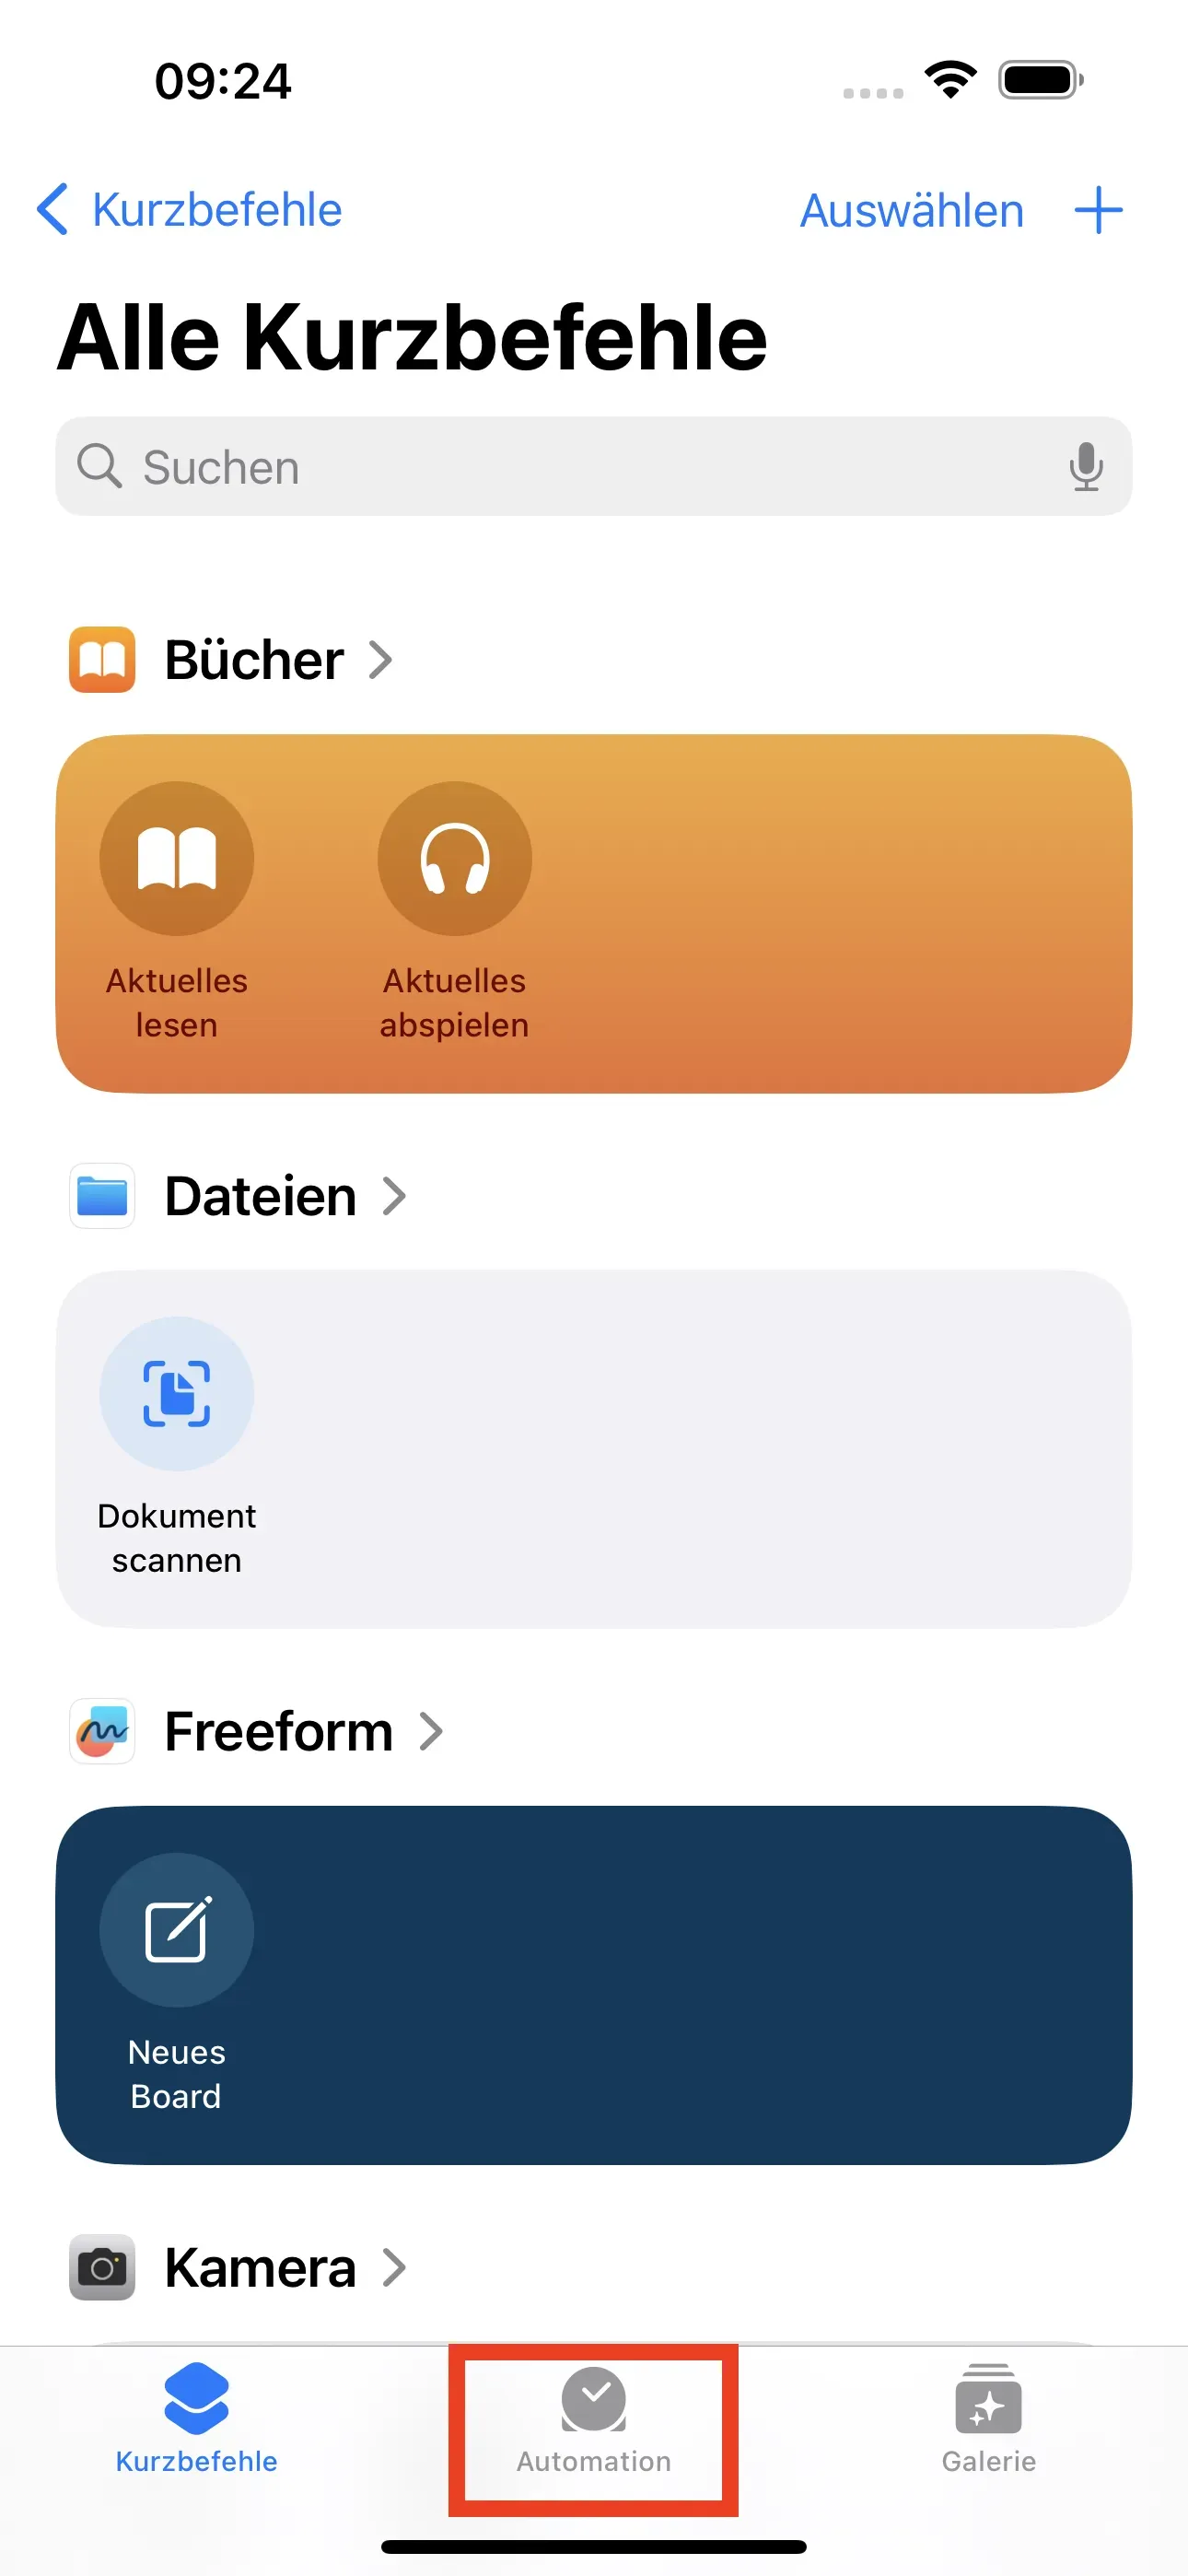
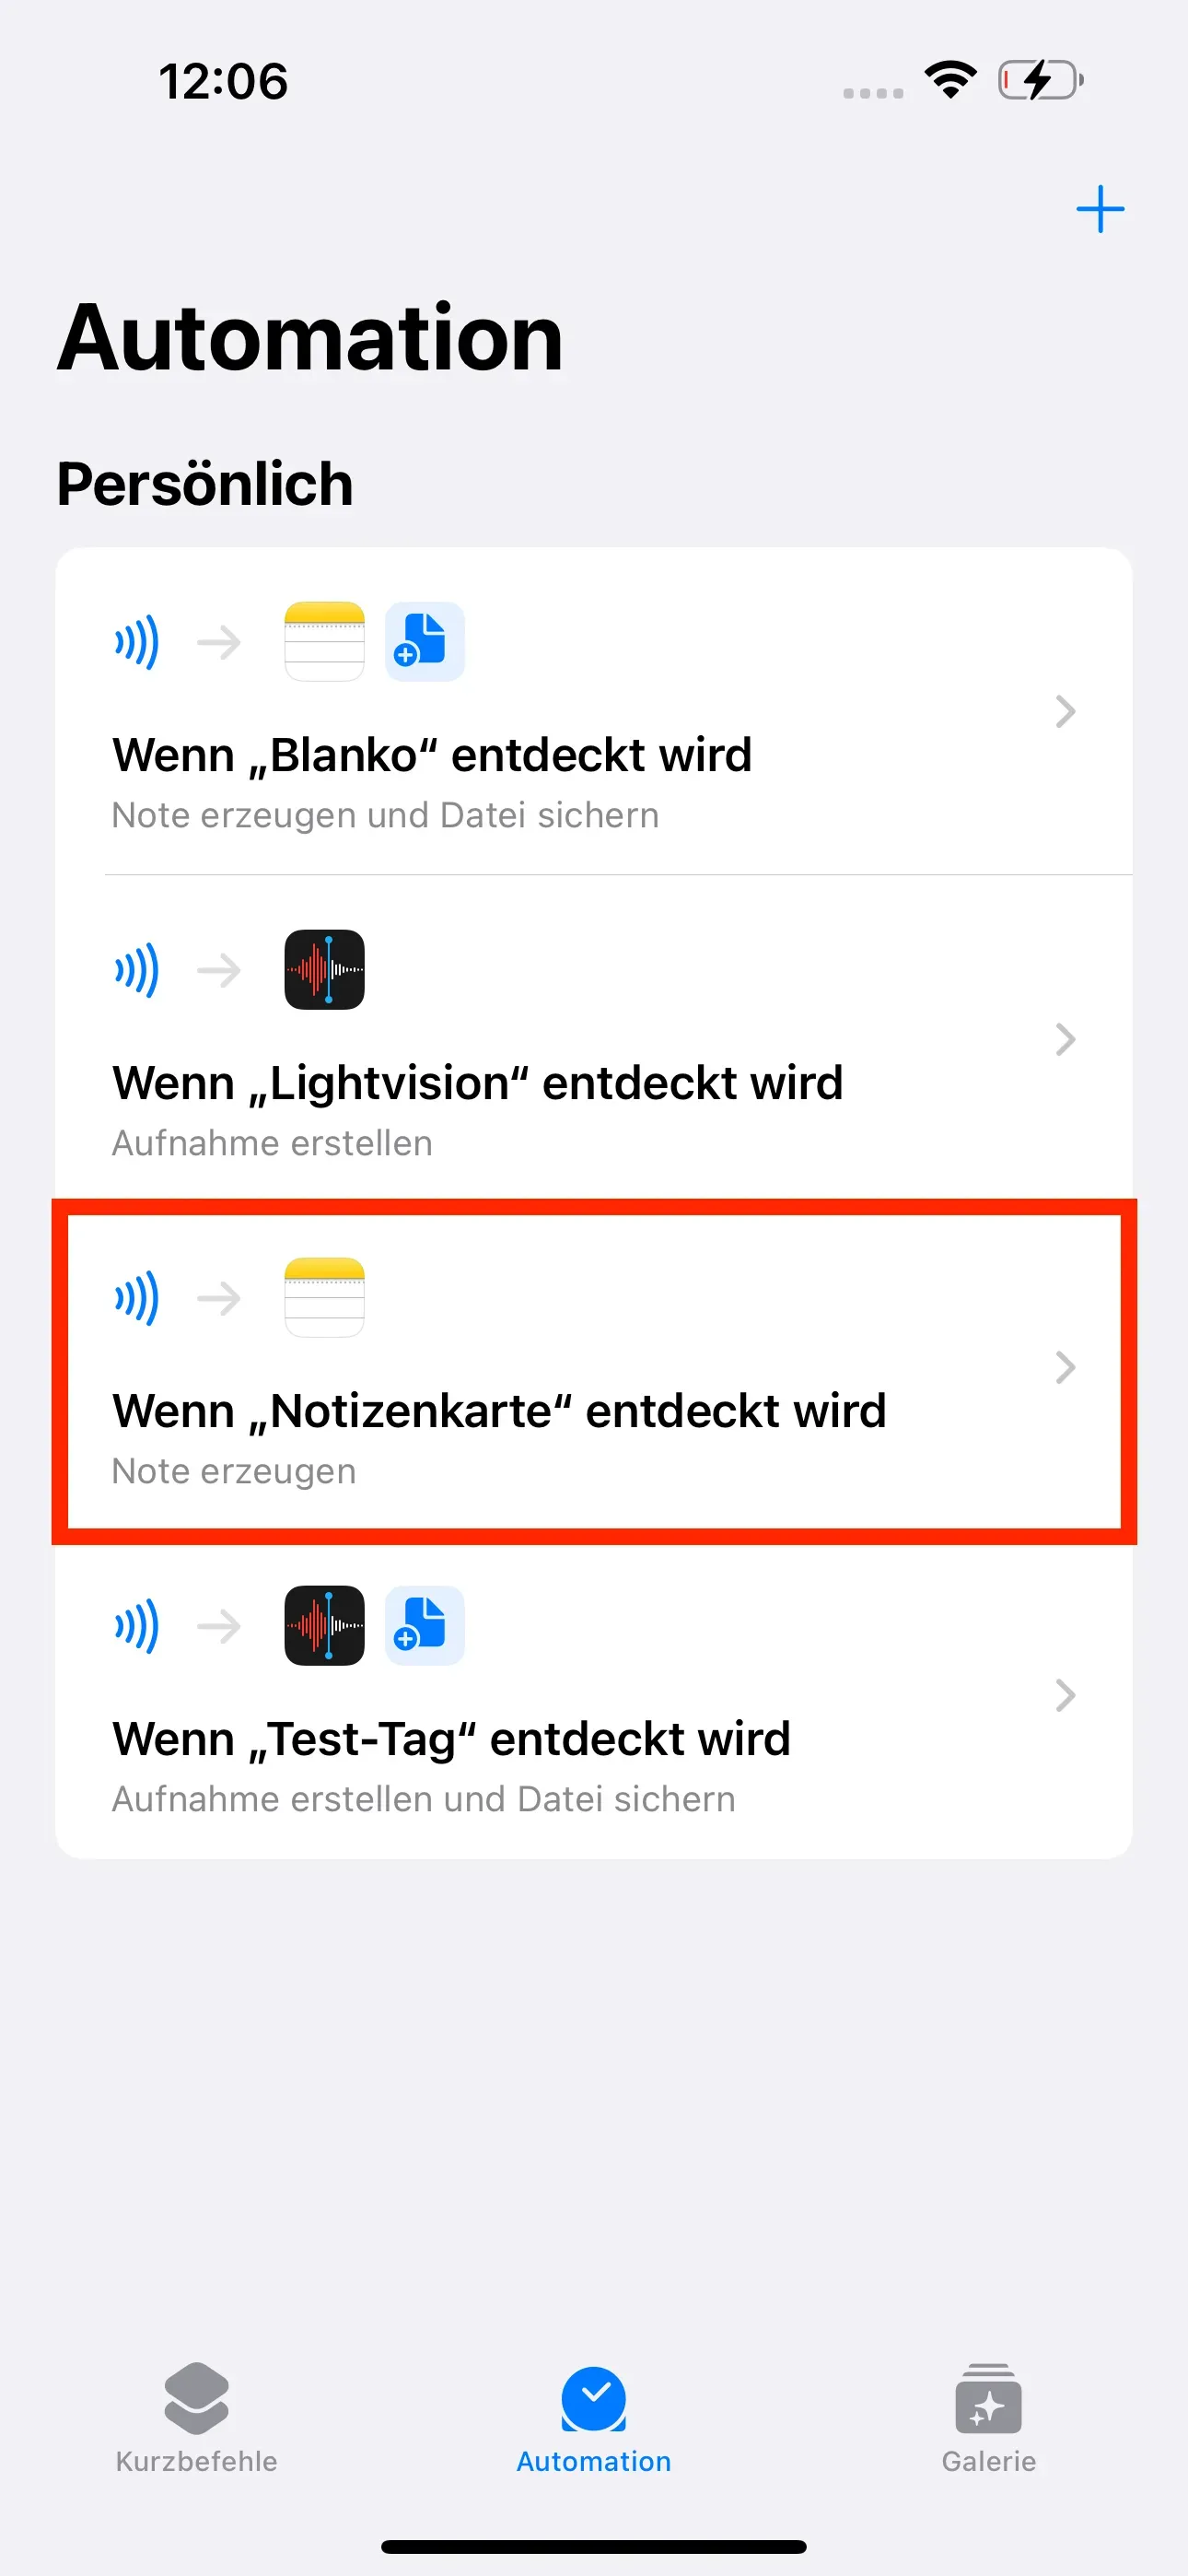
Select and open prepared automation
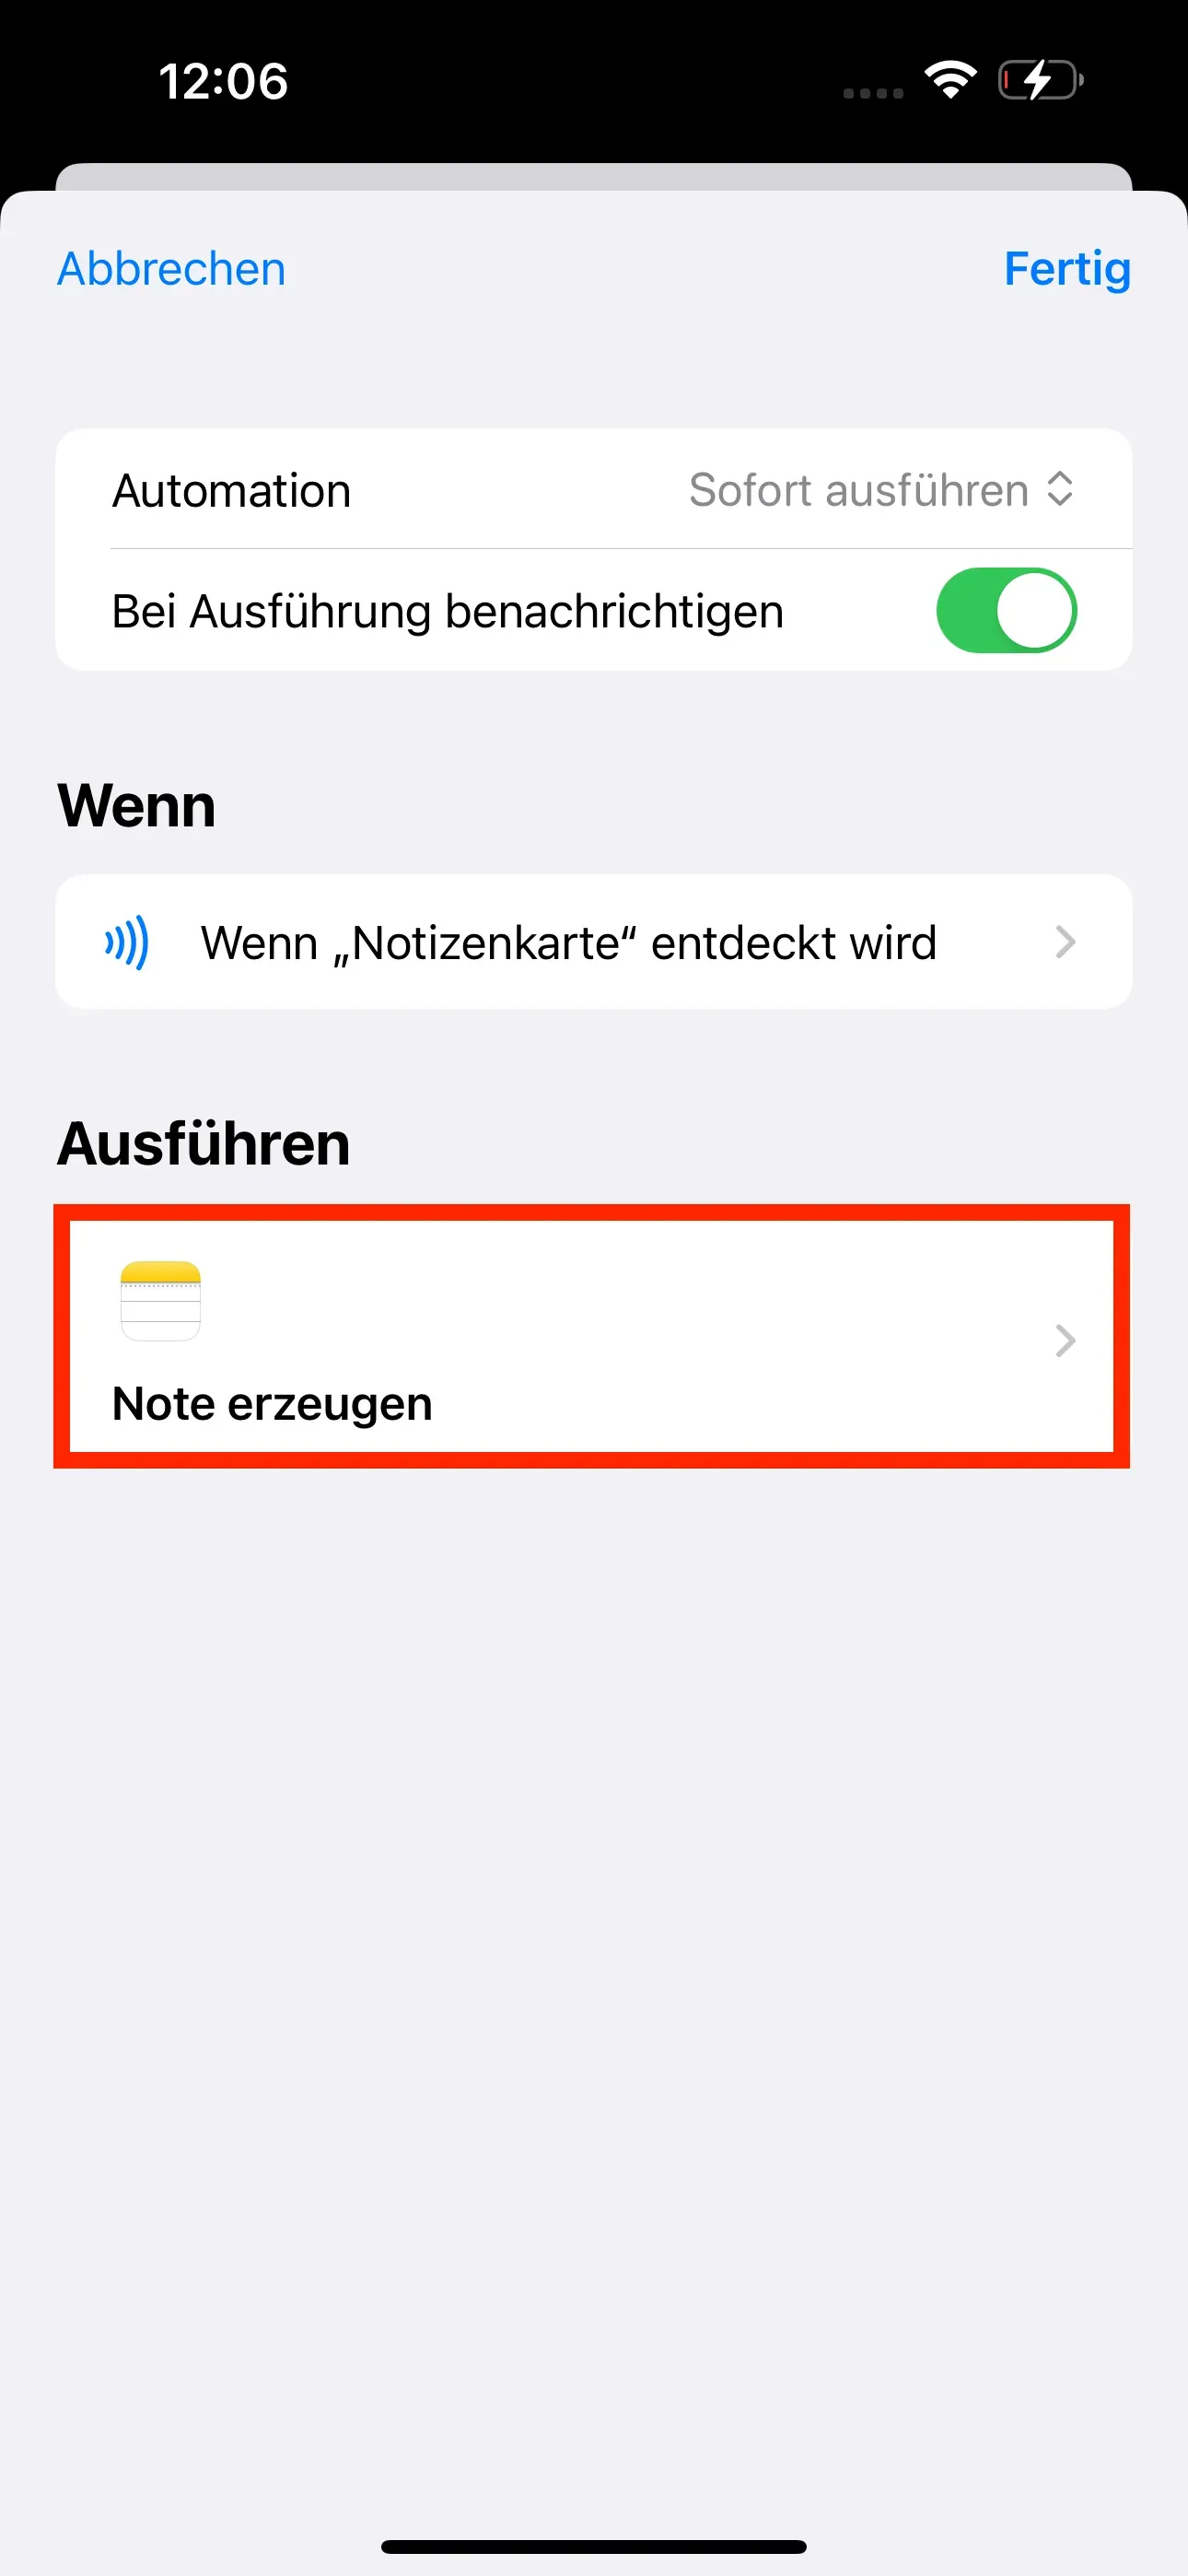
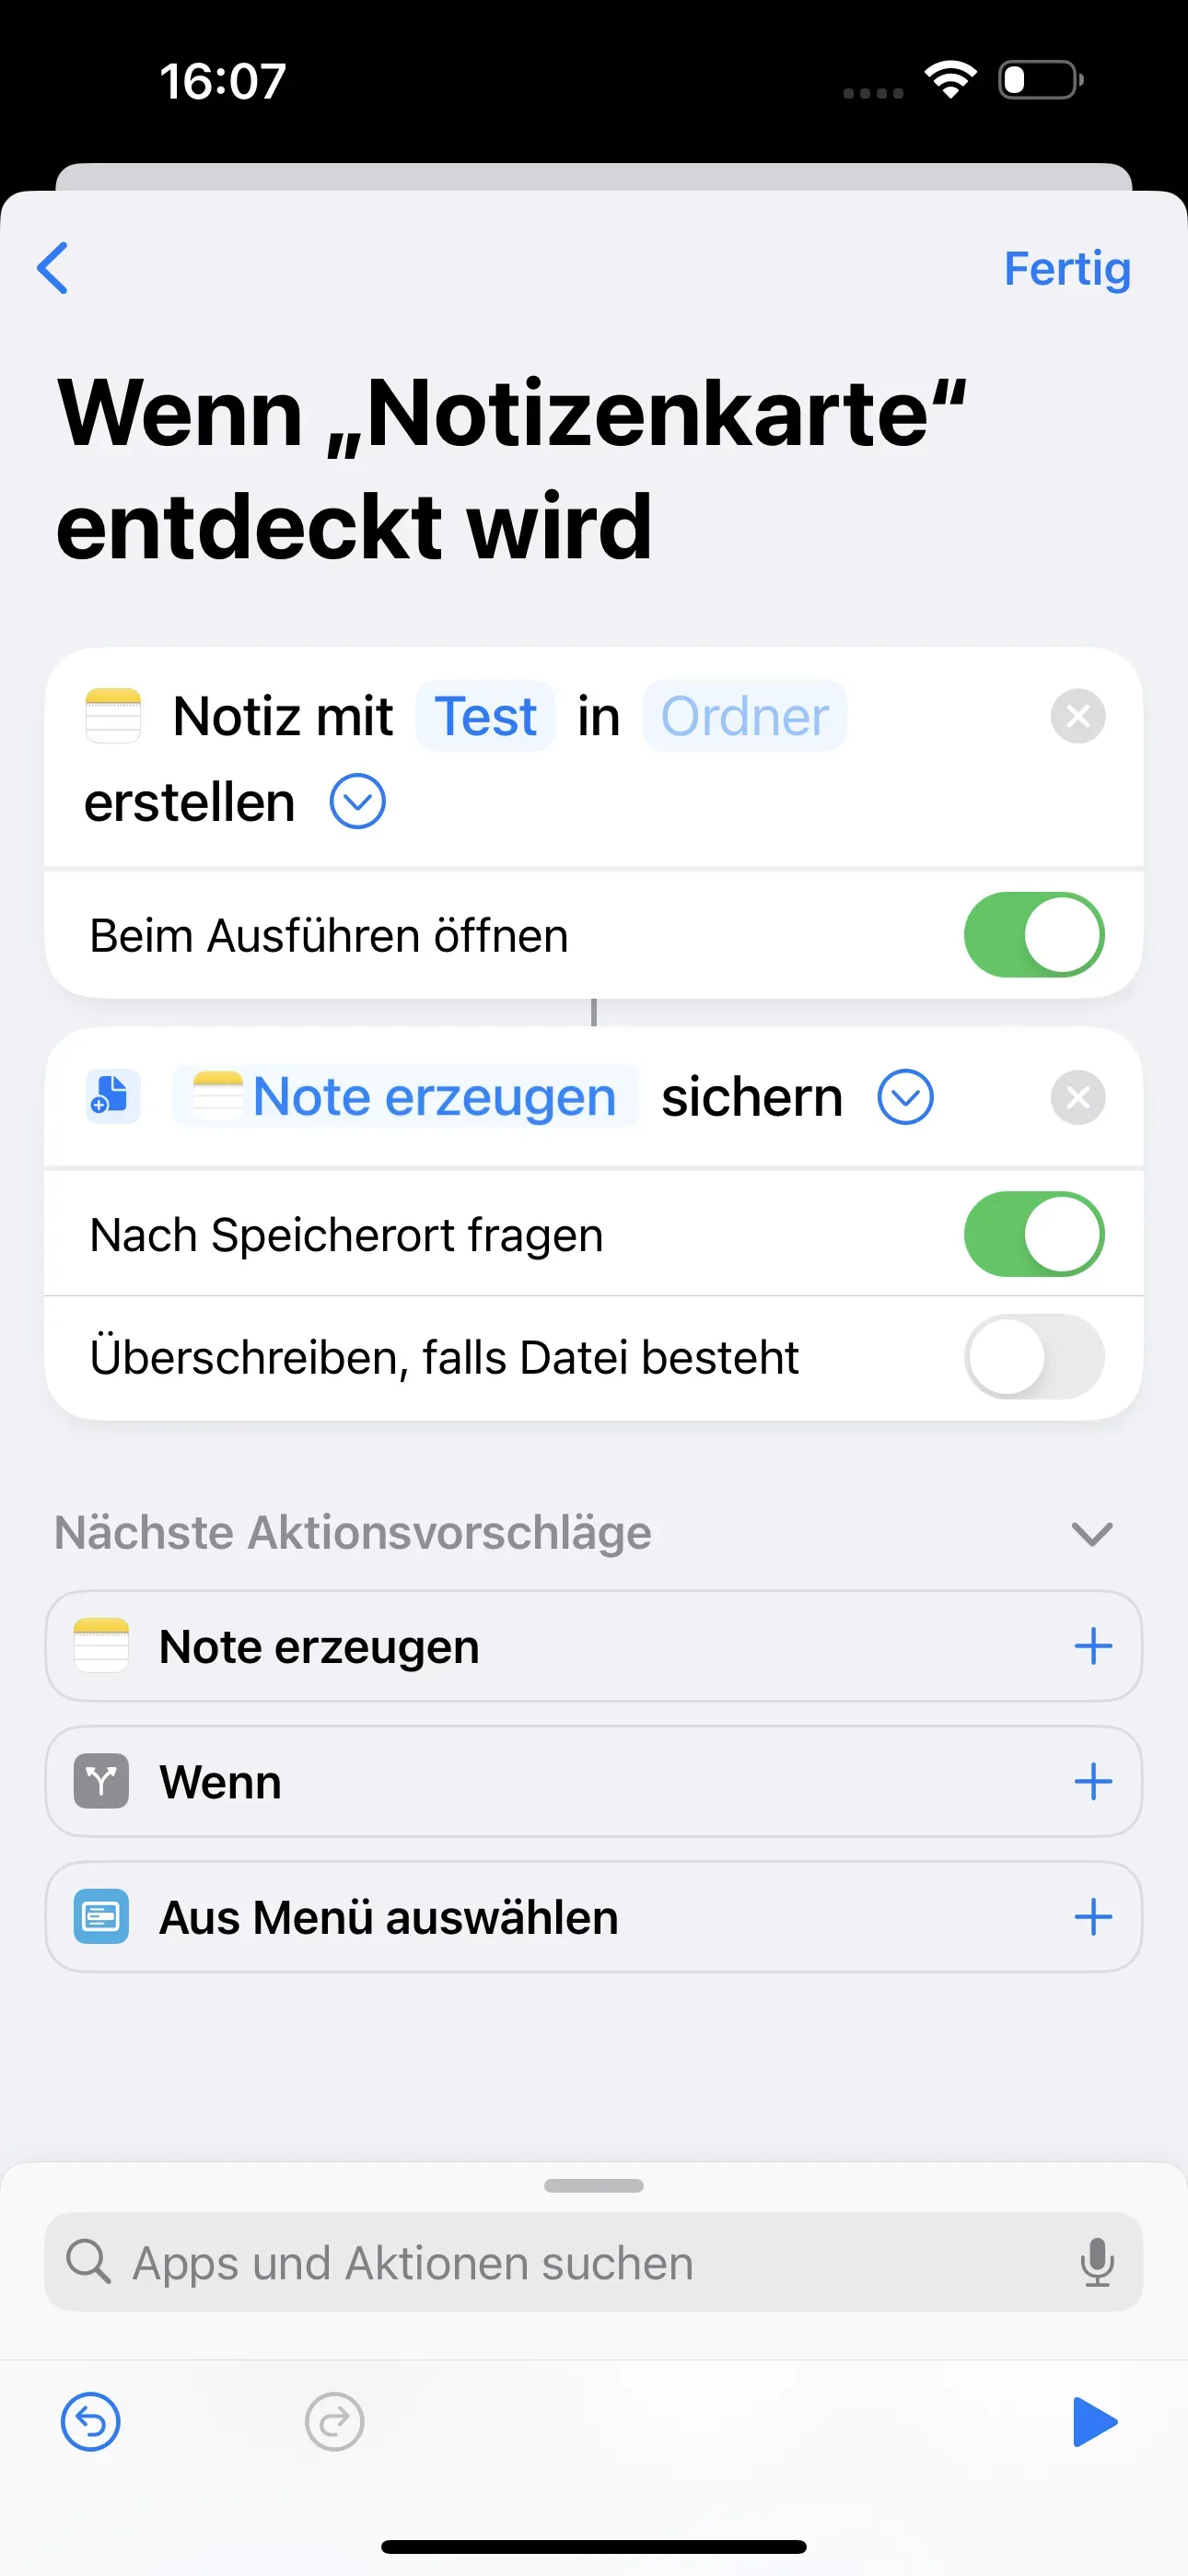
You have now successfully created an automation and want to add an action to it. In this example, we not only want to create a note, but also save it in a specific location. In the start area of the Shortcuts app, go back to the Automations tab, where you will now find your newly created automation. Then select it again. Then select Create Note.
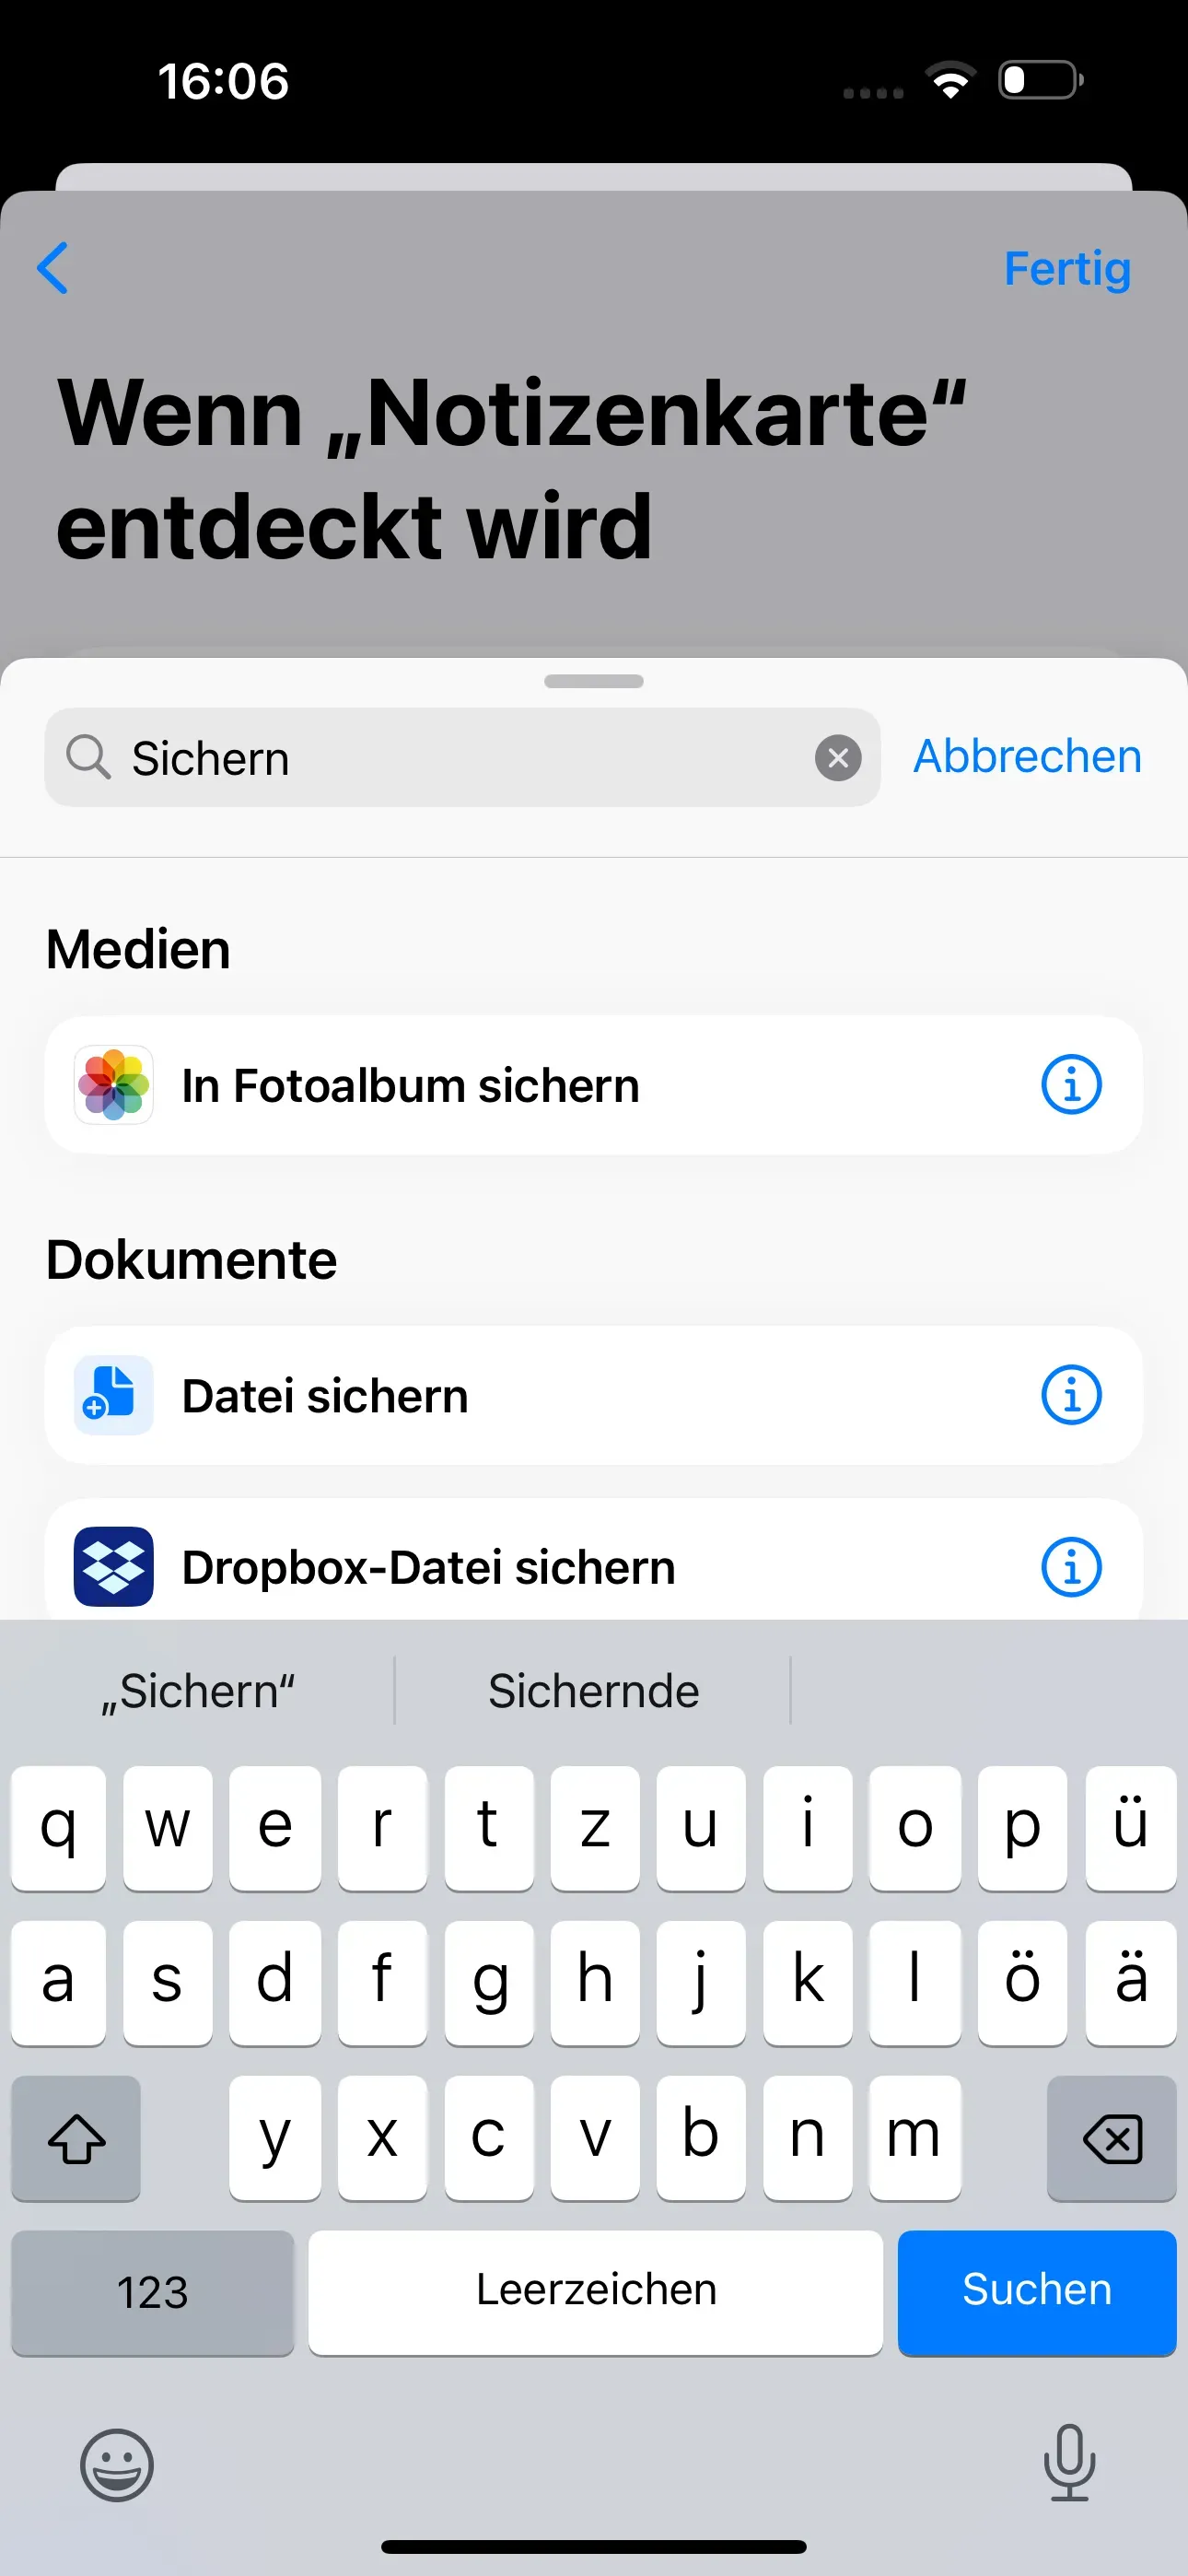
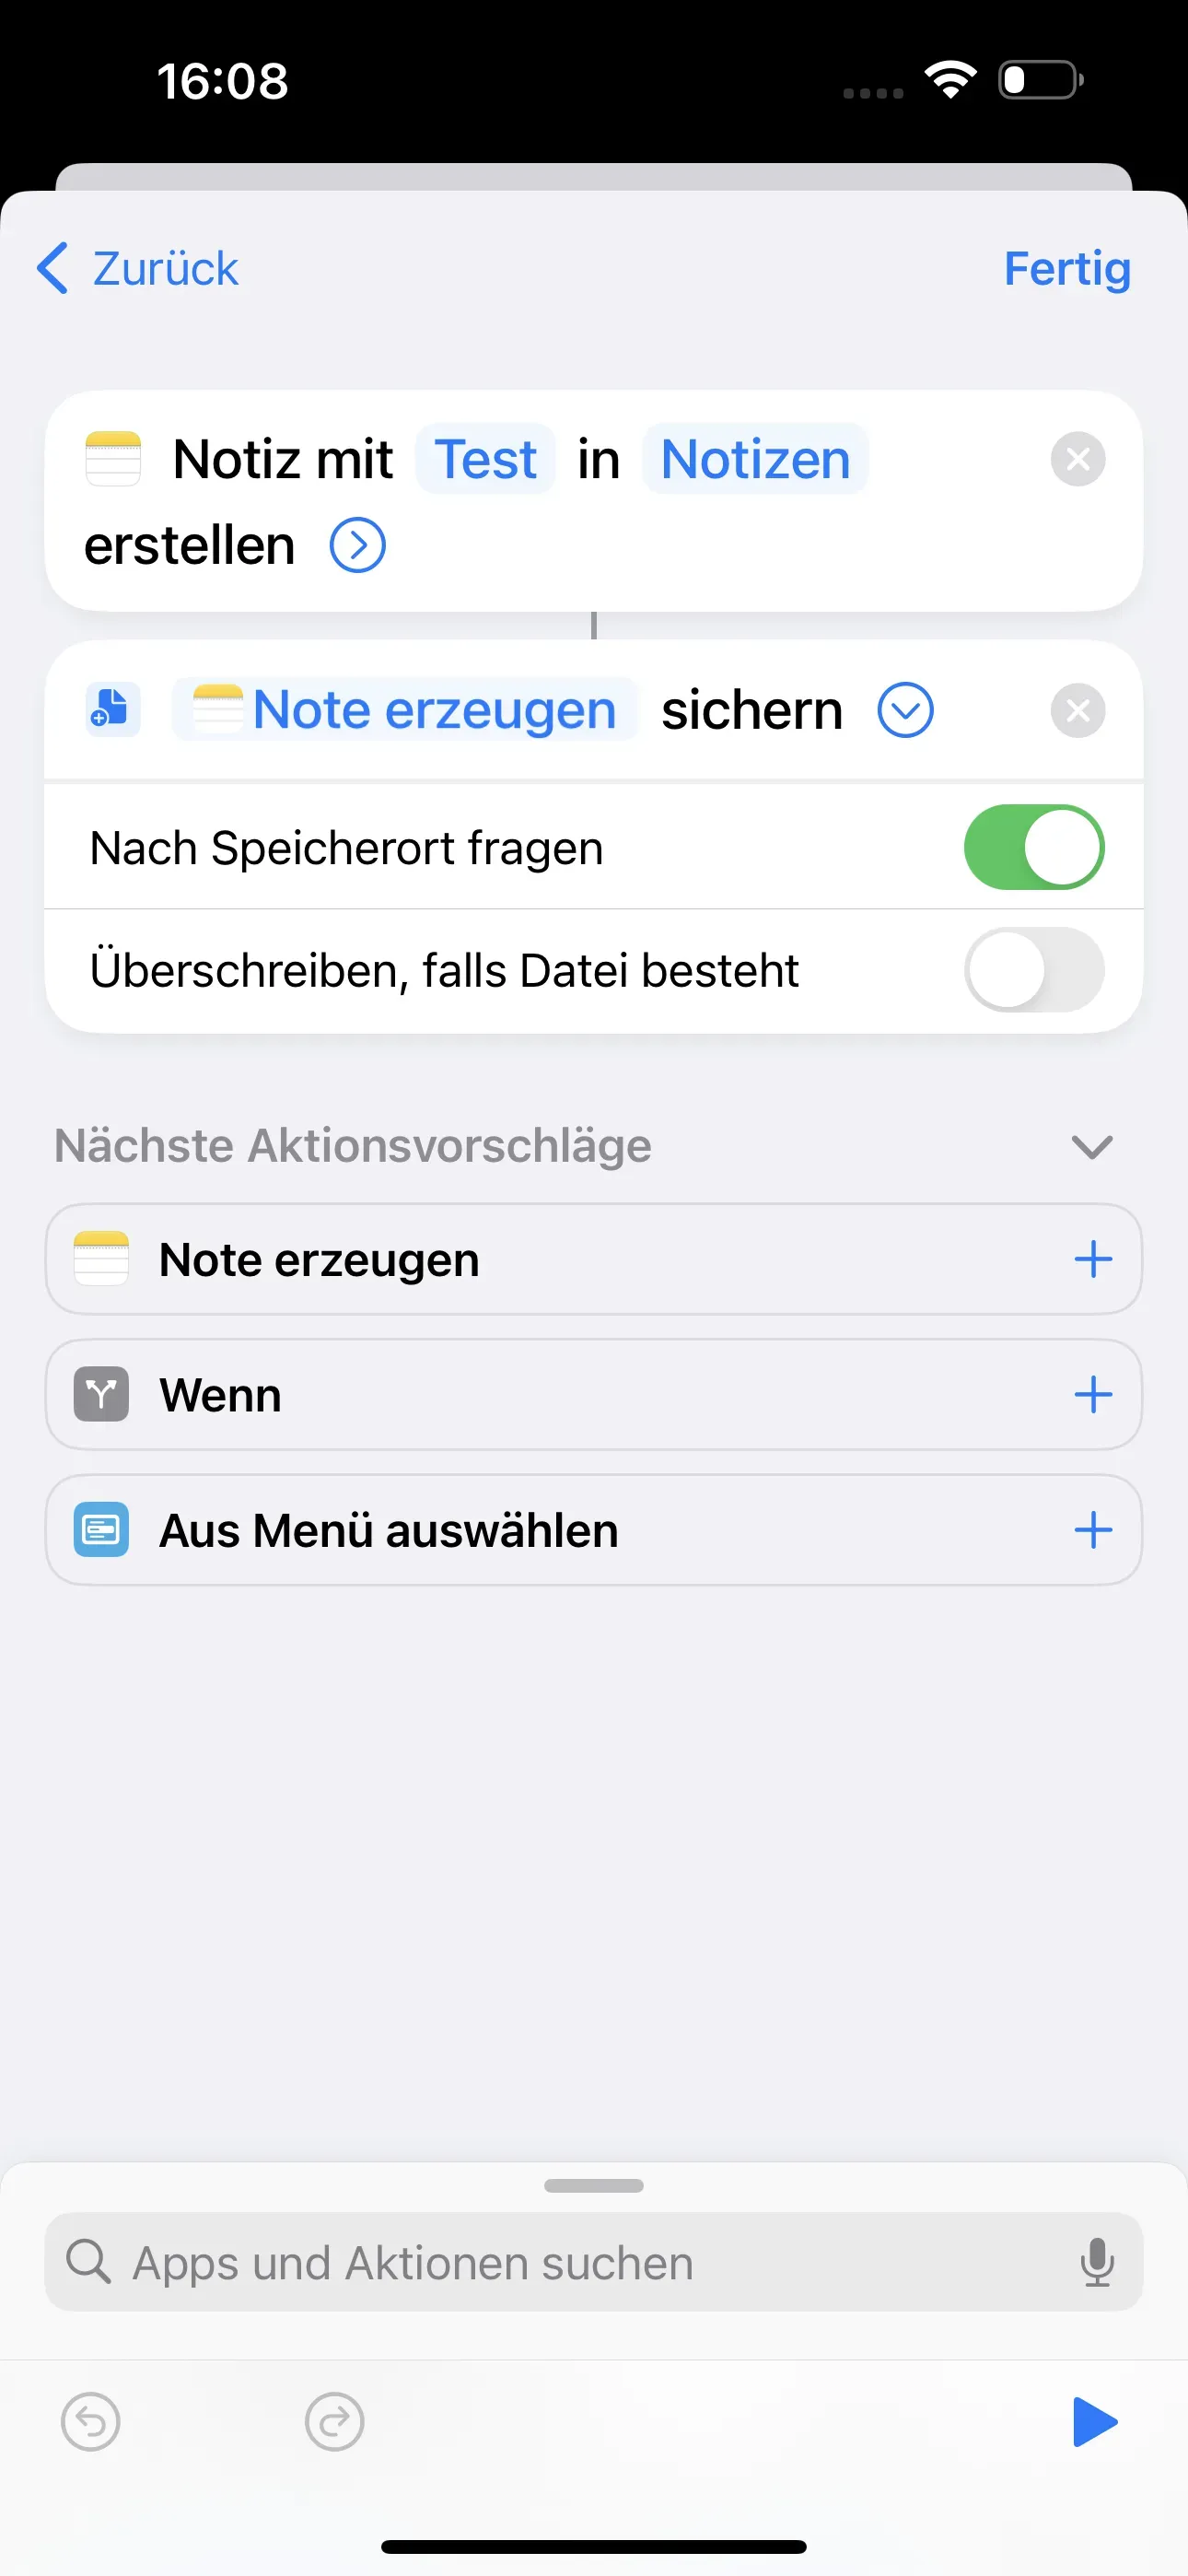
Now enter Save in the lower Search apps and actions field. Then select Save file. The step is now added to the previous automation. You can also name your note. In our example, we have named the note Test.
Customise follow-up action
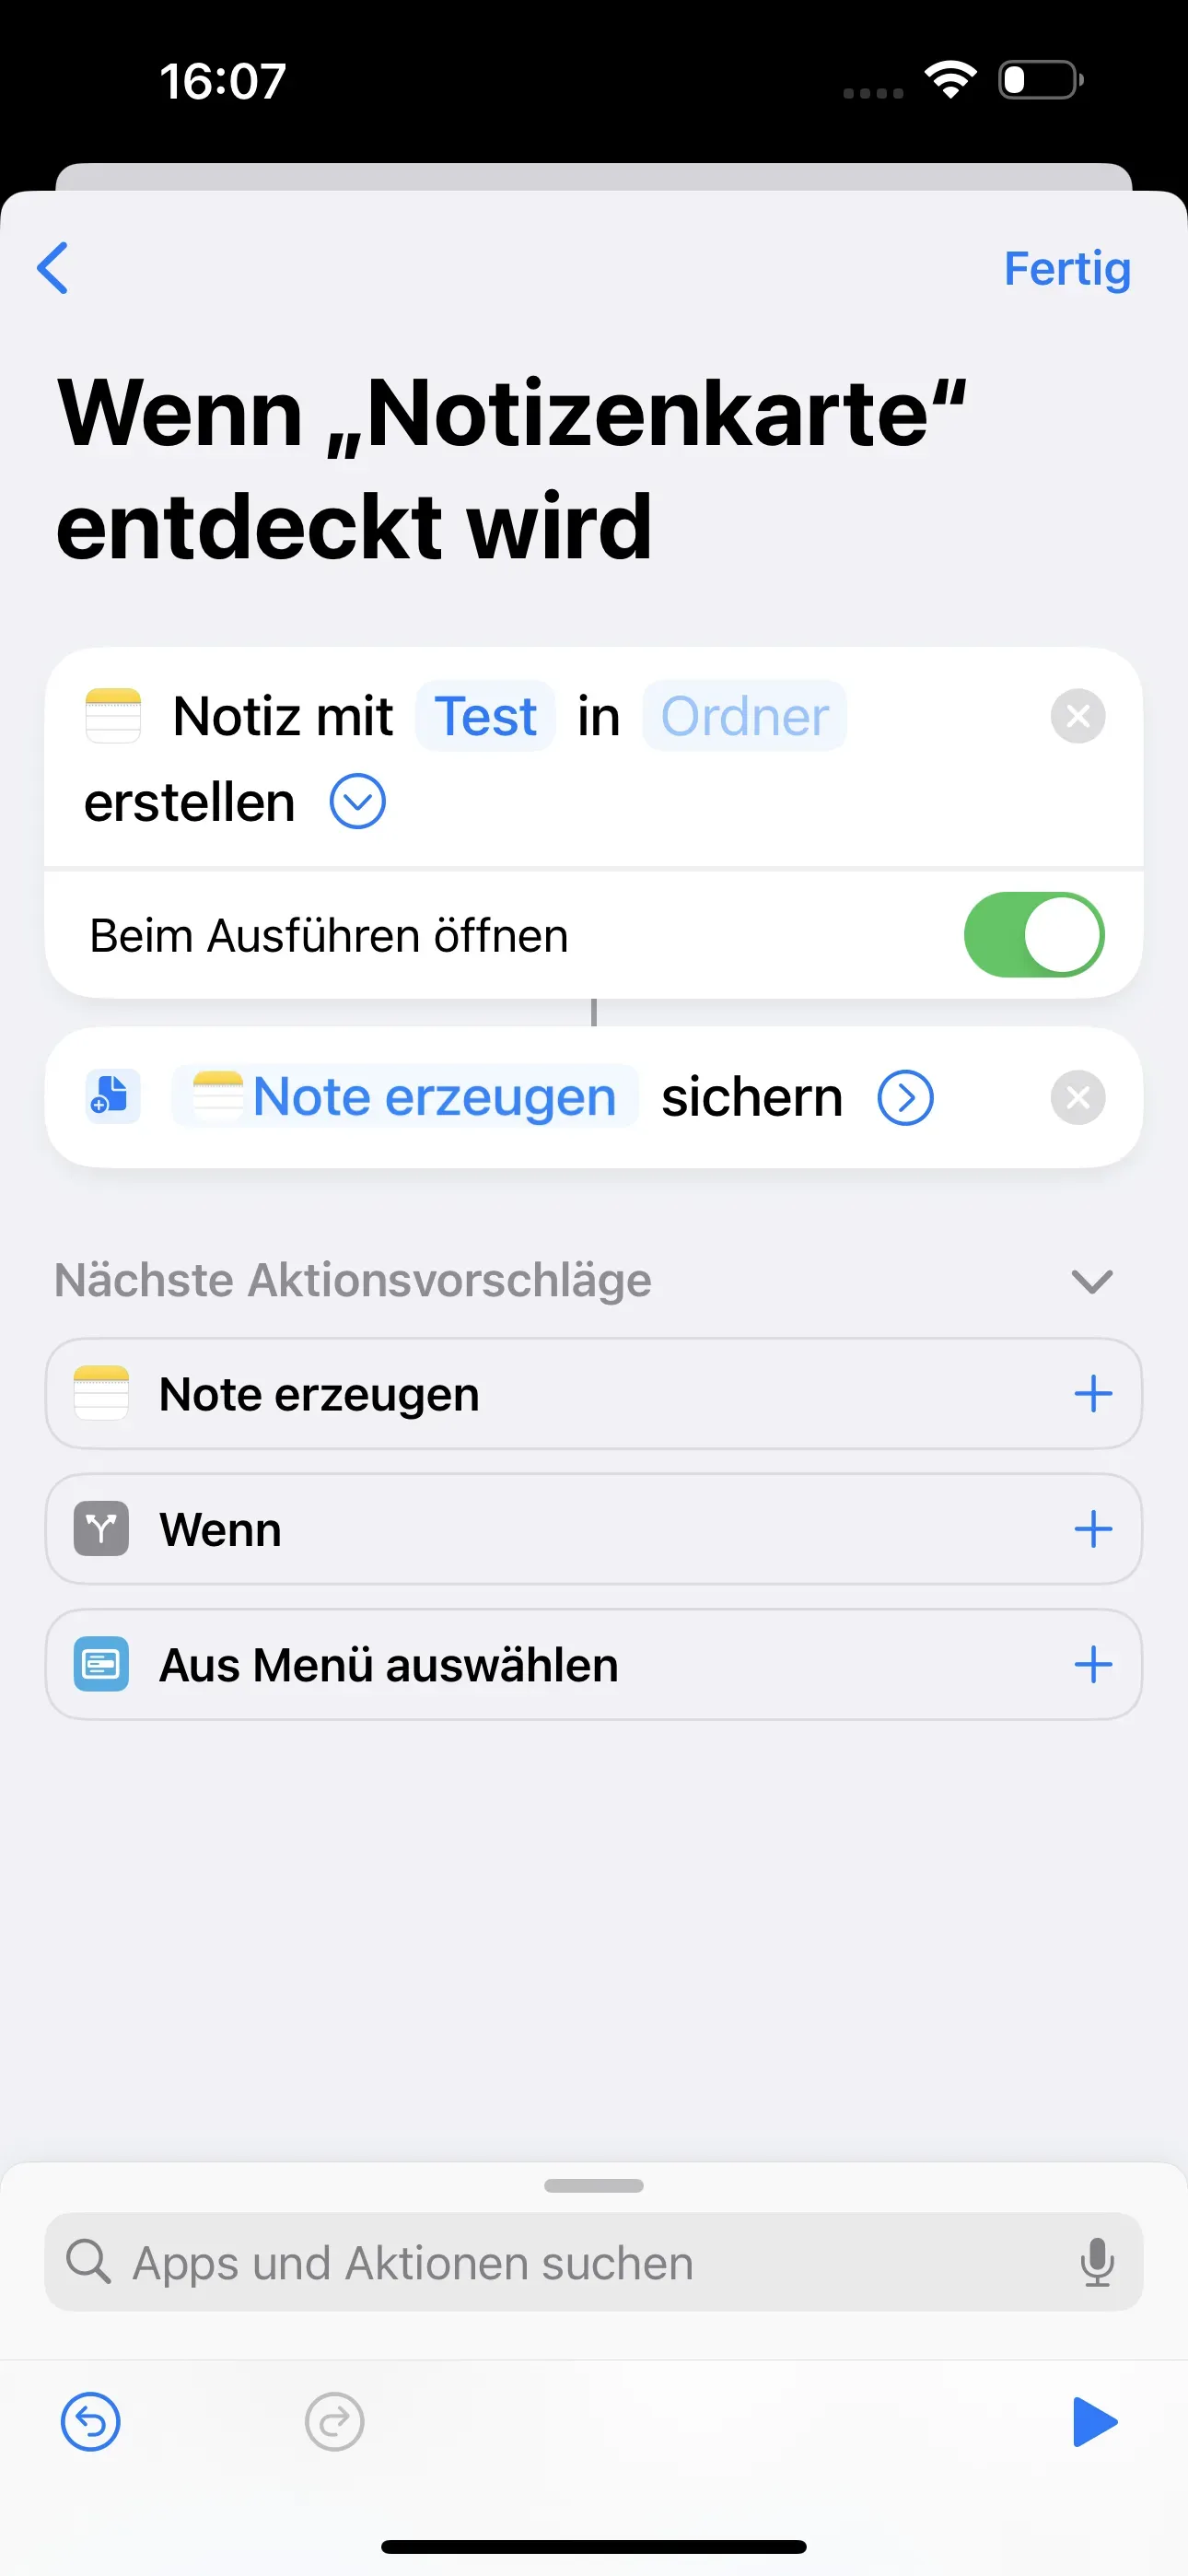
You should now further customise the step of saving a note. To do this, tap > at the end of the Saving create note box. The box for this action will now expand. Here you can select whether you want to be asked for the save location after each scan and whether the file should be overwritten.
In our example, we have activated Ask for storage location. Then tap on Folder in the top box and then select Notes. Now you have customised everything. Now select Done.
Test and save finished automation
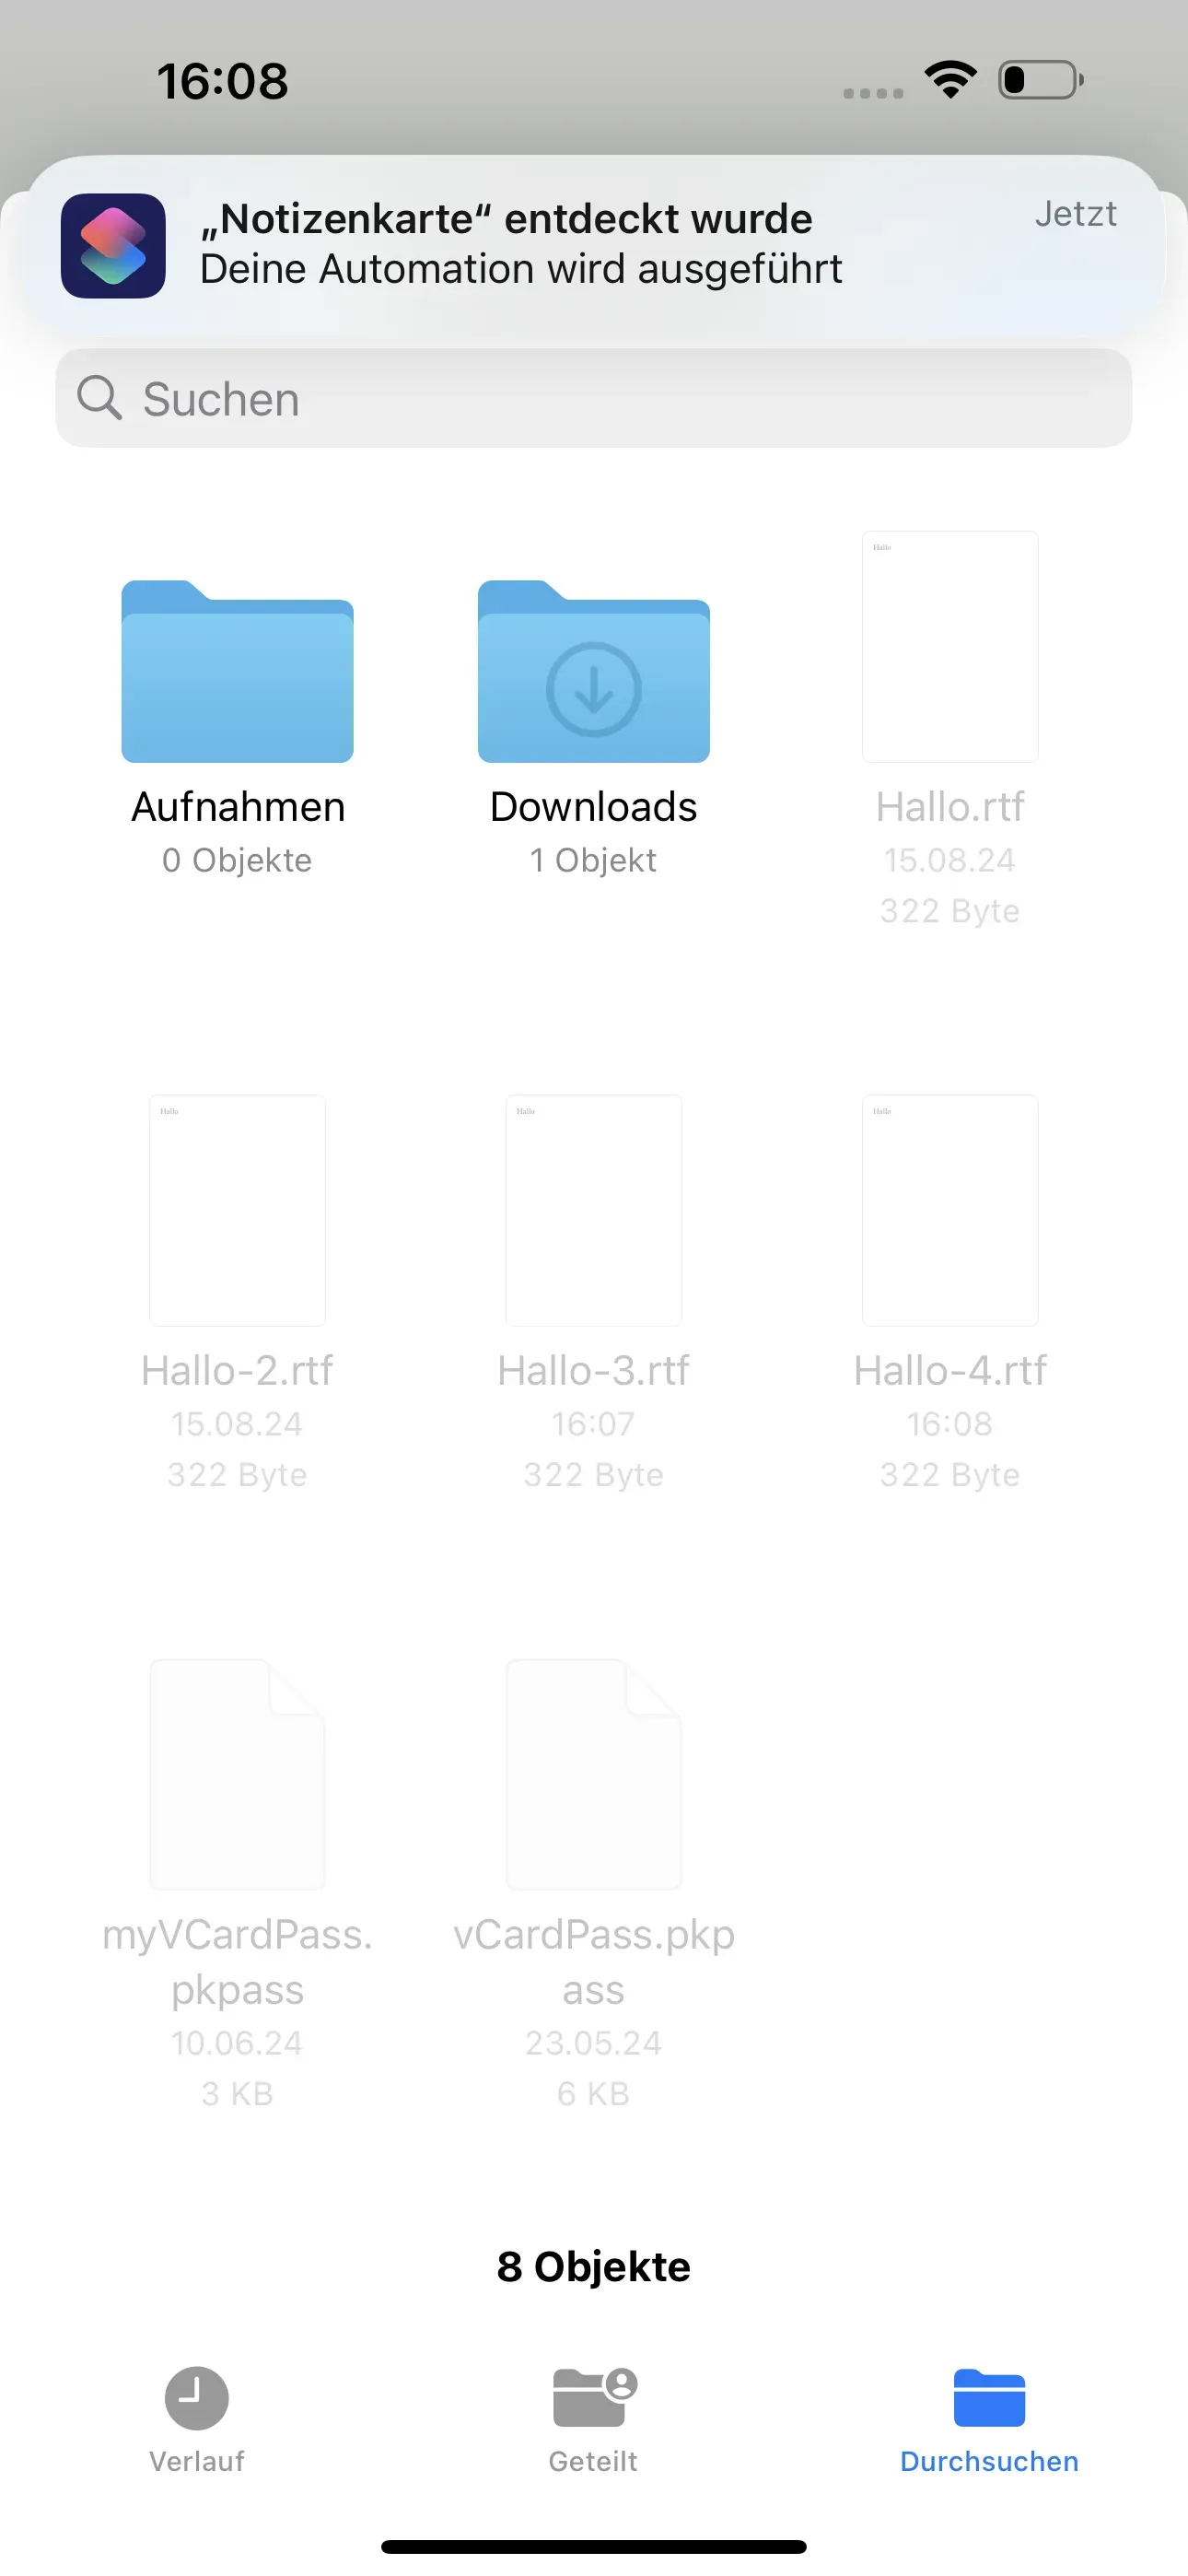
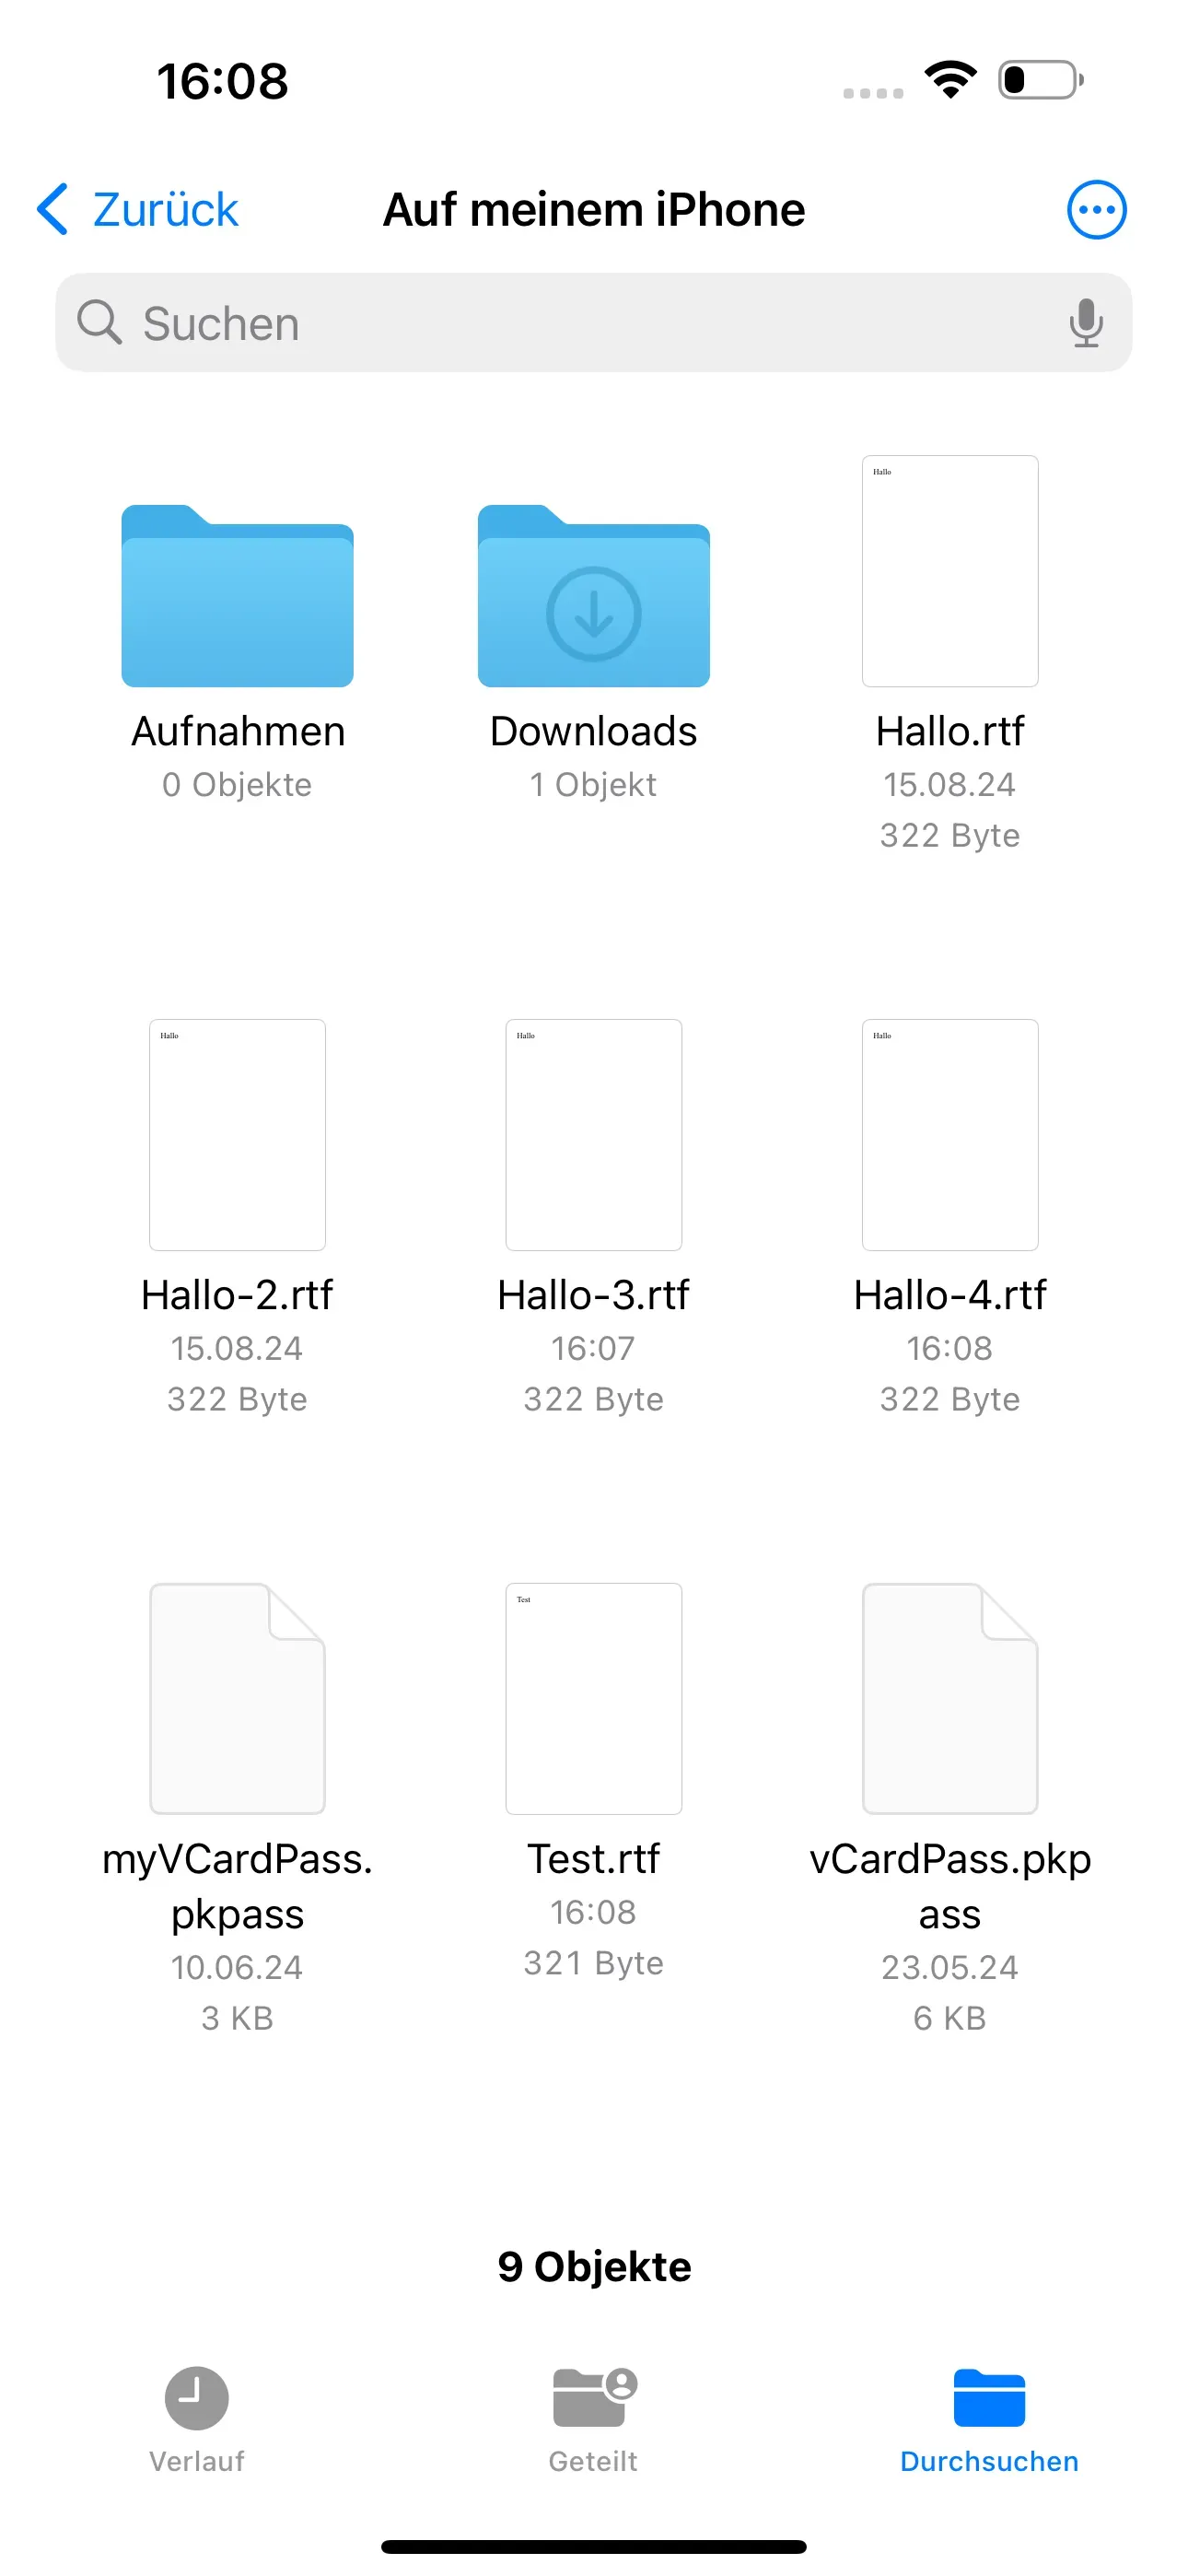
Now you can test your finished automation. To do this, scan your NFC tag. You can now select the storage location of your note more precisely and then edit the note.
Summary
In this tutorial, you learnt how to add further actions to an existing automation on your iPhone (e.g. creating a note). Firstly, an automation is prepared by creating a note by scanning an NFC tag. You then extend the automation by saving the note to a specific location.
Additional HowTos that might be relevant for you:
- Create complex automations
- Start app with NFC tag
- Calculate travel time and send via messenger
- Start music playback via a Bluetooth box with NFC
Associated operating systems
iOSFirst published: 25.07.2023 / Updated: 23.07.2025