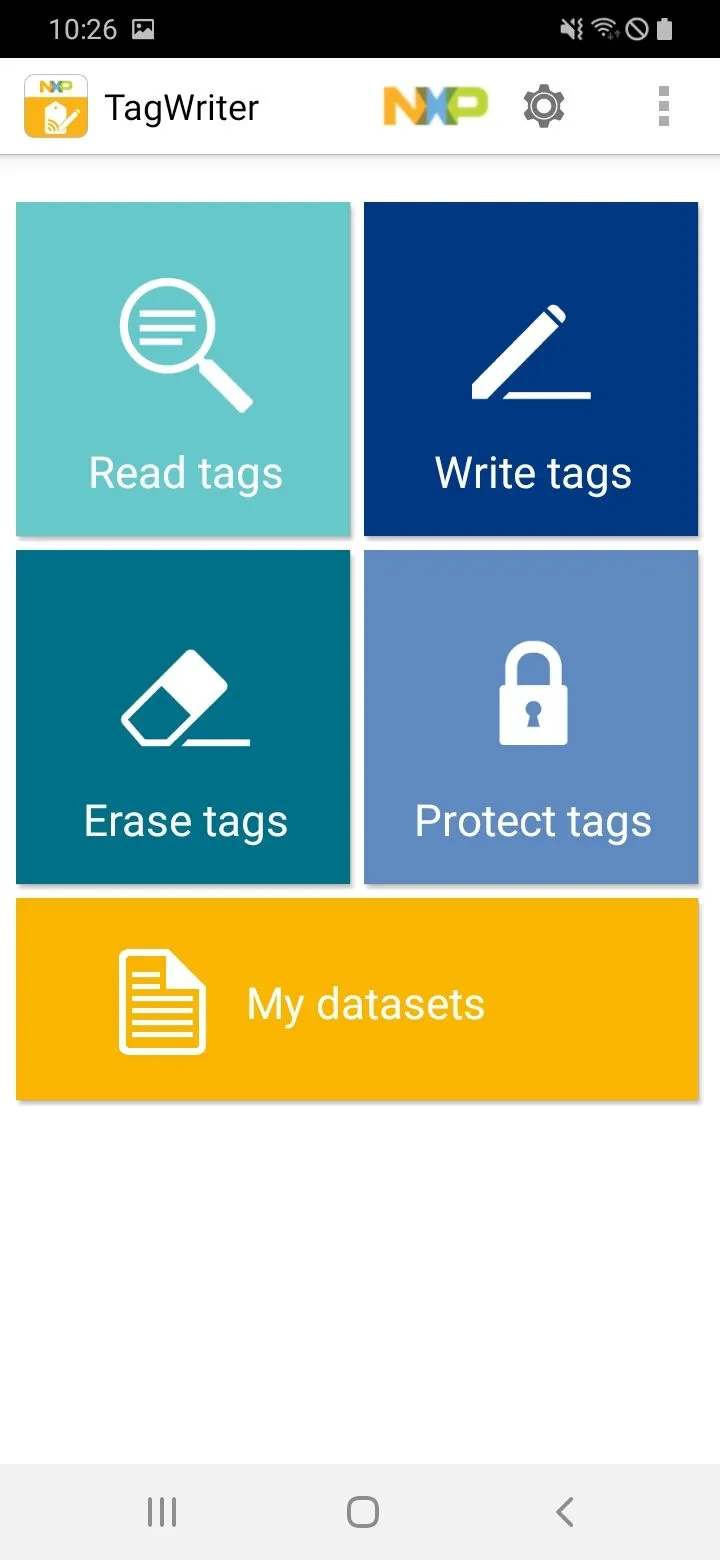
With our NFC Cube you get a six-sided cube and nine separate NFC stickers. Each sticker can be provided by you with any data type and can be stuck on one side of the cube. The symbols on the stickers serve as an idea, in the end it is up to you which data type exactly you write on the NFC sticker.
In this manual, however, we want to use the given symbols as a guide and explain how to write the corresponding data types on the NFC sticker with an iPhone. For this purpose we use our app NFC21-Tools and the app shortcuts from Apple for writing the NFC stickers.
Please also read our How-To about the NFC21-Tools App, in which we explain exactly how the App works.
Content:
- Call, message and URL sticker
- Location/address, contact and WLAN sticker
- Music
- Alarm
- Weather
- Other useful automations
- Notes
Call, message and URL sticker
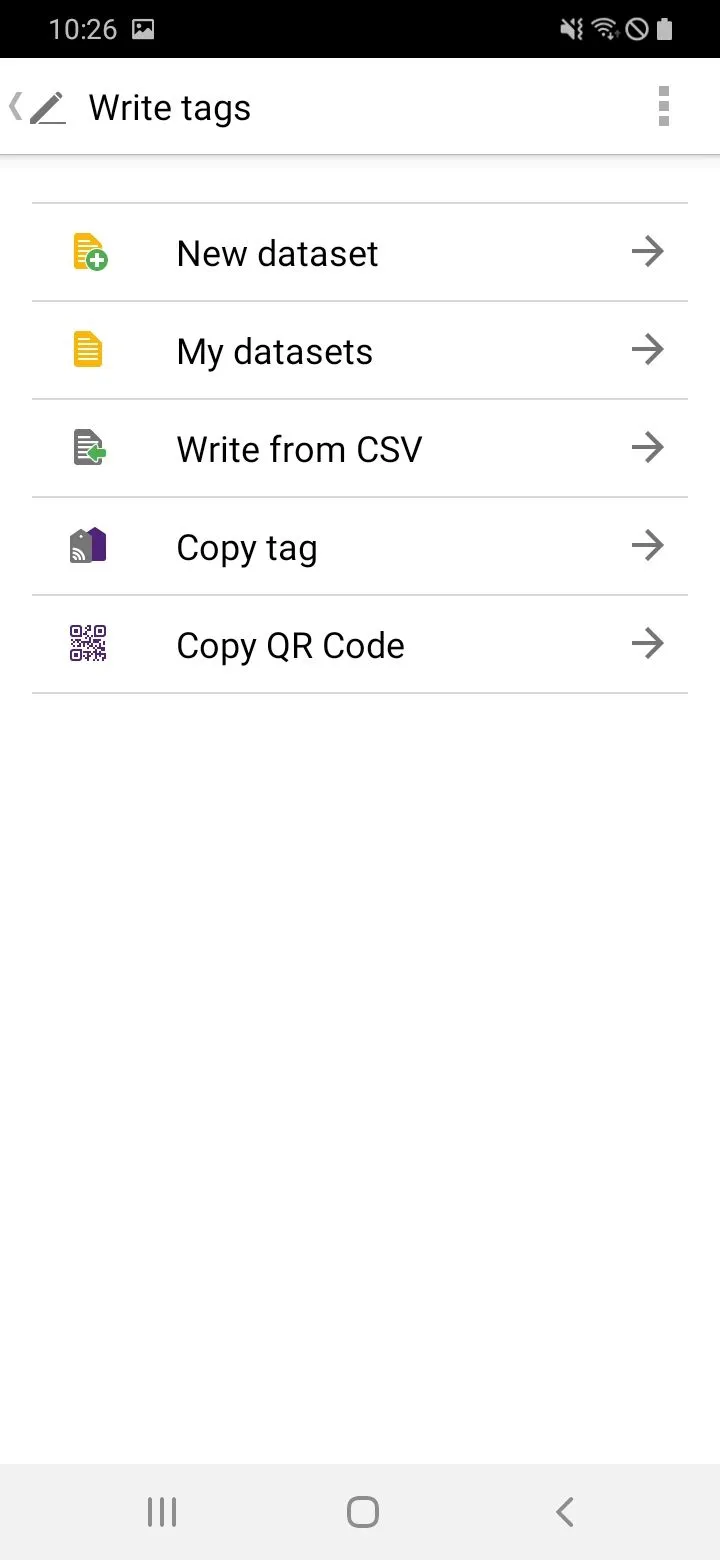
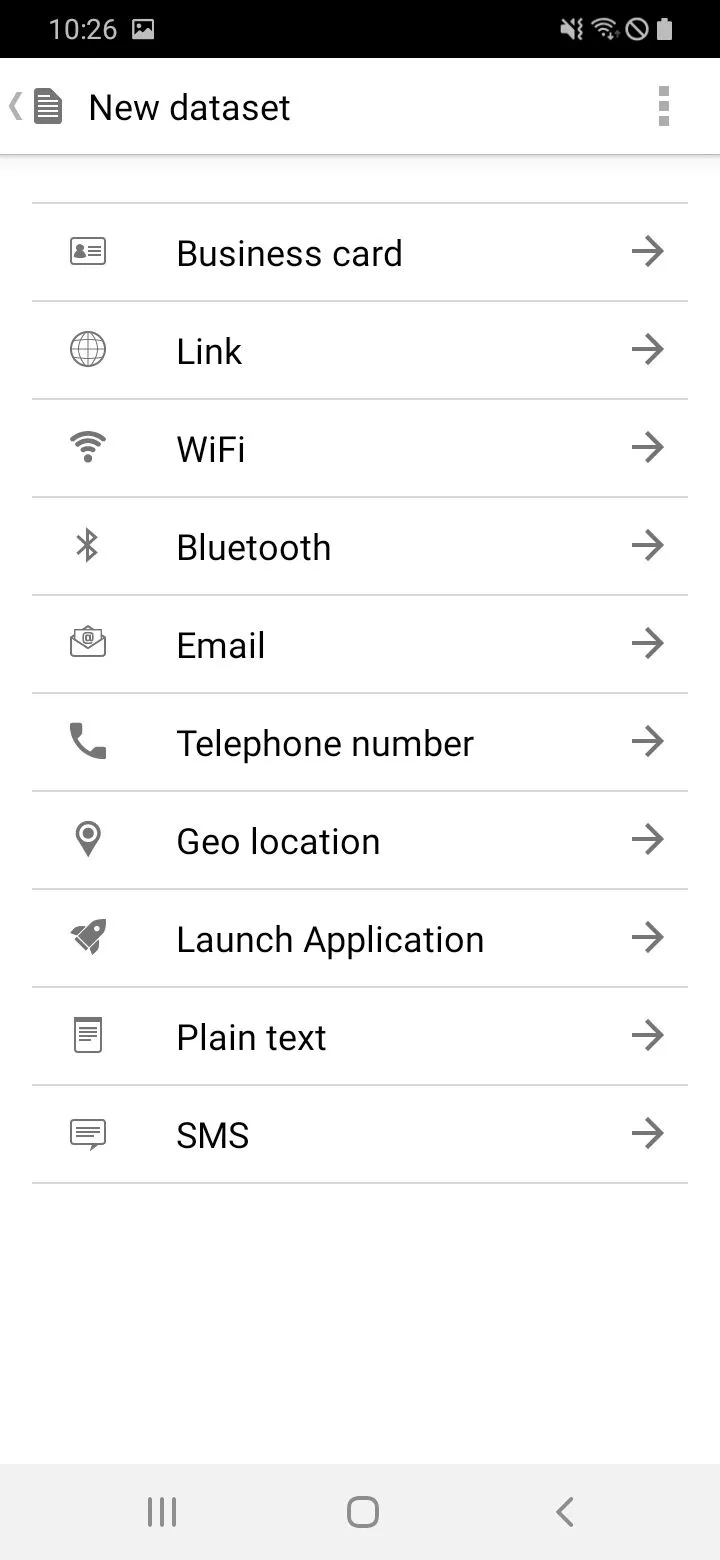
To describe the phone, speech bubble and WWW sticker, we open the App NXP Tag Writer and tap Write → New record. For the different data types we proceed as follows:
- To save a phone number on the phone sticker, we tap Phone Number. Now we can enter a title and the phone number and WRITE the NFC tag.
- To describe the speech bubble sticker, we tap on E-mail or SMS, enter a recipient (phone number or e-mail address) and, if desired, directly enter a message. Then we tap on WRITE.
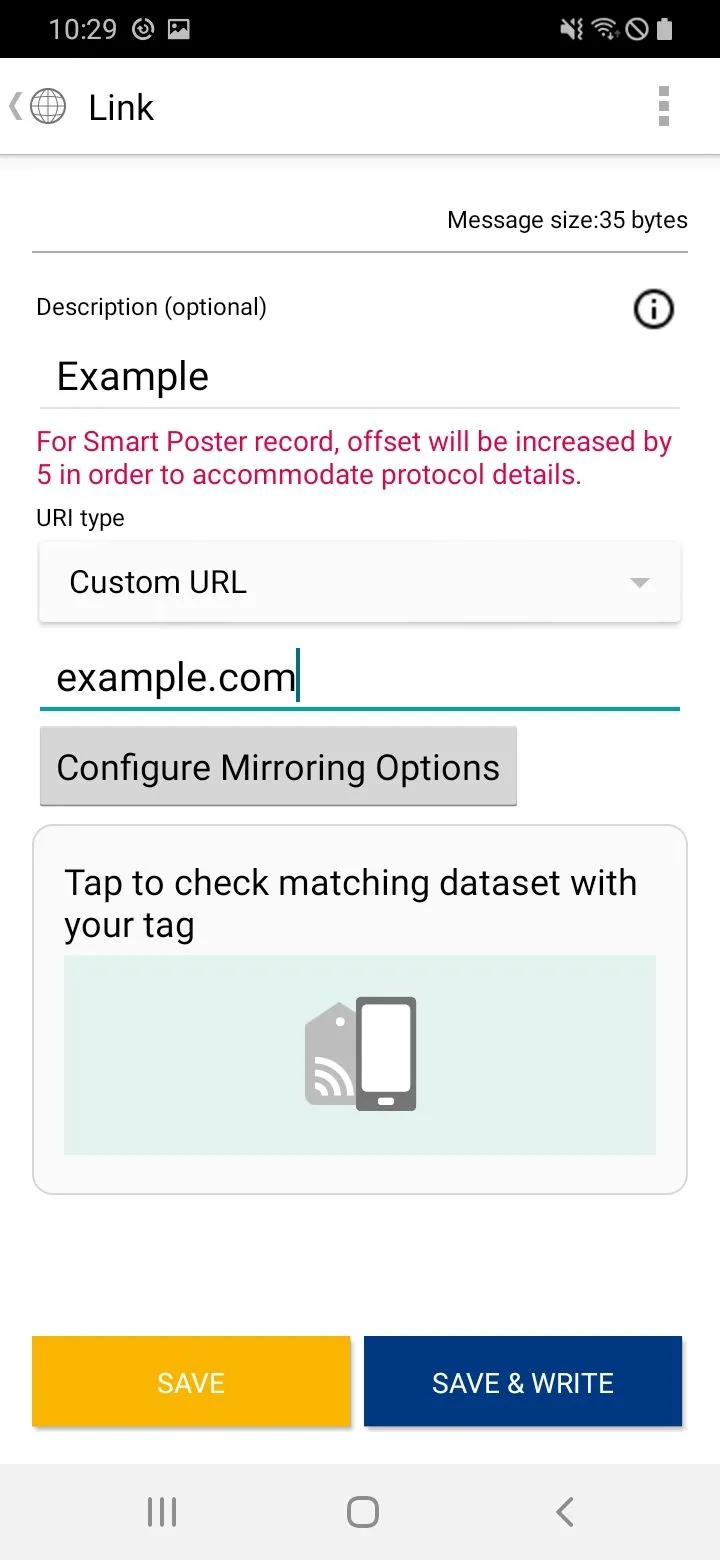
- The WWW sticker can also be described by following the steps mentioned above. Here you select Link and insert your desired URL. With WRITE the process is completed and the link is saved on the NFC sticker.
All these steps must be completed with CONFORM TO SAVE → Write successfully → DONE
Location/address, contact and WLAN sticker
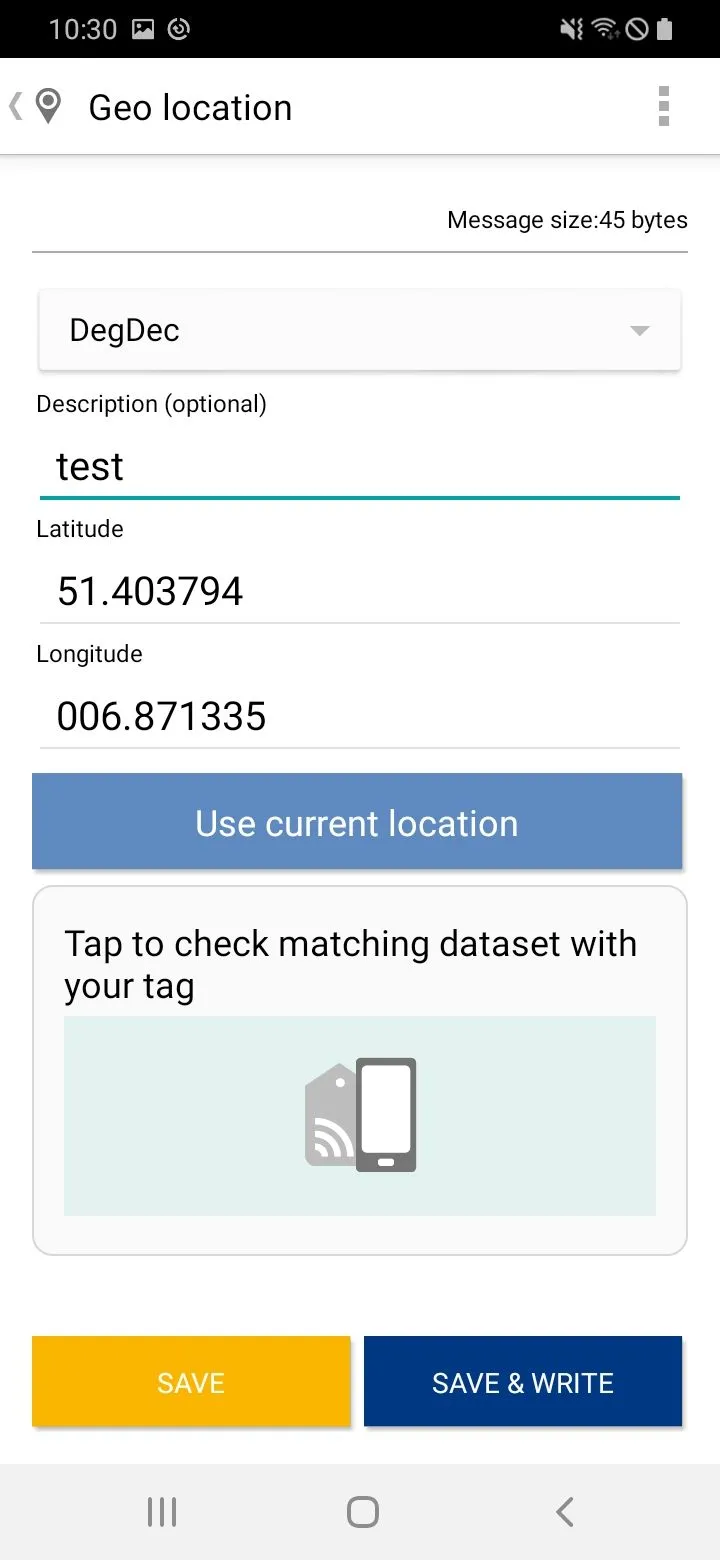
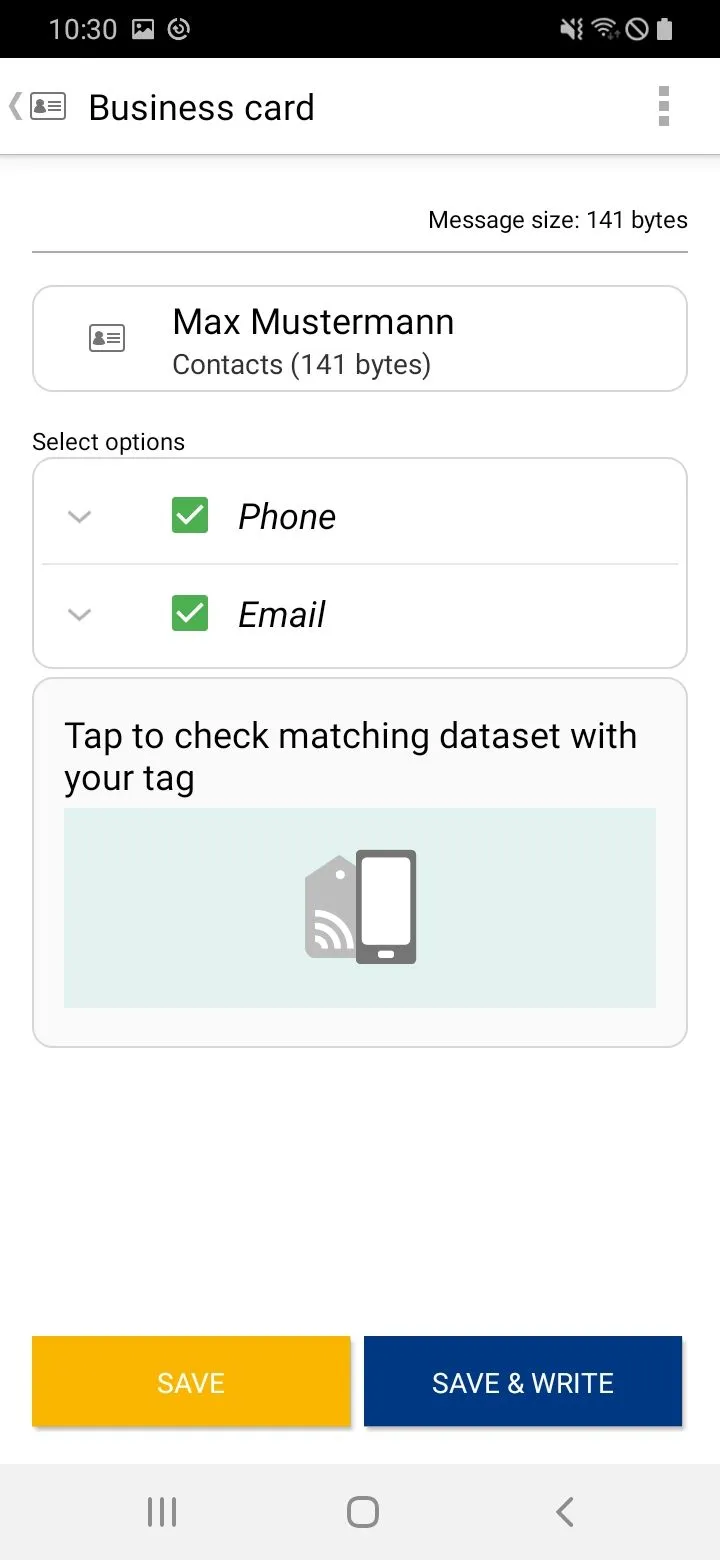
To describe GPS, contact, and WLAN stickers, we start with the same steps as in the explanations above and tap on Write → New Dataset.
- There are two ways to save a location to the GPS sticker: Either the desired location can be entered using the previously determined latitude and longitude line, or the current location is stored directly on the NFC tag: To do this, we tap on Location → enter the desired latitude and longitude line → WRITE →, or tap on Current Location use → WRITE.
- To save a contact from your phone to an NFC tag, tap Business card and select the contact you want to save. Using the green check marks we can decide which information of the contact should be saved to the NFC tag. The full name is always saved automatically.
- By labeling the WLAN sticker with an SSID (network name) and the corresponding password, other smartphones can connect directly to the network by scanning the NFC sticker. To do this, we tap on WiFi → Select the desired network → Enter the Wifi password → WRITE.
All three steps must be completed with CONFIRM TO SAVE → Write successfully → DONE.

Music
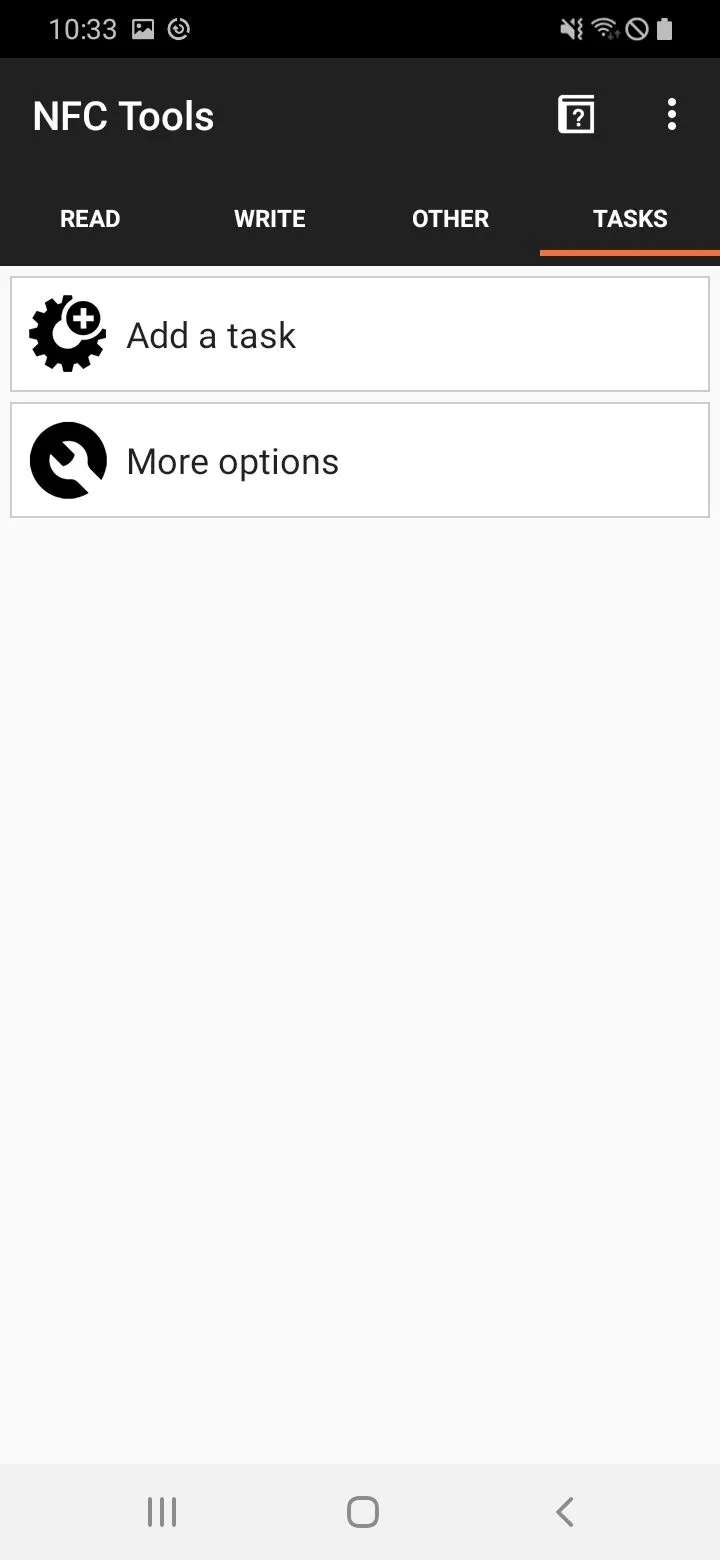
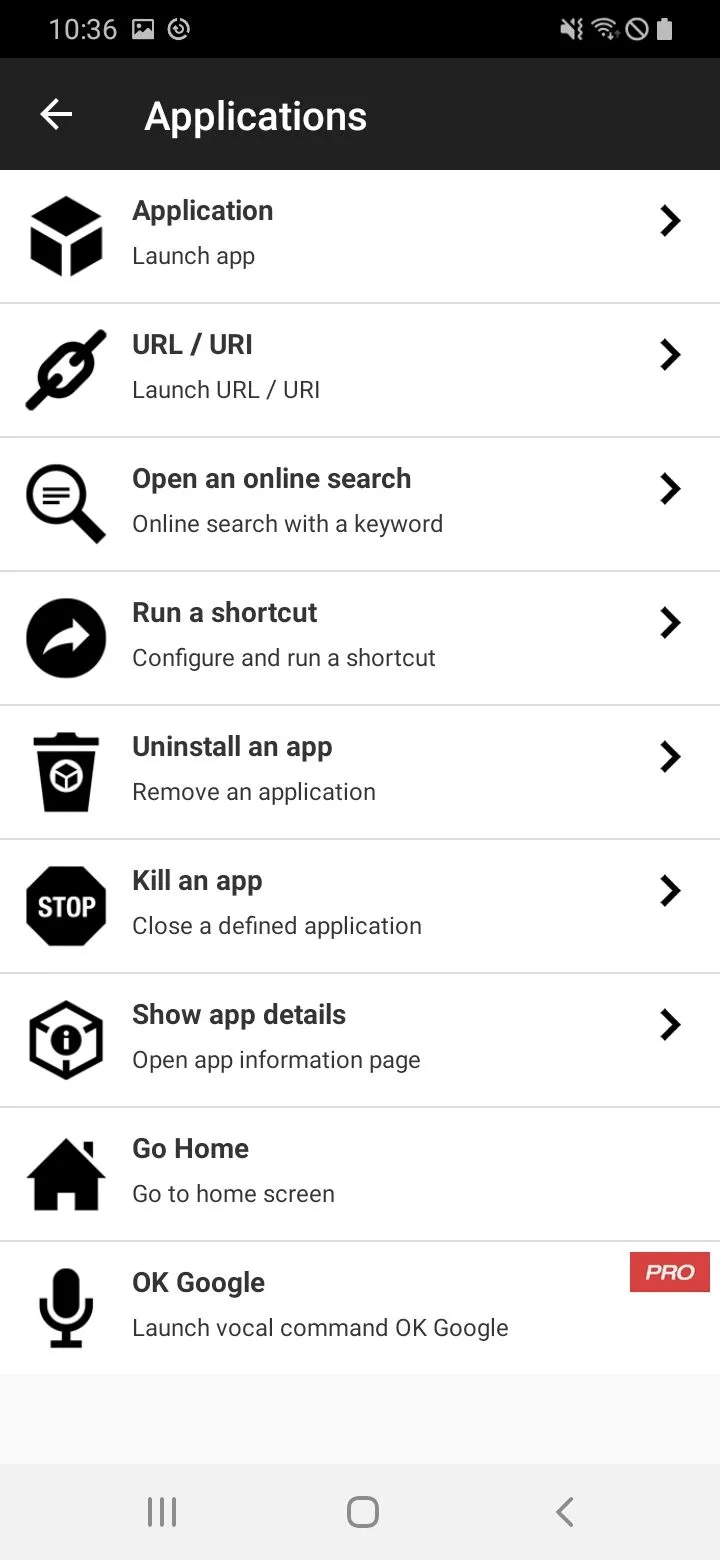
NFC tools can be used to create tasks (automations) on the Android smartphone that are automatically executed by scanning the music stickers. For example the music app Spotify can be executed automatically:
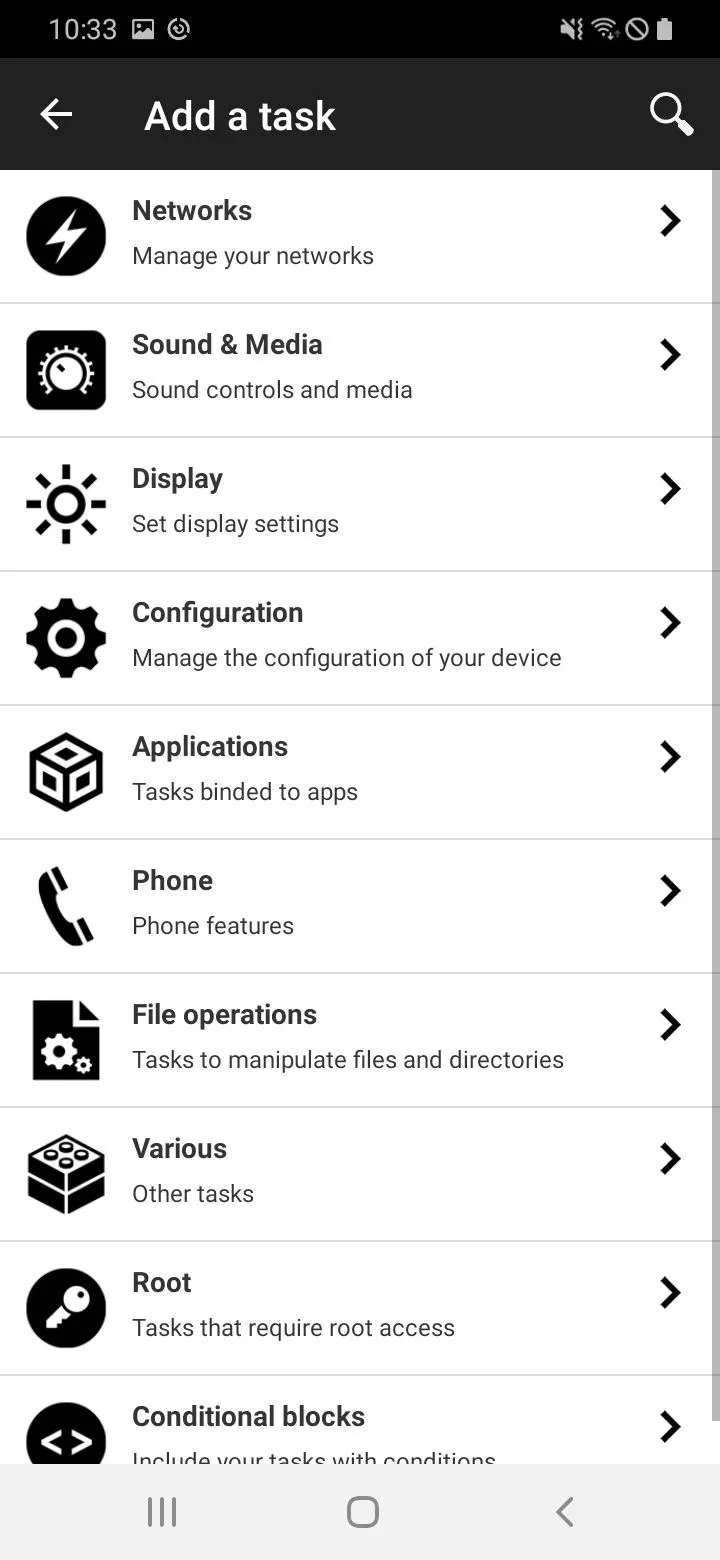
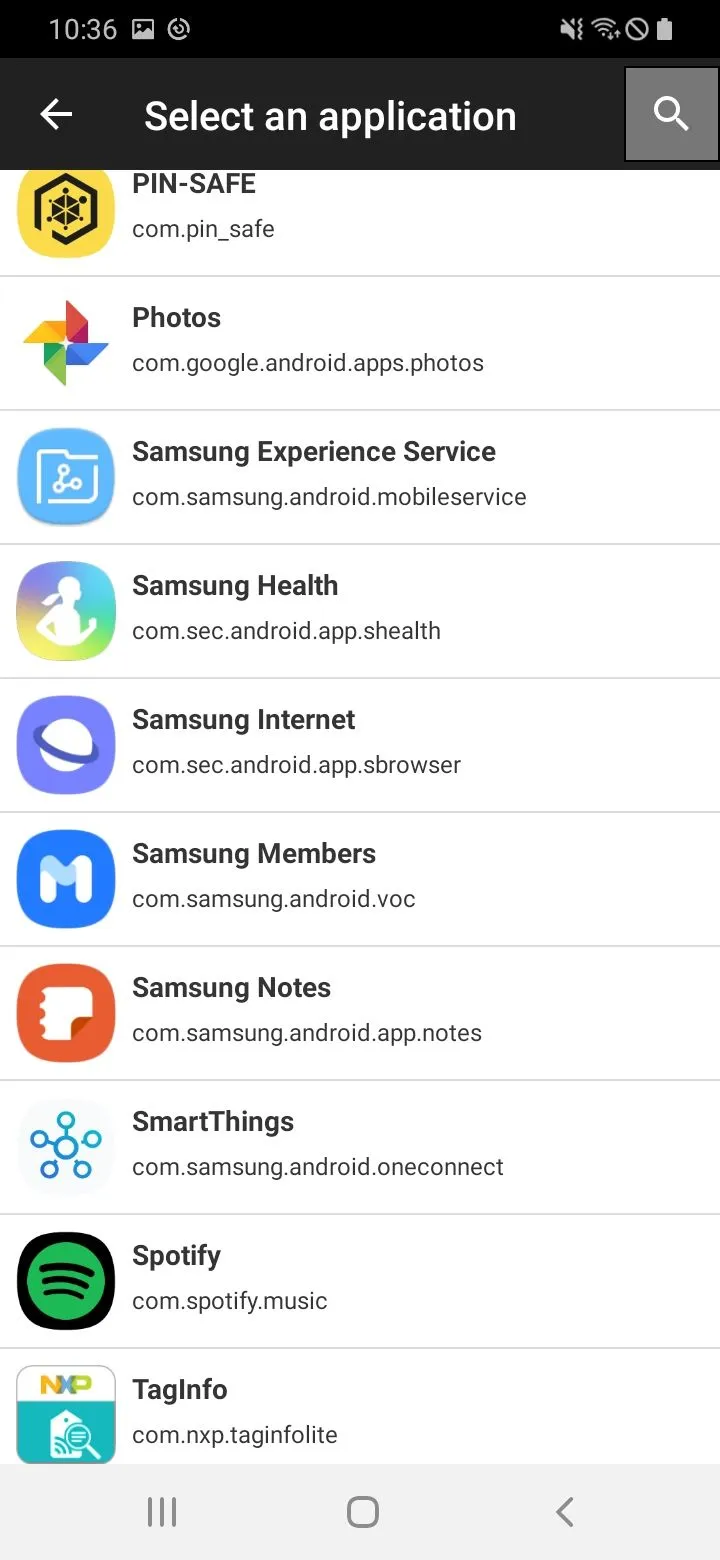
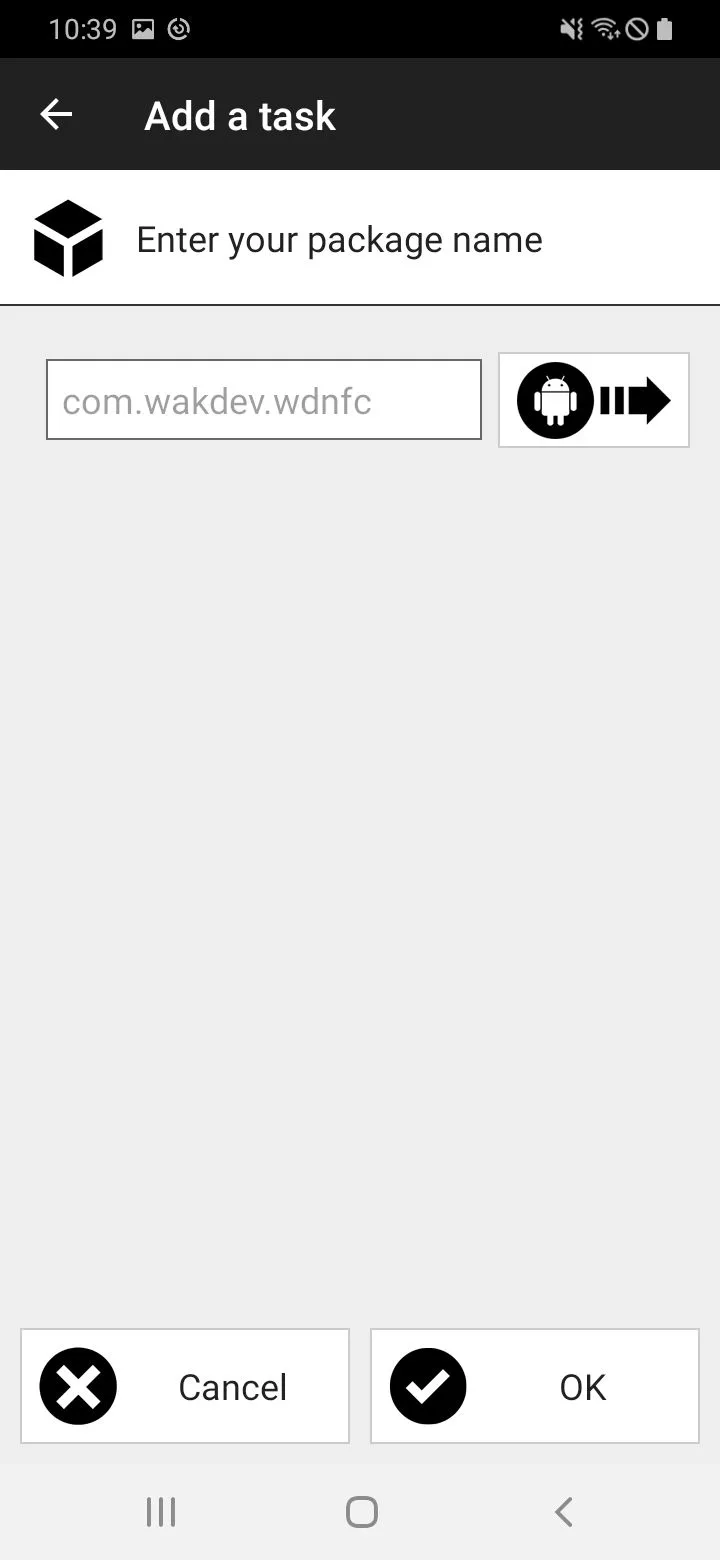
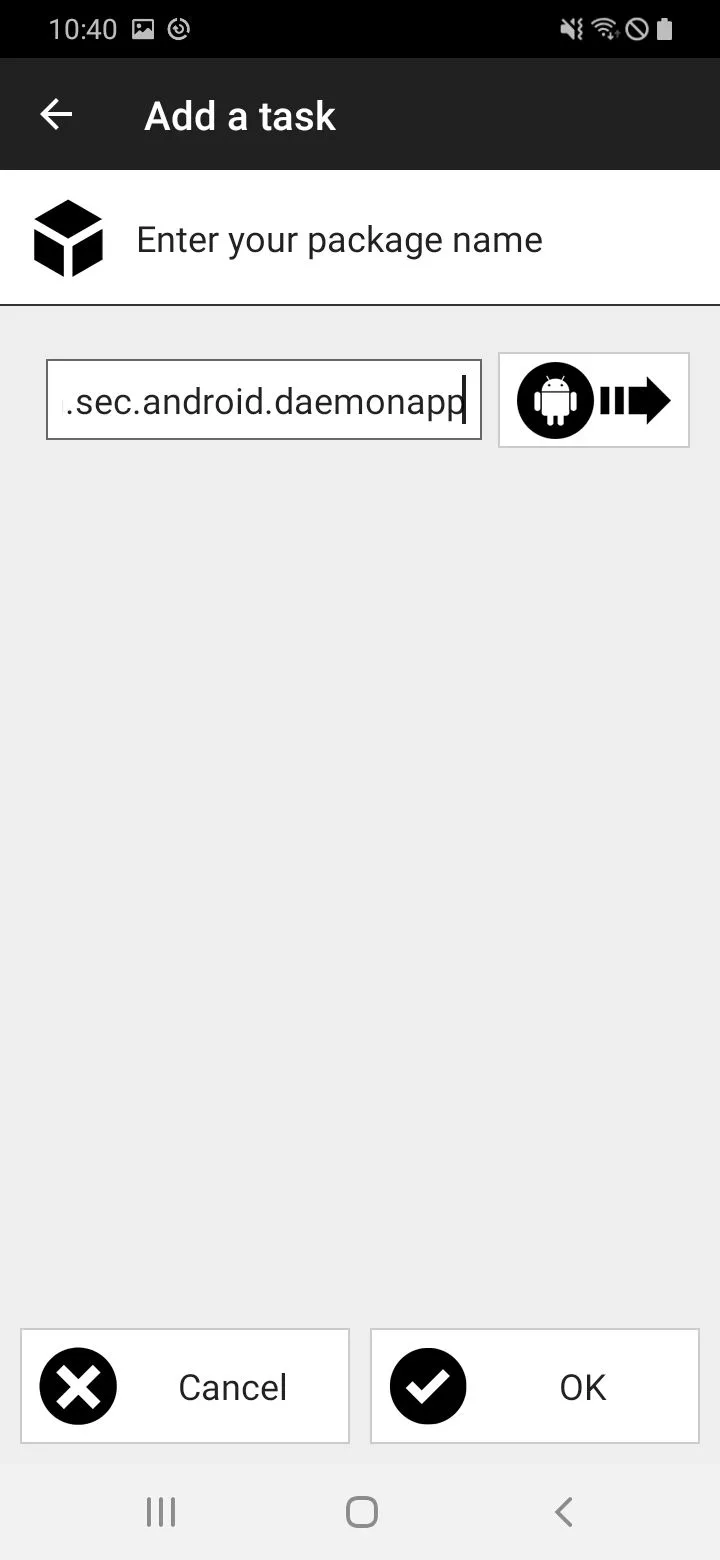
To do this, open the app and select Tasks → Add a task → App → App Start → tap the Android icon → next to the text field Search for the desired app Spotify → Select the app and confirm with OK.
By tapping on Write / [...] Bytes we can finally write the music sticker with the desired command.
You are welcome to read our other articles on this topic on Android: Tasks and Conditions, in which we describe how automations and tasks can be created on the Android smartphone.
Note: It may be necessary to enable root access for accessing an external app (here Spotify). How this works can be read in our FAQ.
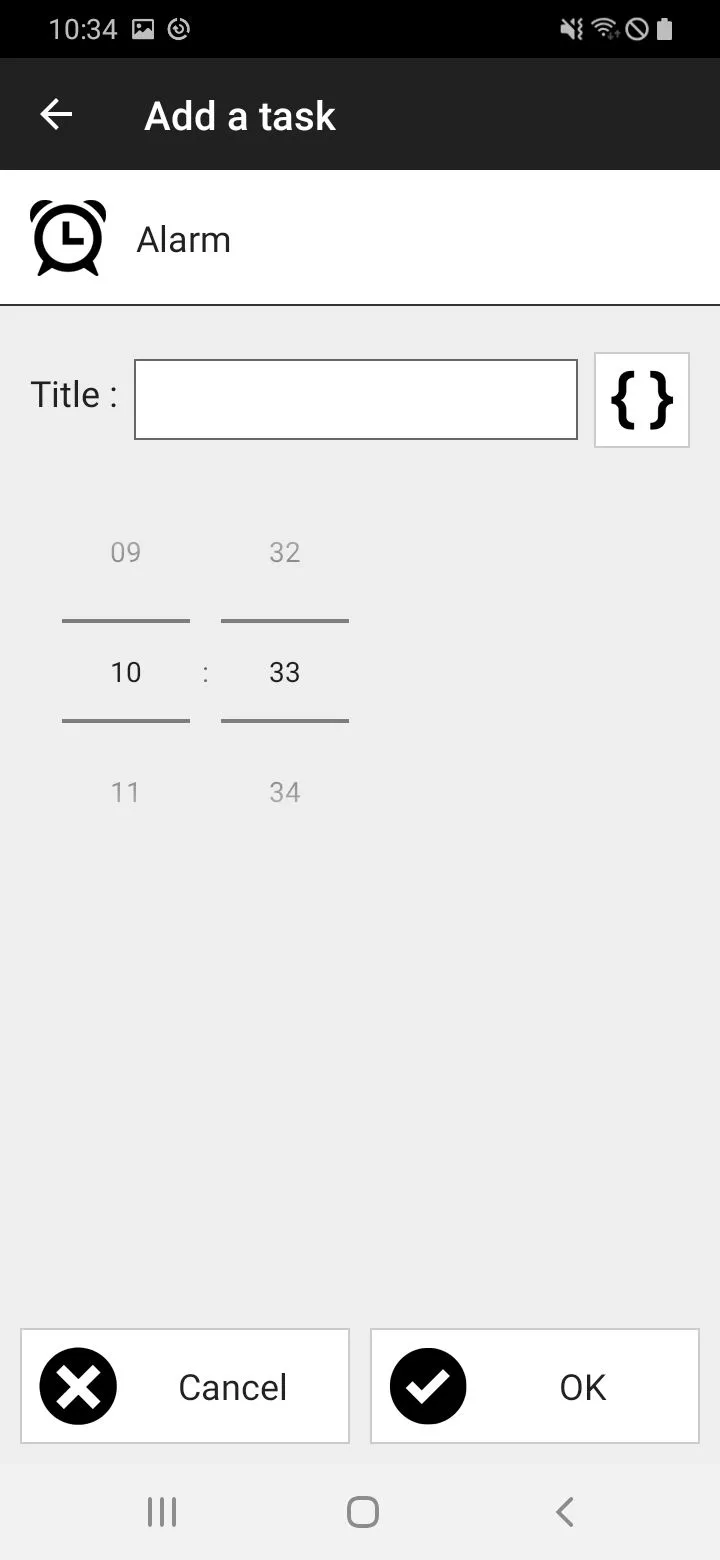
Alarm
By scanning the alarm clock sticker, a stopwatch with a preset time period should be set automatically.
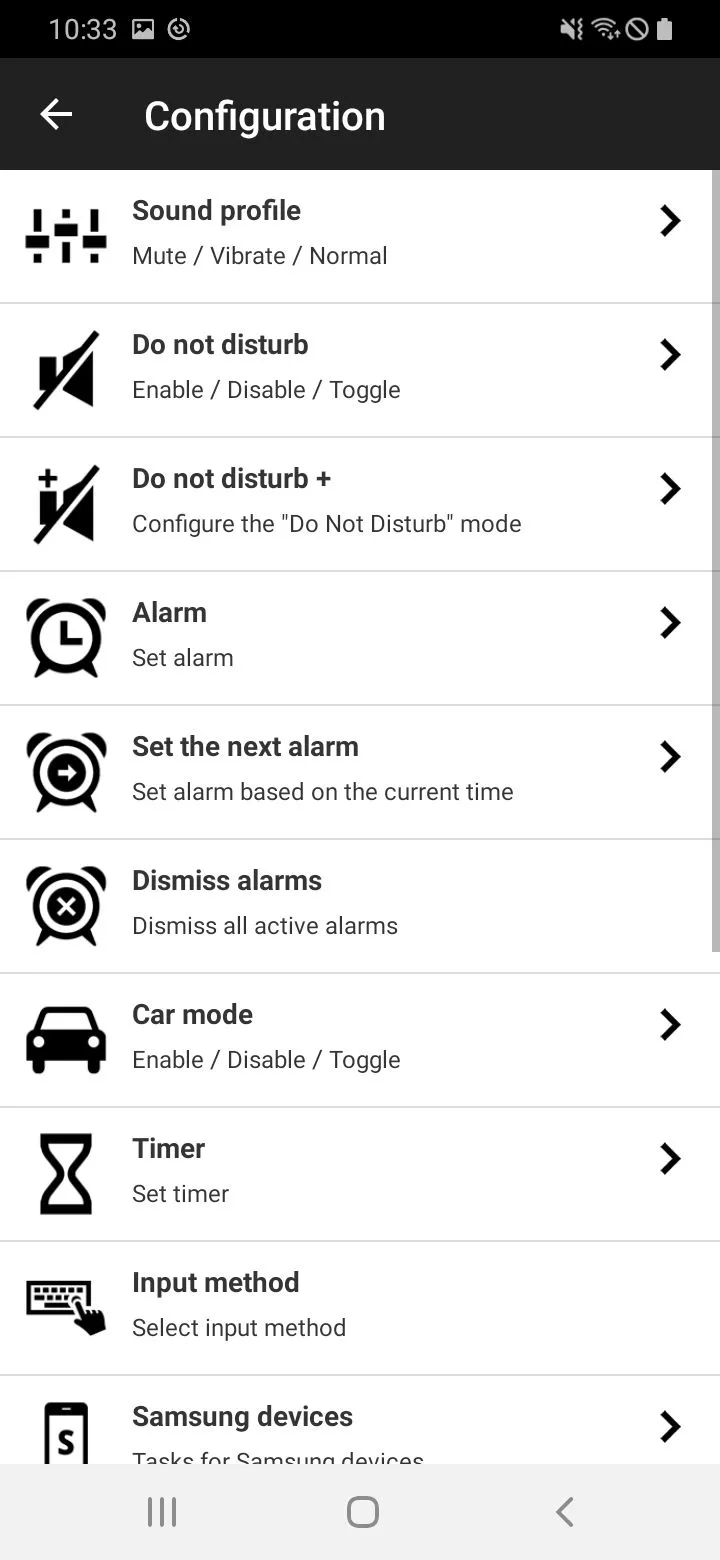
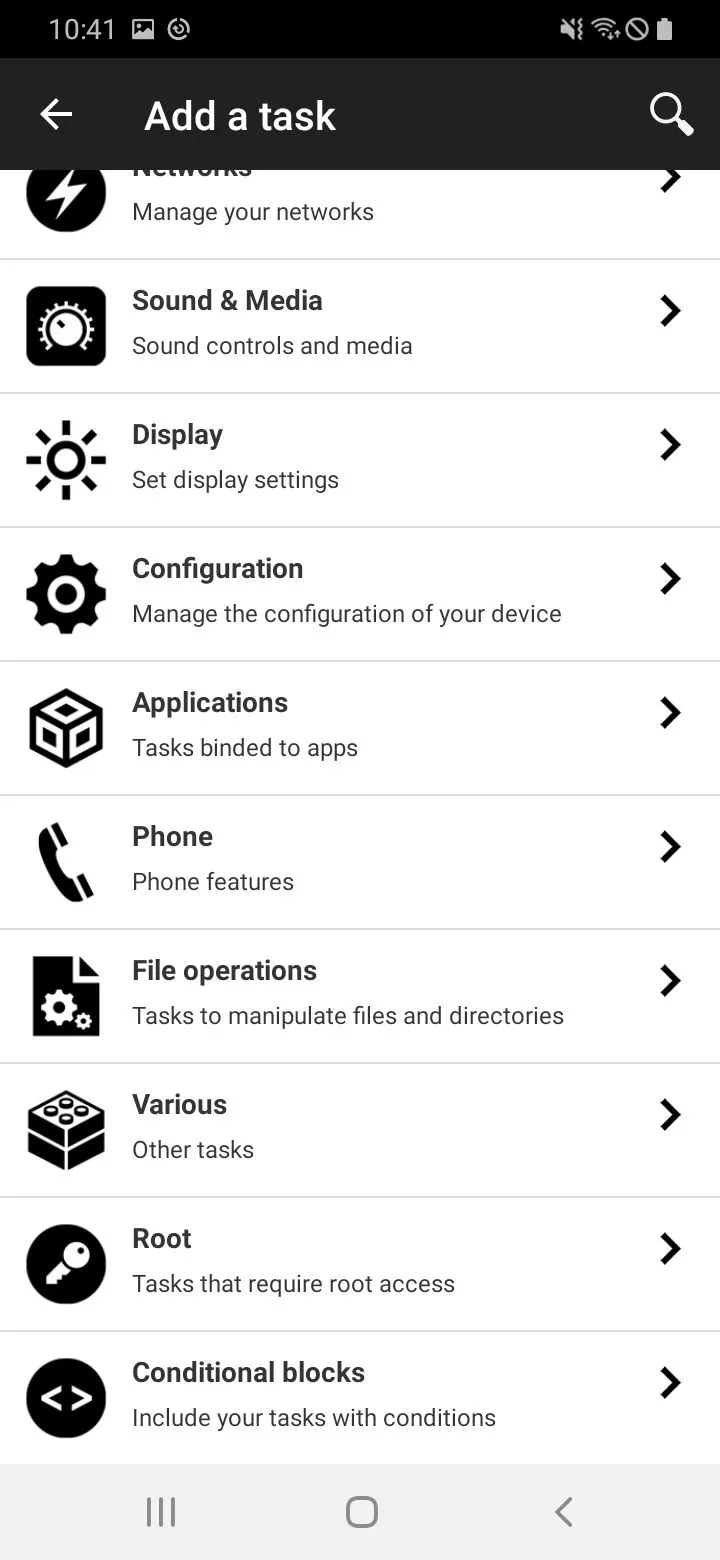
We do this by tapping on Tasks → Add a Task → Configuration → Stopwatch → Here we enter the desired time and confirm with OK. With writing / [...] bytes we write to the NFC sticker. If the sticker is now scanned, the set stop timer starts automatically.
NFC stickers can be overwritten up to 100,000 times, so that a new stopwatch can be written on the same sticker with the same steps.

Weather
By touching the weather sticker the weather app can be opened automatically.
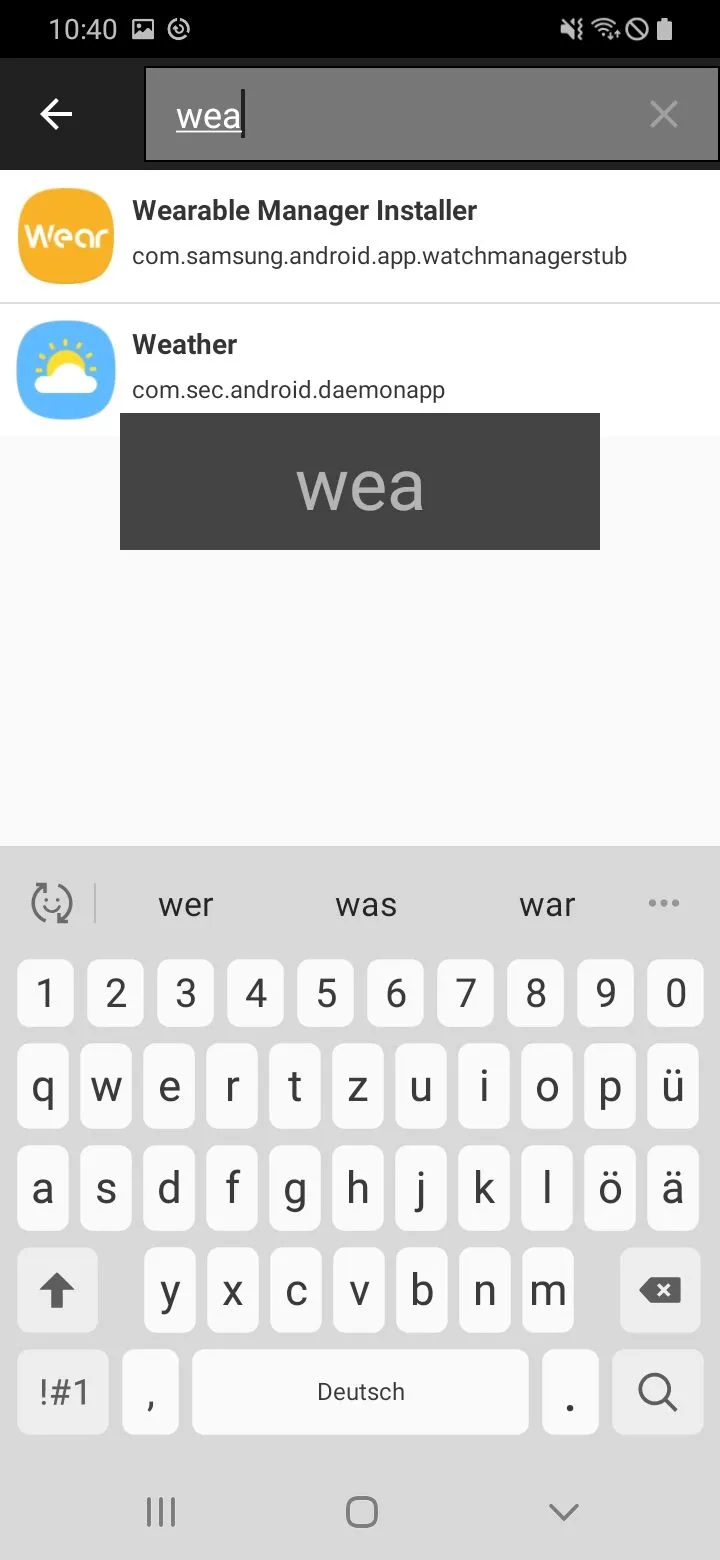
To do so, open the app and select Tasks → Add a task → App → Start App → tap on the Android icon → next to the text field scroll down completely and select System Apps → enter weather at the top of the search and confirm with OK.
Afterwards we write to the NFC sticker with Write / [...] Bytes.
Note: With the step Start App any weather app can be started.
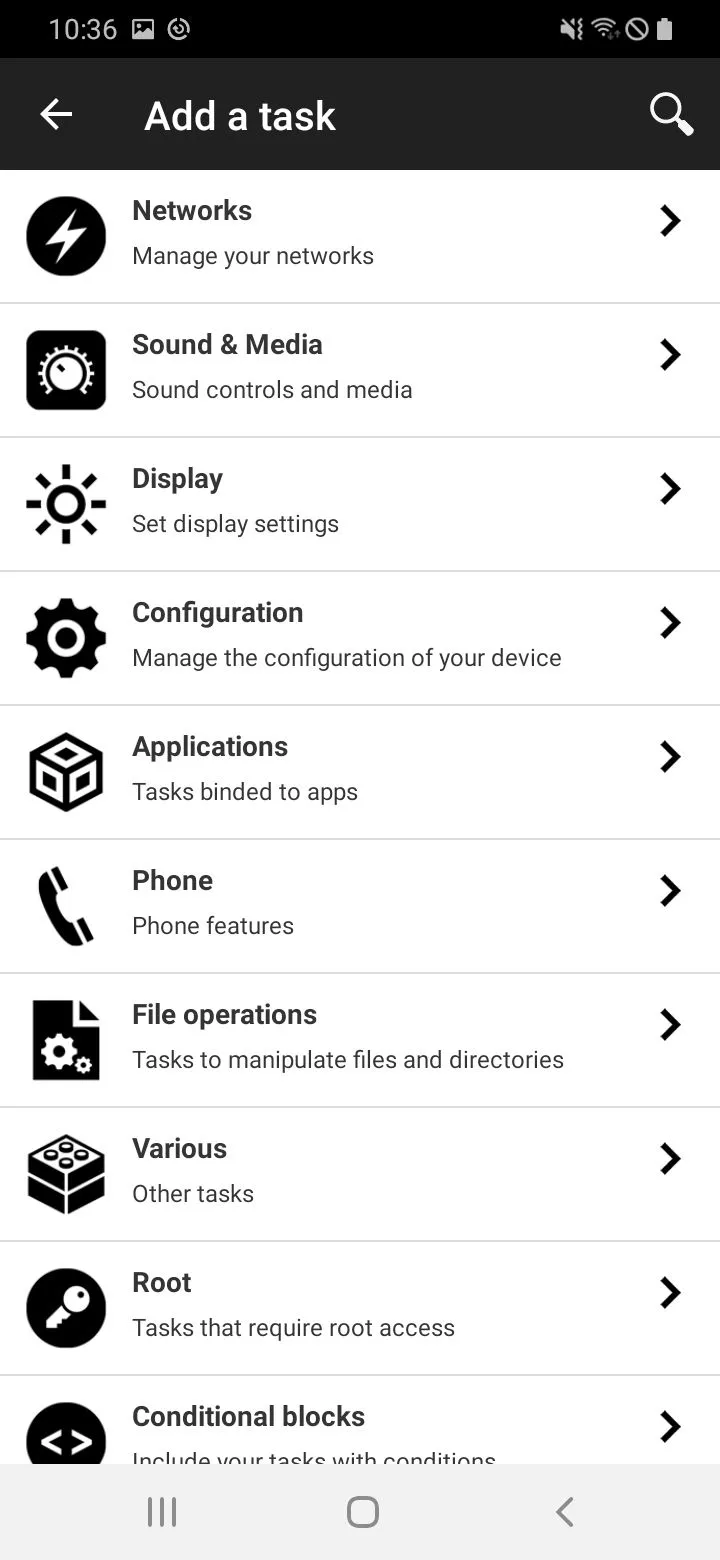
Other useful automations
Create screenshot:
An NFC sticker can be used to automatically create a screenshot of the current screen. To do this, tap on Tasks → Add a task → enter screen through the magnifying glass icon at the top and select Screenshot.
In the following window we have to choose any file name and destination folder for the screenshot. We confirm with OK and write the tag with Write / [...] Bytes. Now a screenshot is automatically created with the contact of the NFC sticker.
Switch on the phone speaker:
Tasks → Add a task → Phone → Activate phone speaker → Write / [...] bytes.
Lock screen or flight mode:
Tasks → Add a task → Root → Lock screen / activate Flugmodus→ activate → Write / [...] bytes.
By placing the smartphone on the NFC sticker, the screen is now locked or flight mode is activated.
Notes
- A condition can be attached to each automation. This means that even if the NFC sticker is successfully scanned, the task will only be executed if the condition is true. Possible conditions are, for example, certain days of the week or month. Read all about conditions and automations in our article Android: Triggering tasks with conditions with NFC.
- Some automations require root access, e.g. creating a screenshot. If this is the case, the Android operating system will inform you of this when you create the task. See our FAQ to learn more about granting root access.
Summary
Associated operating systems
AndroidFirst published: 25.07.2023 / Updated: 12.08.2025