Der NFC Würfel ist ein sechseitiger Holzwürfel, der mit insgesamt neun NFC-Stickern geliefert wird. Jeder Sticker ist mit einem Symbol versehen, der als Vorschlag für die zu speichernde Aktion dient. In diesem Artikel beschreiben wir, wie Sie die NFC-Sticker mit einem Android Smartphone beschreiben können.
Dazu nutzen wir die kostenlose App NXP Tag Writer und NFC Tools.
Lesen sie gerne unsere anderen Artikel zu diesem Thema Android: NFC-Tags beschreiben und Android: Automationen mit NFC.
Hinweis: Auf manchen Android Smartphones ist die NFC-Funktion etwas versteckt. Wie man diese finden und ggf. aktivieren kann, können Sie in unseren FAQ lesen.
Inhalt:
- Anrufen, Nachricht und URL Sticker
- Standort/Adresse, Kontakt und WLAN Sticker
- Wecker
- Musik
- Wetter
- Weitere nützliche Automationen
- Hinweise
Anrufen, Nachricht und URL Sticker


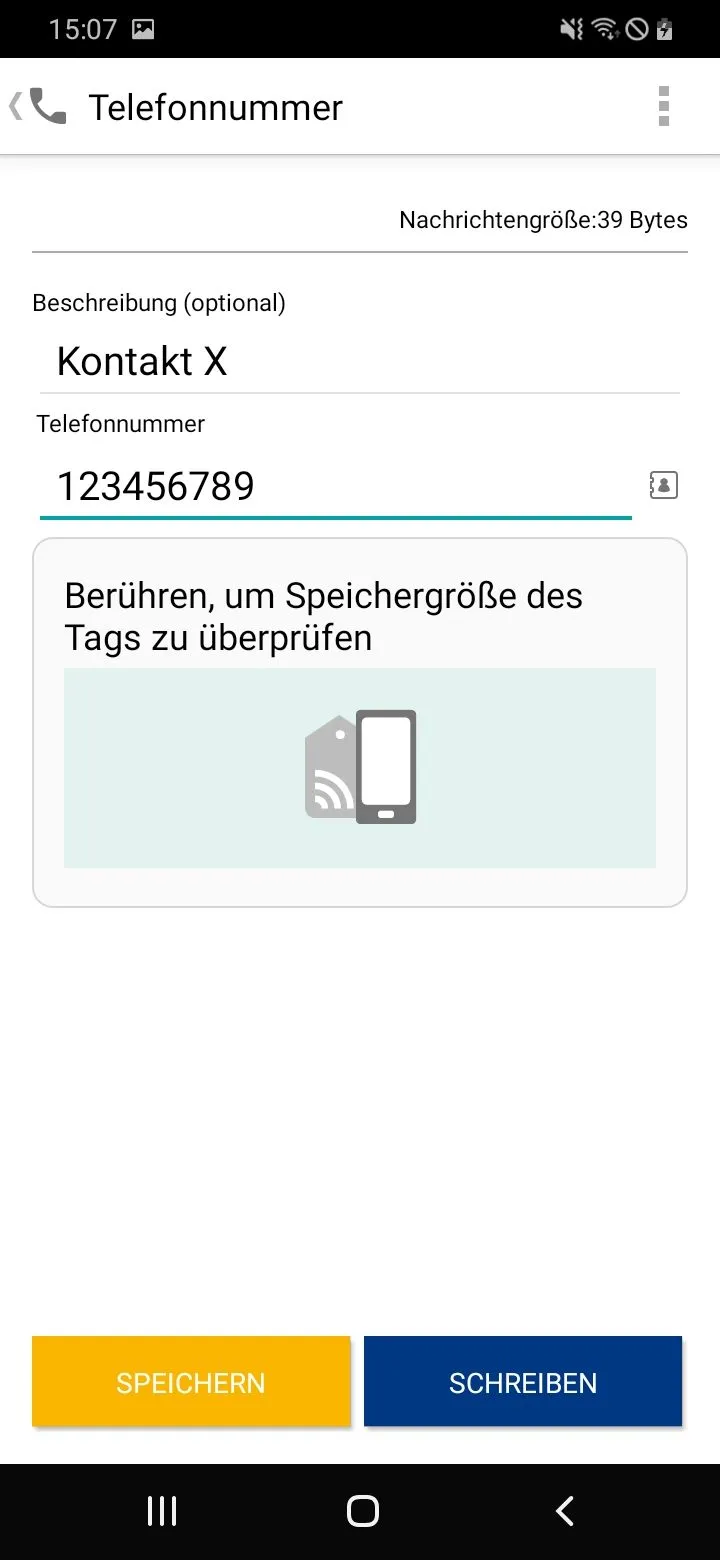
Um den Telefon-, Sprechblasen- und den WWW-Sticker zu beschreiben, öffnen wir die App NXP Tag Writer und tippen auf Schreiben → Neuer Datensatz. Für die verschiedenen Datentypen gehen wir wie folgt vor:
- Um eine Telefonnummer auf den Telefon-Sticker zu speichern, tippen wir auf Telefonnummer. Nun könnenn wir einen Titel und die Telefonummer eingeben und den NFC-Tag mittels SCHREIBEN beschreiben.
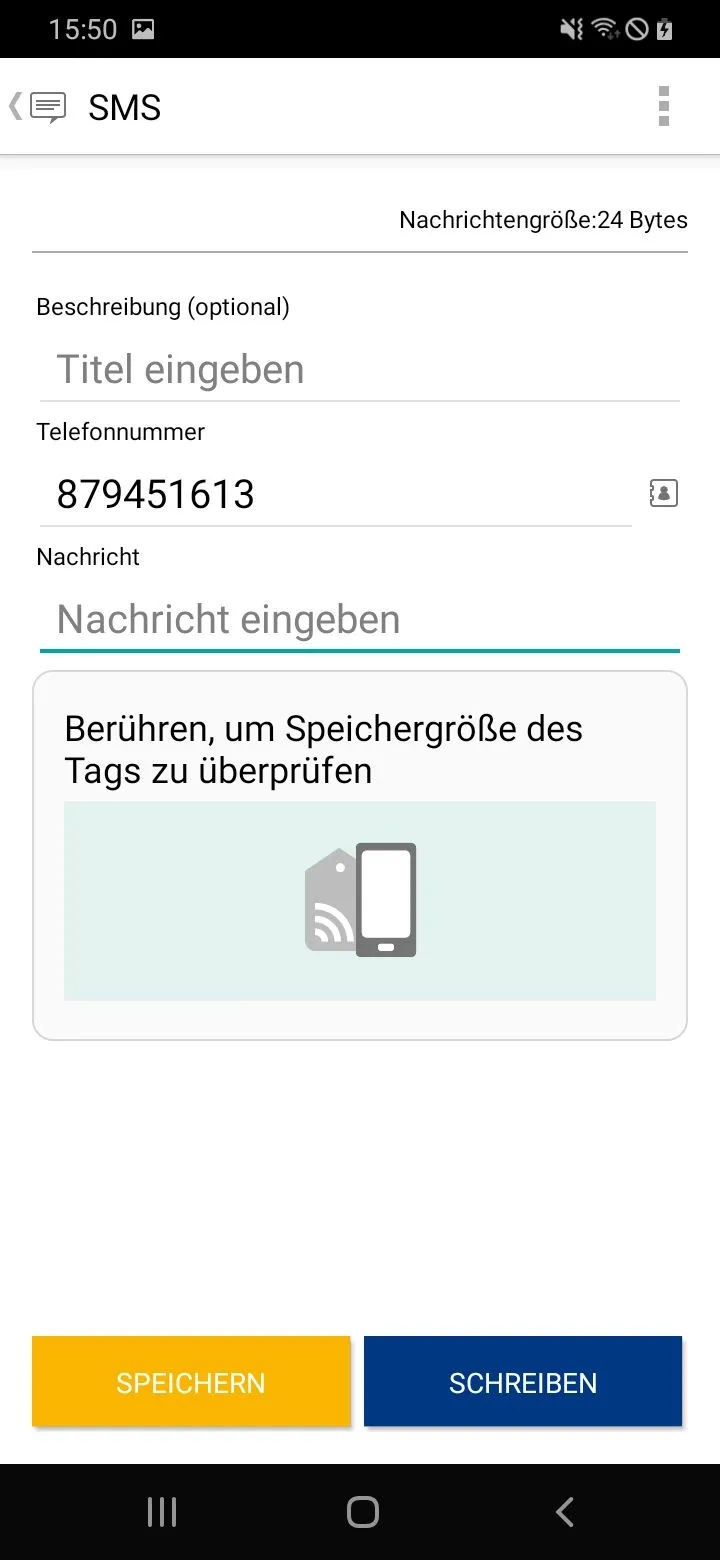
- Um den Sprechblasen-Sticker zu beschreiben tippen, wir auf E-Mail bzw. SMS, geben einen Empänger (Telefonnummer oder E-mail Adresse) und, falls gewünscht, direkt eine Nachricht ein. Anschließend tippen wir auf SCHREIBEN.
- Der WWW-Sticker kann ebenfalls über die oben erwähnten Schritte beschrieben werden. Hierbei wählen sie dann Link und fügen Ihre gewünschte URL ein. Mit SCHREIBEN wird der Vorgang abgeschlossen und der Link auf dem NFC-Sticker gespeichert.
All diese Schritte müssen mit BERÜHREN UM ZU SPEICHERN → Schreiben erfolgreich → FERTIG abgschlossen werden.


Standort/Adresse, Kontakt und WLAN Sticker
Um GPS-, Kontakt-, und WLAN- Sticker zu beschreiben, starten wir mit denselben Schritten wie in oben genannten Erläuterungen und tippen auf Schreiben → Neues Datensatz.
-
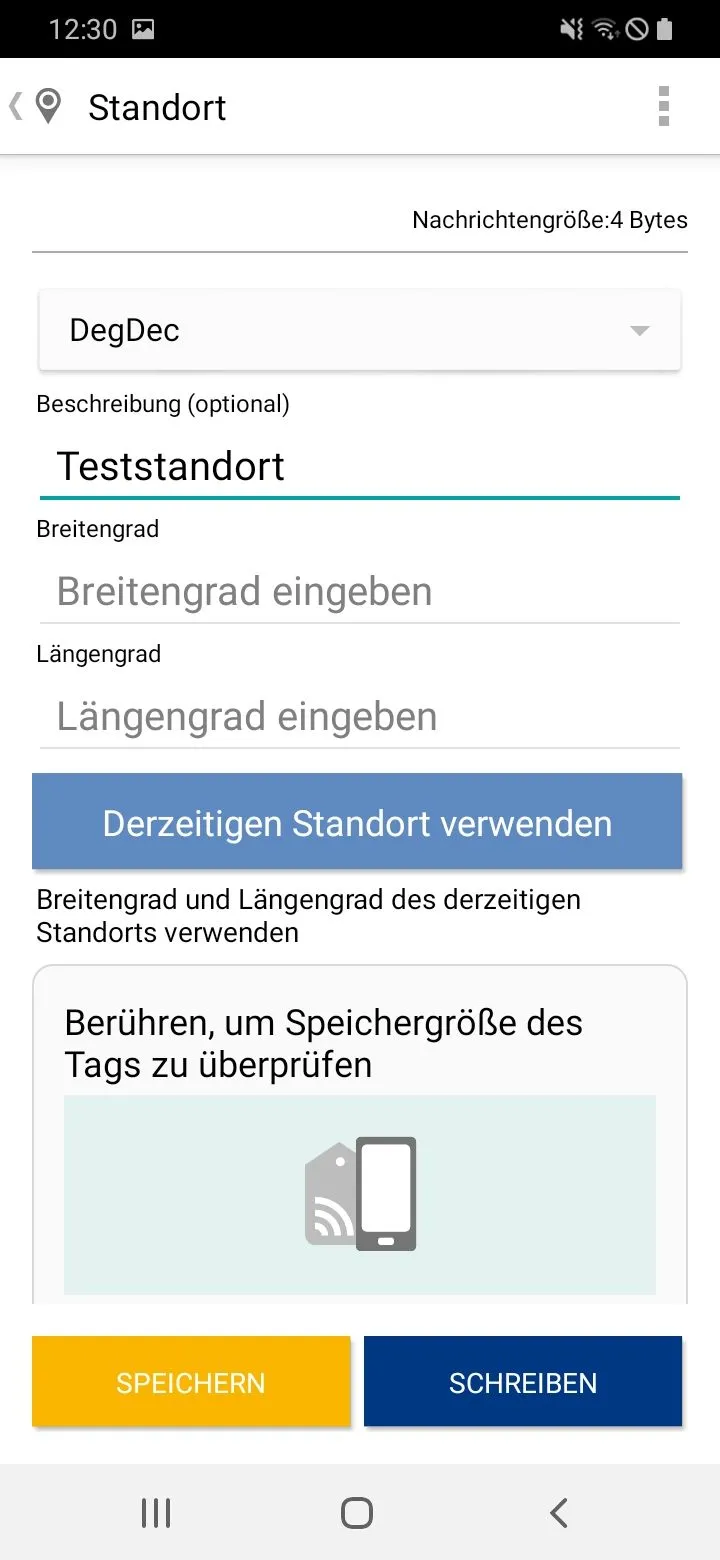
Um einen Standort auf den GPS-Sticker zu speichern, gibt es zwei Möglichkeiten: Entweder kann der gewünschte Standort durch die vorher ermittelten Breiten- und Längengerade eingegeben werden, oder der aktuelle Standort wird direkt auf dem NFC-Tag gespeichert: Dazu tippen wir auf Standort → geben gewünschte Längen- und Breitengerade ein → SCHREIBEN, oder auf Derzeitigen Standort verwenden → SCHREIBEN.
-
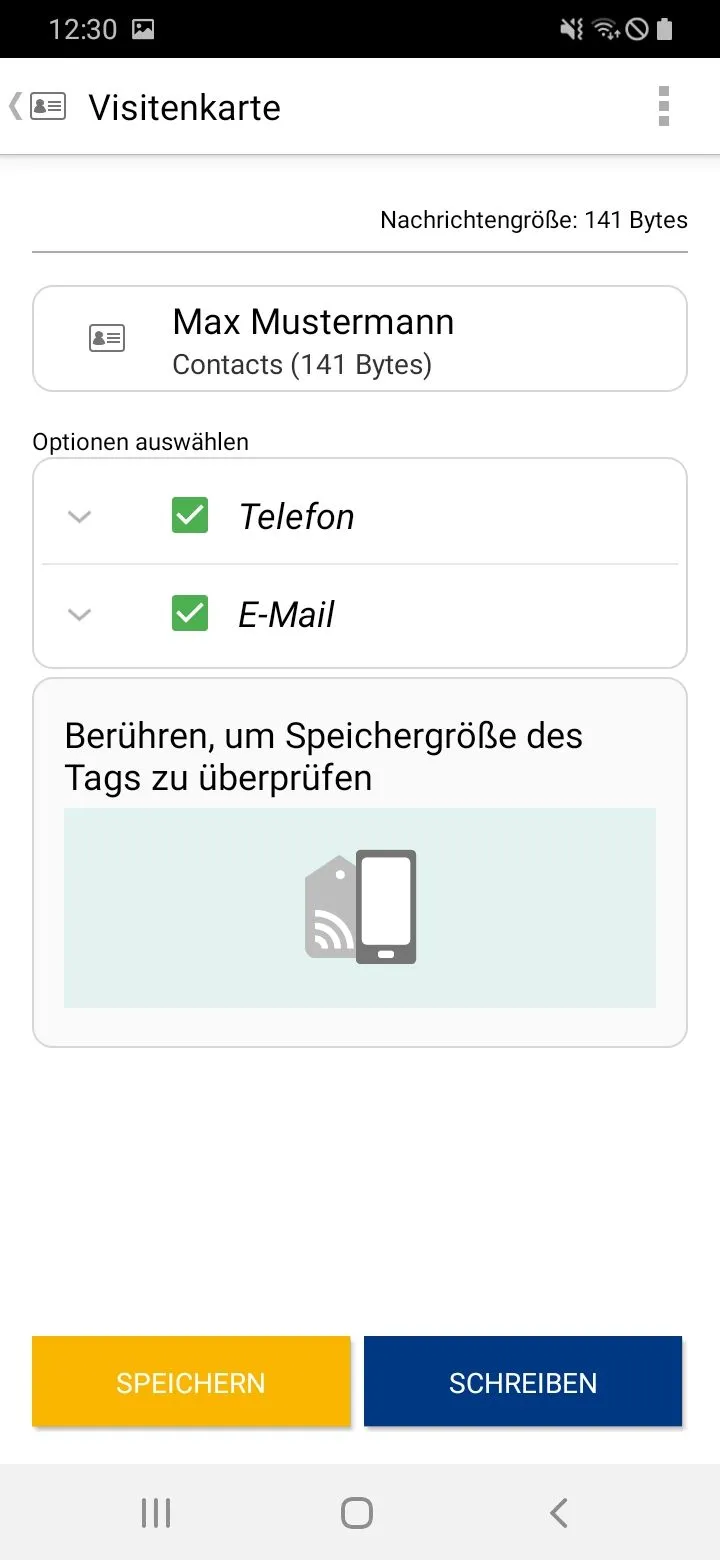
Um einen Kontakt von dem Smartphone auf einem NFC-Tag zu speichern tippen wir auf Visitenkarte und wählen anschließend den gewünschten Kontakt aus. Mittels der grünen Haken können wir entscheiden, welche Informationen des Kontakts auf den NFC-Tag gespeichert werden sollen. Der vollständige Name wird dabei immer automatisch gespeichert.
-
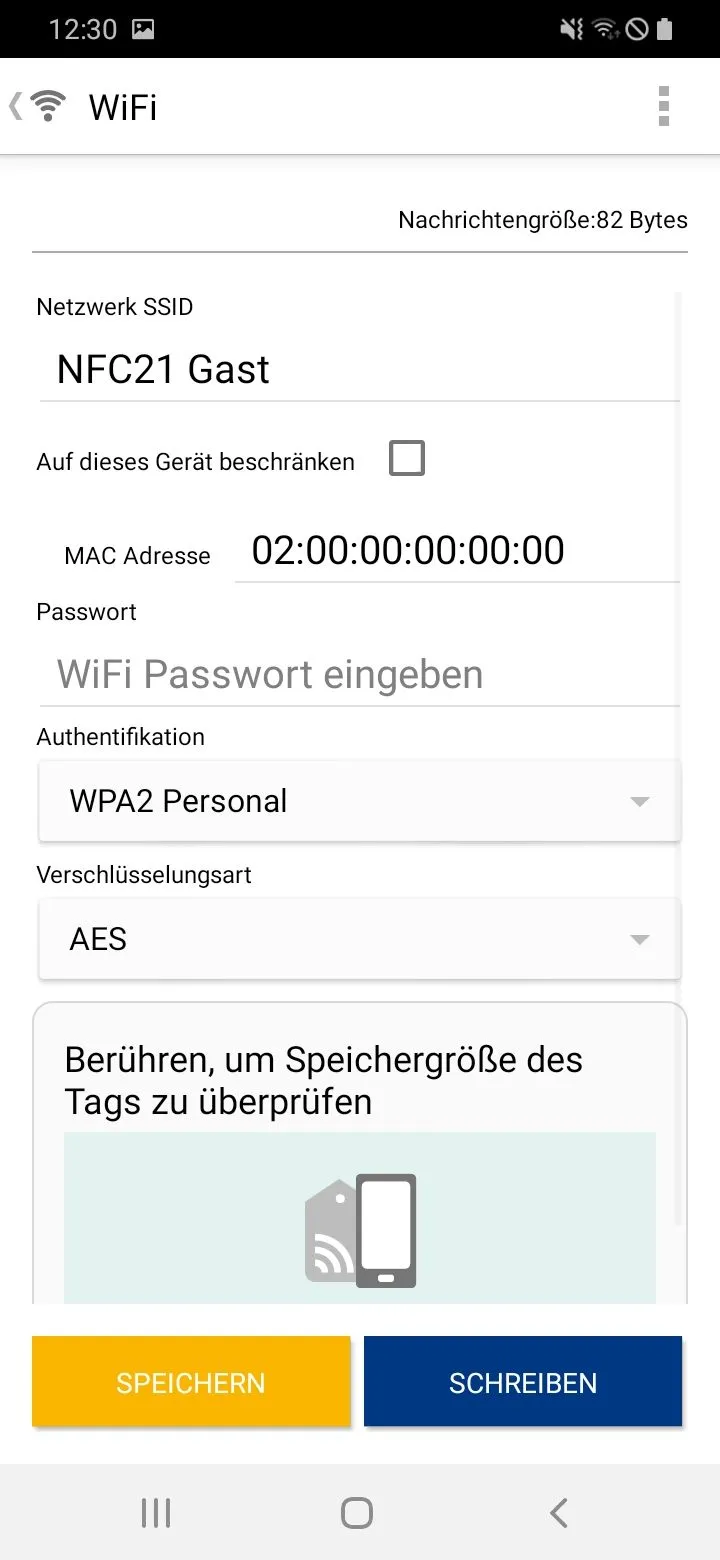
Durch die Beschriftung des WLAN-Stickers mit einer SSID (Netzwerkname) und dem entsprechenden Passwort, können sich andere Smartphones direkt mit dem Netzwerk verbinden, indem Sie den NFC-Sticker scannen. Dazu tippen wir auf WiFi → gewünschtes Netzwerk auswählen → Wiki Passwort eingeben → SCHREIBEN.
Alle drei Schritte müssen mit BERÜHREN UM ZU SPEICHERN → Schreiben erfolgreich → FERTIG abgschlossen werden.
Wecker
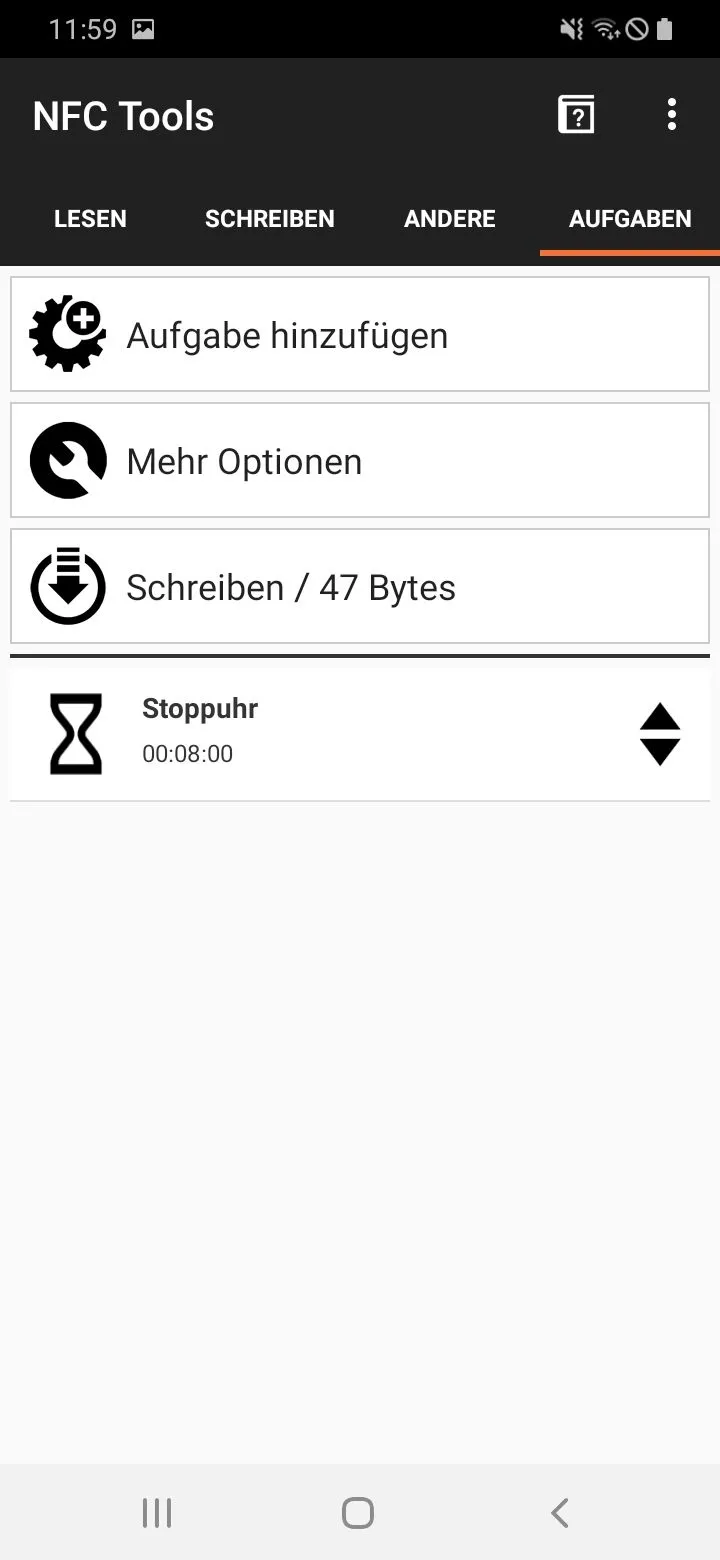
Durch das Scannen des Wecker-Stickers soll automatisch eine Stoppuhr mit einer voreingestellten Zeitspanne gesetzt werden. Zum Beschreiben des NFC-Tags nutzen wir hier die kostenlosen App NFC Tools.
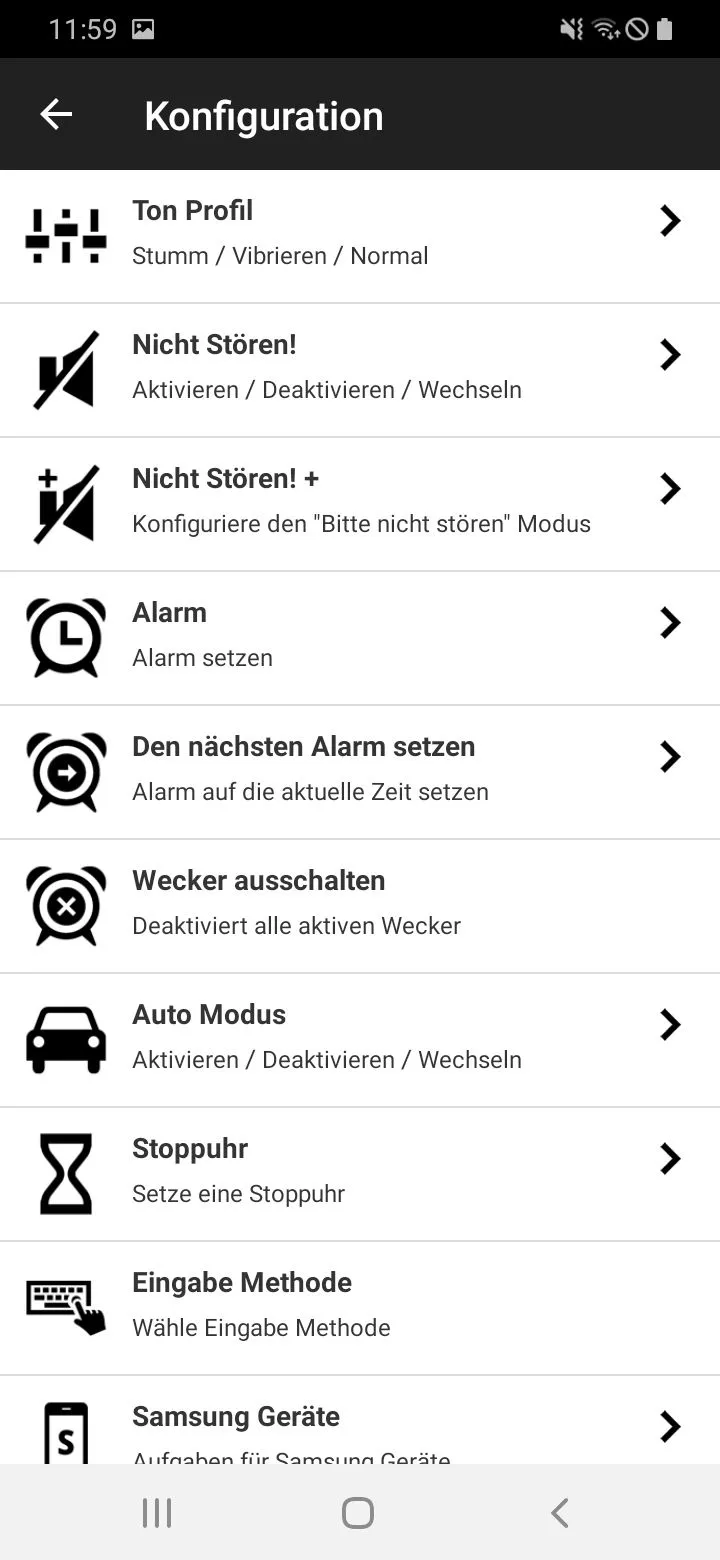
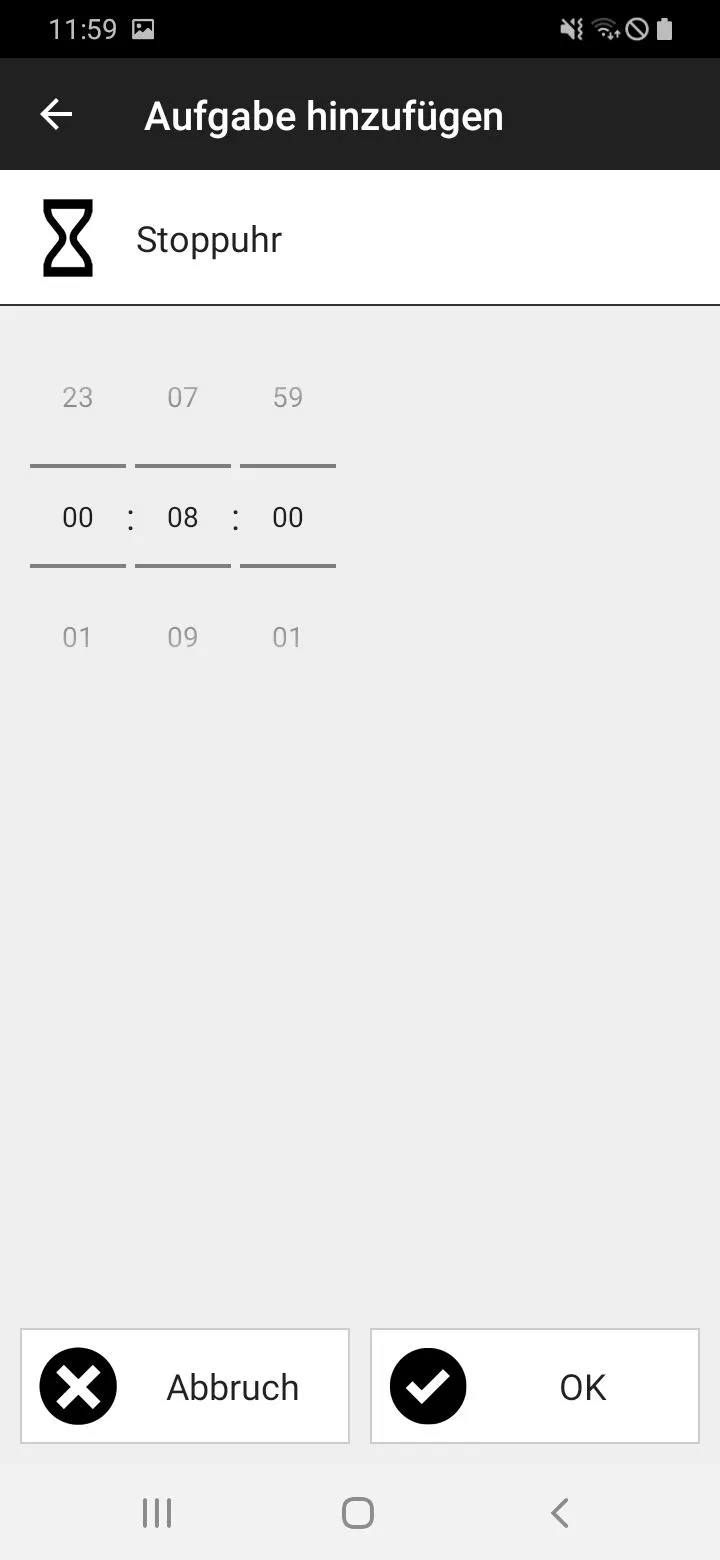
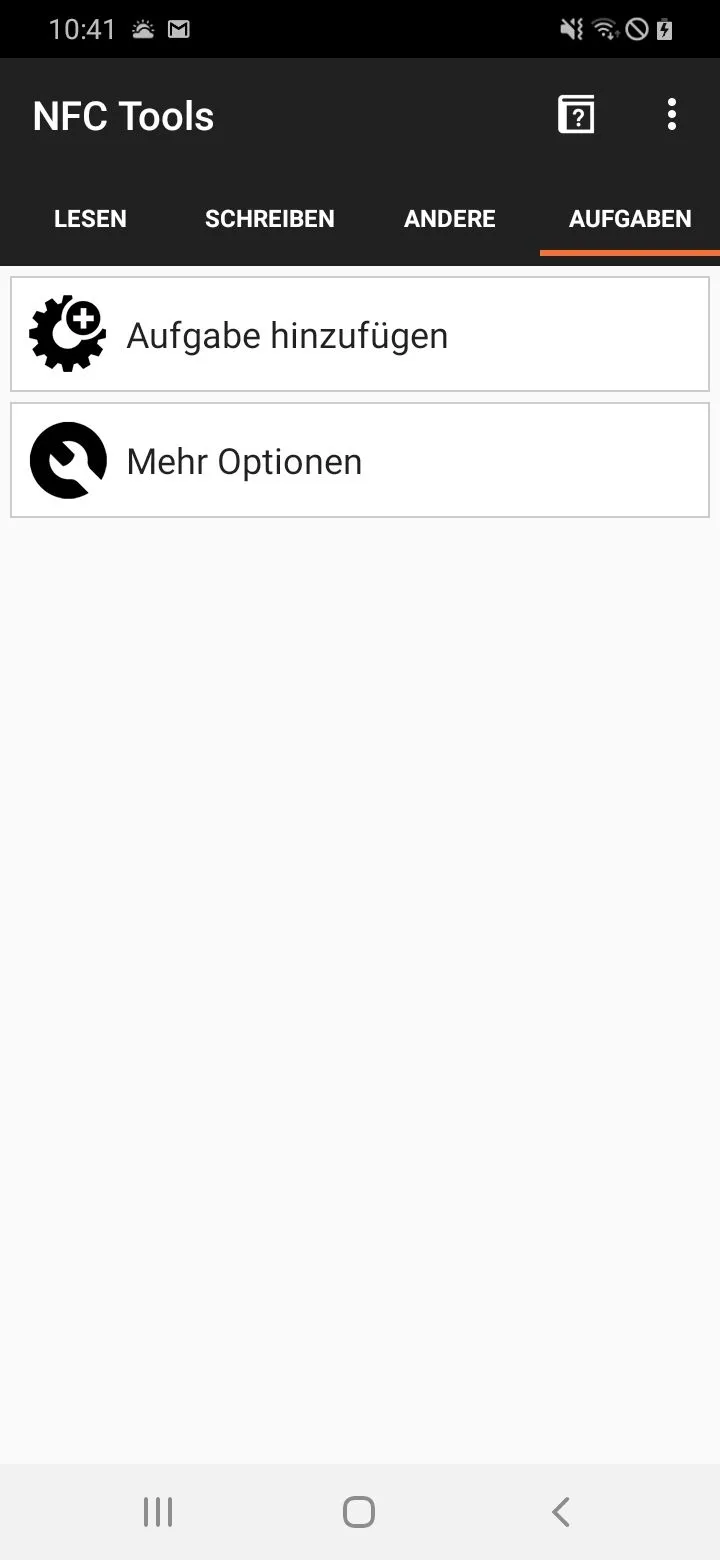
Das machen wir, indem wir auf Aufgaben → Aufgabe hinzufügen → Konfiguration → Stoppuhr → tippen. Hier geben wir die gewünschte Zeit ein und bestätigen mit OK. Durch Schreiben / [...] Bytes beschreiben wir den NFC-Sticker. Wird dieser nun gescannt, startet automatisch die eingestellte Stoppuhr.
NFC-Sticker können bis zu 100.000 mal überschrieben werden, sodass mit den selben Schritten eine neue Stoppuhr auf dem selben Sticker geschrieben werden kann.
Musik

Durch NFC Tools können Aufgaben (Automationen) auf dem Android Smartphone kreiert werden, die durch das Scannen des Musik-Stickers automatisch ausgeführt werden. Beispielweise kann die Musikapp Spotify automatisch ausgeführt weden:
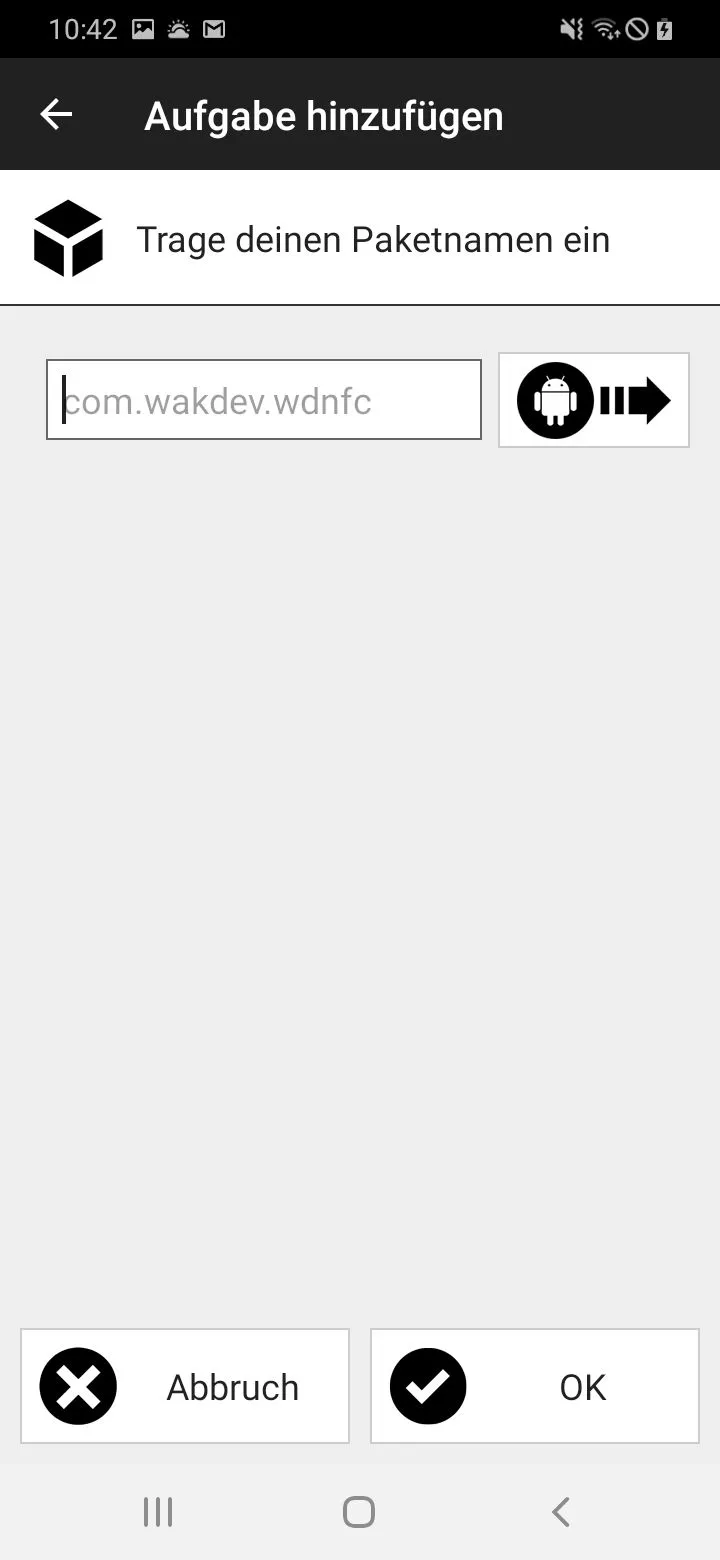
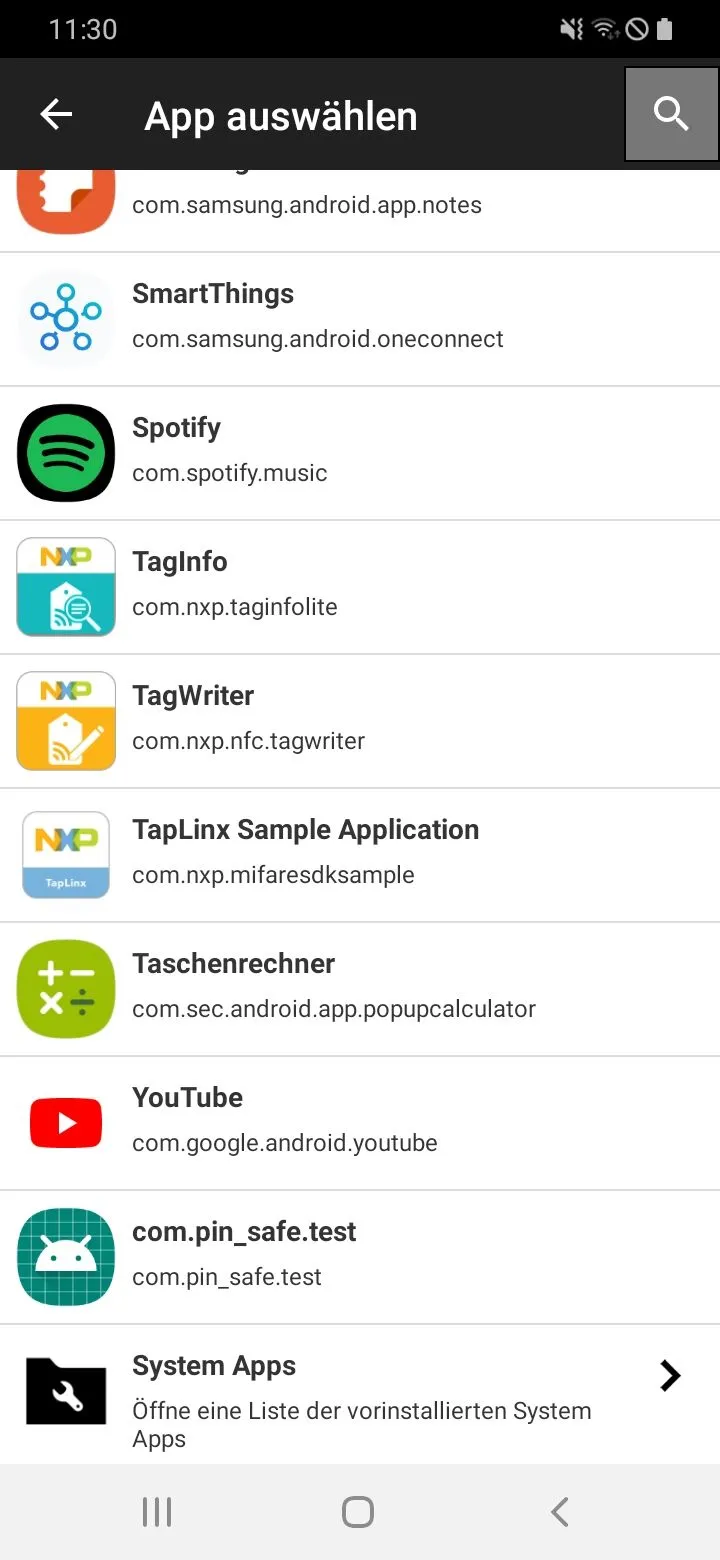
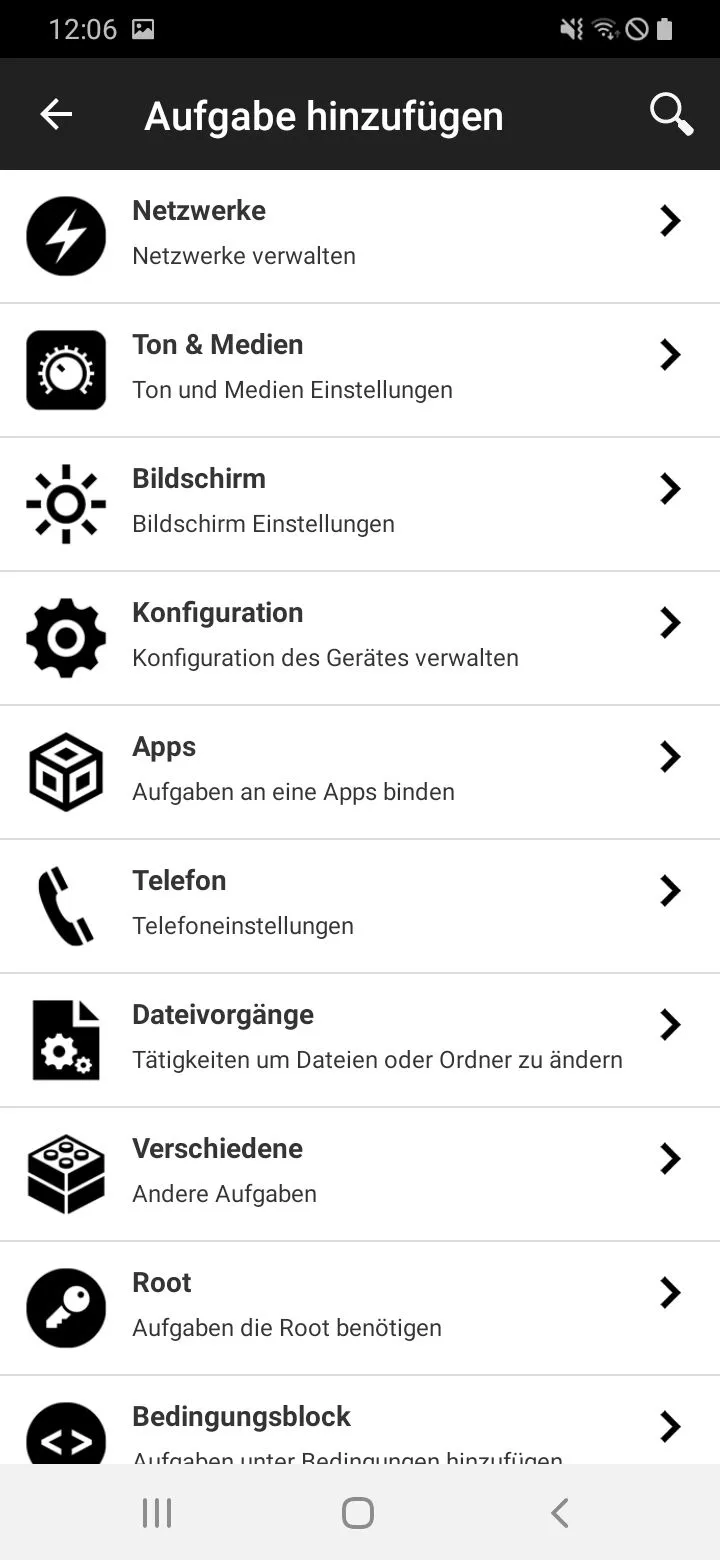
Dazu öffnen wir die App und wählen oben Aufgaben → Aufgabe hinzufügen → App → App Starte App → tippen neben dem Textfeld auf das Android Symbol → suchen nach der gewünschten App Spotify → App auswählen und mit OK bestätigen.
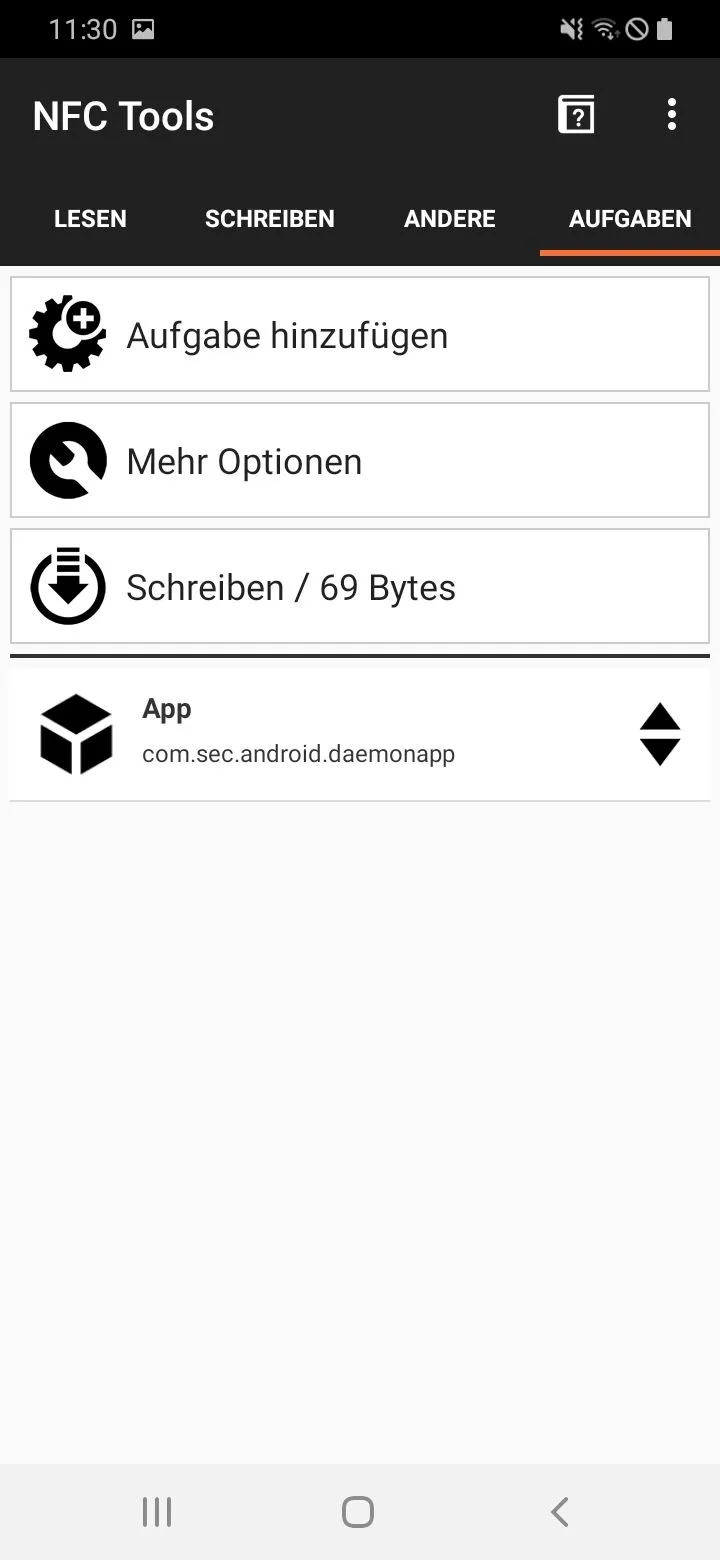
Durch das Tippen auf Schreiben / [...] Bytes können wir den Musik-Sticker letztendlich mit dem gewünschten Befehl beschreiben.
Lesen Sie zu diesem Thema gerne unsere weiteren Artikel zu Android: Aufgaben und Bedingungen, in denen wir beschreiben, wie Automationen und Aufgaben auf dem Android Smartphone erstellt werden können.
Hinweis: Ggf. muss für den Zugriff auf eine externe App (hier Spotify) ein Root-Zugriff freigeschaltet werden. Wie das funktioniert, lesen Sie in unseren FAQ.

Wetter
Durch den Kontakt mit dem Wetter-Sticker kann automatisch die Wetter App geöffnet werden.
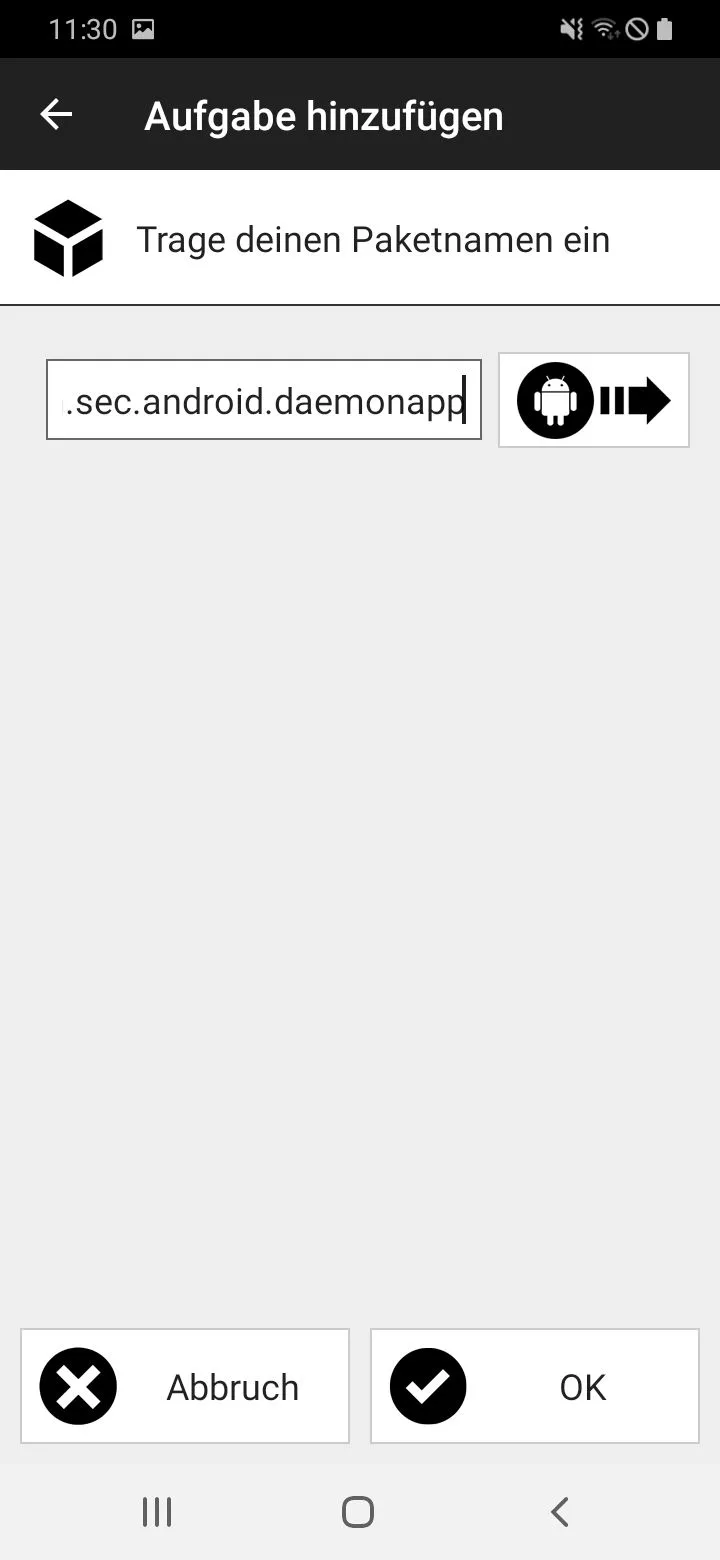
Dazu Öffnen wir die App und wählen oben Aufgaben → Aufgabe hinzufügen → App → App Starte App → tippen neben dem Textfeld auf das Android Symbol → scrollen ganz runter und wählen System Apps → geben oben in der Suche Wetter ein und bestätigen mit OK.
Danach beschreiben wir den NFC-Sticker mit Schreiben / [...] Bytes.
Hinweis: Über den Schritt App starten lässt sich natürlich jede beliebige Wetter App starten.

Weitere nützliche Automationen
Screenshot erstellen:
Ein NFC-Sticker kann verwendet werden, um automatisch vom akuellen Bildschirm einen Screenshot zu erstellen. Dazu tippen wir auf Aufgaben → Aufgabe hinzufügen → geben durch das Lupensymbol oben screen ein und wählen Screenshot aus.
Im folgenden Fenster müssen wir einen beliebigen Dateinamen und einen beliebigen Zielordner für den Screenshot auswählen. Wir bestätigen mit OK und beschreiben den Tag mit Schreiben / [...] Bytes. Nun wird mit dem Kontakt des NFC-Stickers automatisch ein Screenshot erstellt.
Telefonlautsprecher einschalten:
Aufgaben → Aufgabe hinzufügen → Telefon → Telefonlautsprecher → wähle aktivieren → OK → Schreiben / [...] Bytes.
Bildschirm sperren oder Flugmodus:
Aufgaben → Aufgabe hinzufügen → Root → Sperre Bildschirm / Flugmodus→ wähle aktivieren → OK → Schreiben / [...] Bytes.
Durch das Ablegen des Smartphones auf den NFC-Sticker wird nun der Bildschirm gesperrt, bzw. der Flugmodus eingeschaltet.
Hinweise
- Jede Automation kann ein Bedinungen geknüpft werden. Das bedeutet, dass die Aufgabe auch bei einem erfolgreichen Scan des NFC-Stickers nur dann ausgeführt wird, wenn die Bedingung zutrifft. Mögliche Bedingungen sind zum Beispiel bestimme Tag in der Woche oder Monat. Lesen Sie alles über Bedingungen und Automationen in unserem Artikel Android: Aufgaben mit Bedingungen mit NFC auslösen.
- Einige Automationen benötigen einen Root Zugriff, z.B. das Erstellen eines Screenshots. Falls das der Fall ist, werden Sie von Android Betriebssystem beim Erstellen der Aufgabe darauf hingewiesen. In unseren FAQ erfahren mehr über das Erteilen eines Root Zugriffes.
Zusammenfassung
Zugehörige Betriebssysteme
AndroidErstellt: 25.07.2023 / Aktualisiert: 12.08.2025